How to Refinish Hardwood Floors
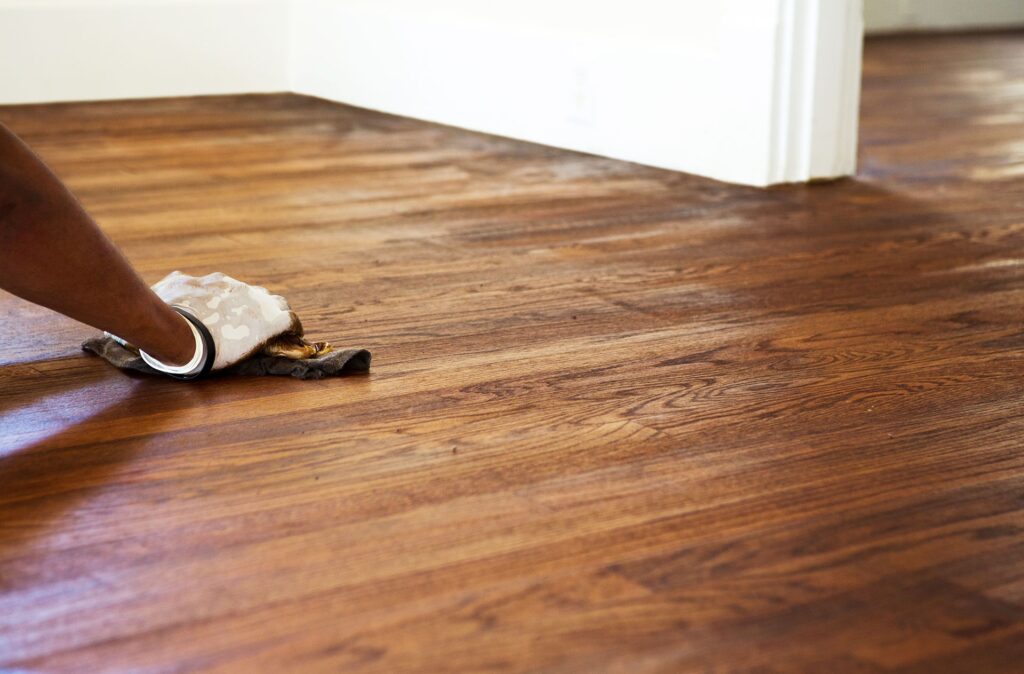
You’ll eventually have to refinish your hardwood floors no matter how long-lasting they seem. Over time, the regular back and forth across the flooring surface will cause wear and tear. As a matter of fact, if you have children or pets, your floorings will experience more overtime damage.
However, you can significantly minimise the diminishing effect of your hardwood flooring by refinishing the surface. The process involves eliminating the top layer of the coating material of the flooring. Then, you carry out the removal through a sanding process which erases any surface scratches.
In this article, you’ll learn how to refinish hardwood floors and understand the process in-depth. Then, once you sand away the former surface, you can paint the sanded hardwood with whatever protective coating you desire.
Getting Started
Before you refinish your hardwood floor, you’ll have to acknowledge whether your flooring is solid or engineered hardwood. The reason for such check-ups is that solid and engineered hardwoods require different approaches when it comes to refinishing.
Solid Hardwood Flooring
For the solid hardwood flooring, a more aggressive form of refinishing is tolerable. Hardwood materials like oak or maple can withstand vigorous sanding without compromising the sublayer.
Hence, deep sanding is the best way to refinish hardwood floors with solid wood. Furthermore, the solid hardwood floorings can handle three to four sanding and refinishing sessions in their lifetime.
Engineered Hardwood Flooring
On the other hand, engineered hardwood is more delicate than solid hardwood. So, typically, you’ll only be able to sand and refinish the surface of the engineered hardwood once in its lifetime.
Usually, engineered hardwood contains planks, primarily plywood glued to a hardwood veneer layer. Hence, when you refinish the hardwood floors of the engineered type, you have to be careful not to tamper with the finish layer. Ultimately, if you scratch at the finish layer, you may do some permanent damage to the engineered hardwood.
Therefore, before you buy hardwood floor planks, properly assess which type of hardwood you’ll need. Hence, by doing so, you’ll be making the refinishing process simple for you in the future.
Related Article: How To Clean Hardwood Floors
Tools You’ll Need to Refinish Hardwood Floors
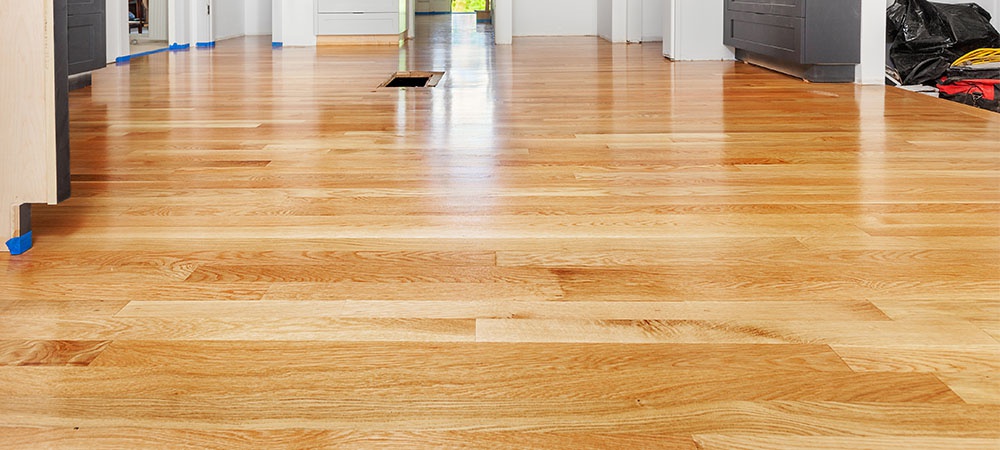
Before you begin the refinishing process, you’ll need to get specific items down and ready. The purchase of these items will make the DIY method of refinishing easier.
Therefore, as part of this hardwood floor refinishing guide, here are the essential items you’ll need.
Materials
- Painter’s tape
- Wood putty
- Fine sandpaper
- Tack clothes
- Clean clothes
- Polyurethane or varnish
- Sanding belts
Tools
- Hammer
- Broom
- Paint scraper
- Paintbrush
- Roller
- Personal protection equipment
- Prying bar
- Edge sander
- Vacuum
These items mentioned above are necessary when you refinish the hardwood floor in your home. However, the items may seem numerous; the cost of all these items will serve your household for longer. Whereas, if you hire professionals to refinish for you, the cost to your wallet may be as damaging as the sanded materials from the floor surface.
How to Refinish your Hardwood Floors
Here’s your comprehensive step-by-step guide to refinishing hardwood floors.
Preparing the Room
The easy way to refinish hardwood floors while avoiding future complications is by prepping the room beforehand. Prepping allows you to protect other elements in your home from any dust or chemical stains from the refinishing process.
Start by removing all furniture, rugs, carpets and curtains. Next, cover all electric boxes and open vents with painter’s tape to protect them from dust and stains.
Additionally, you can use plastic sheeting to seal the door if you are refinishing only one room. Furthermore, you do not want any base moulding to interfere when refinishing hardwood floors. Hence, ensure to remove any base moulding with a prying bar.
Lastly, you’ll want to remove any loose nails or screws in the floorboards. The loose nails may interfere with the sanding machine. Alternatively, make sure to hammer down any boards that are loose to keep them in place.
Cleaning the Floor
This action may seem like a no-brainer initially, but it’s paramount that you wipe the surface of your floorboard entirely. By doing so, you’ll be removing every iota of debris that may obstruct the refinishing process.
Make sure to sweep and vacuum the floorboard surface. Next, you can use a damp mop or a cloth rag to wipe the surface. The cleaning process will render the floorboards completely clean and smooth.
Sanding the Floor
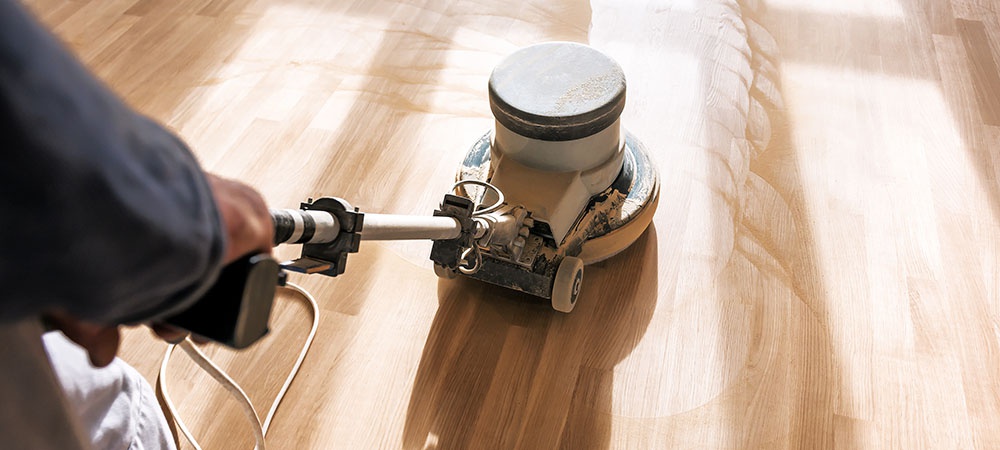
The next thing to do now is to bring out the sanding machine. The best way to refinish the hardwood floor is using a 40 or 60-grit sanding belt on an upright drum sander.
However, make sure to wear your personal protective equipment before you start the machine. Protect your eyes, ears and lungs from dust and debris flying around during the sanding process. Occupational exposure can result via contact with surfaces that are contaminated with lead, inhalation of dust and fumes containing lead, and ingestion.
Start the sanding machine but ensure to sand parallel to the direction of the boards. Don’t sand across the wood grain. Get close to the walls as possible but avoid touching the corners with the sanding tool.
Furthermore, how you start the sanding machine matters when refinishing the hardwood floor. Ensure to raise the drum before you start the machine and lower it once you begin using the device.
When you reach the wall, raise the machine before turning it off. Consequently, failure to adhere to this procedure of operating the sanding machine can damage the floorboards.
Inspecting the Floor after Sanding
After sanding and before deciding on how to refinish the hardwood floors, make sure to inspect the floor. Use sandpaper to smooth out any uneven spots from the sanding machine. Furthermore, if you encounter any depressions, fill them up with wood putty and leave the putty to dry for a day.
Once the wood putty is dry, sand the surface with sandpaper and wipe it clean with a cloth. Next, sweep and vacuum the floorboard surface once again to remove any sanding residue.
Applying a Coating
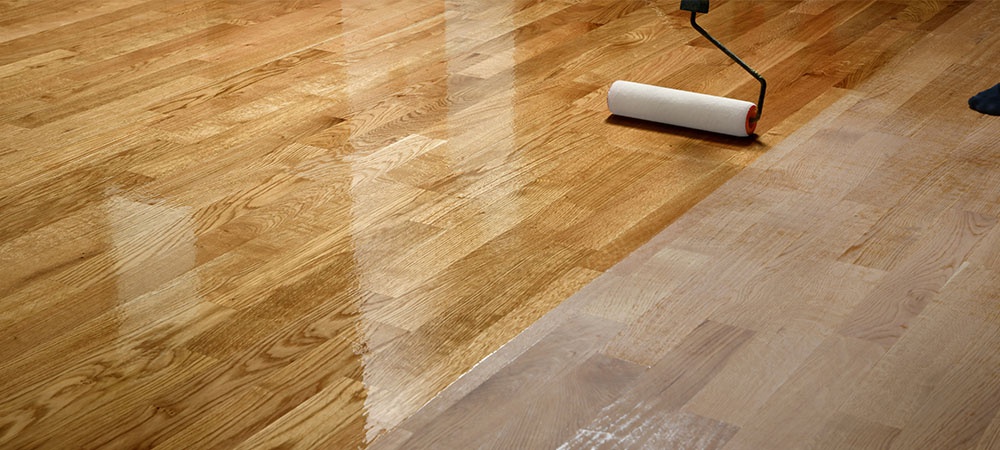
The easy way to refinish hardwood floors is by applying a finish to the surface. The application of finish is the final step in the refinishing process. There are three main types of finish to use, which are:
- Simple sealer
- Traditional varnish
- Polyurethane
Simple Sealer
A simple sealer is a fine protective liquid applied to the hardwood. First, the sealer permeates the hardwood’s tiny orifices, allowing the wood’s natural colour to shine. Unfortunately, the sealer offers the least protection, and you may need to reapply varnish every six months.
Traditional Varnish
You get a darkening effect when you refinish your hardwood floors with the traditional varnish. Additionally, the thin coating of the traditional varnish makes it easy for you to repair spot damages over time.
Polyurethane
Polyurethane is the most common finish to use in most households. The polyurethane finish possesses a clear and rubber-like appearance that you can apply with a paintbrush over the floorboards.
Furthermore, there is a variety of polyurethane finish that offers you a lot of options. The result is a strong protective layer over your floorboards that guards against scratches and stains.
Eventually, once you apply the finish, ensure to return the base mouldings to the base of the walls over the refinished floors. You can easily add the mouldings back with a brad nailer.
Related Article: How to Lay Herringbone Wood Floor
In the End
It’s vital to refinish hardwood floors in your home from time to time. Refinishing extends the longevity of your hardwood floorboards and preserves their allure. So, get started today and stock up on all the necessary items you’ll need to refinish your floorboards.
Do you have any more questions about refinishing hardwood floors? LV Flooring can answer them. Call us today!
