
How to Prepare Your Home for New Flooring
Installing new floors changes more than how a room looks; it improves comfort, air quality, and resale value. Proper preparation protects your furniture, trims labour hours, and ensures adhesives cure in ideal conditions.
When you invest a little time up front, LV Flooring’s crew can work smoothly, finish on schedule, and leave you with a flawless finish that lasts decades.
Related Article: When Is the Best Time of Year to Install New Flooring in Canada?
Map Out the Project Scope
A well-defined plan keeps your budget on track and avoids awkward surprises.
Before materials arrive, walk through every space with your consultant. Confirm which baseboards come off, where planks will change direction, and how transitions meet tile or carpet.
Approve your product selection early so shipments arrive in time to acclimate. Document any paint touch-ups you may need once floors are down, then build a timeline that includes drying time for levelling compounds and finish coats.
- Mark tricky corners, HVAC vents, and cold-air returns.
- Photograph wall colours for accurate repainting.
- Add five to ten percent extra flooring to cover cuts and future repairs.
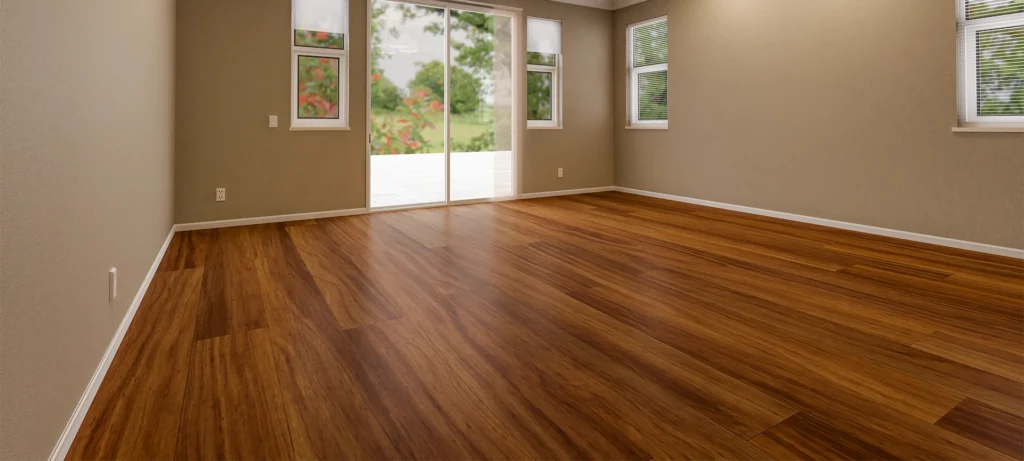
Professional hardwood floor installation ensures every plank locks snugly and stands up to Toronto’s seasonal humidity swings.
Related Article: Why Humidity Matters When Installing Luxury Vinyl Flooring
Arrange Temporary Storage
Empty rooms let installers work faster and protect your valuables.
Start by booking a mobile storage pod, borrowing a neighbour’s garage, or designating a spare bedroom for overflow.
Boxing décor now is easier than patching a shattered vase later. Group pieces too large to leave—like pianos or built-ins—in the centre so crews can shift them as they progress.
- Wrap electronics, artwork, and plants in breathable covers to guard against dust.
- Remove interior doors and store them upright to prevent warping.
- Label cables and hardware in zip bags.
- Disassemble beds or shelving to fit narrow hallways.
- Photograph furniture layouts for easy re-assembly.
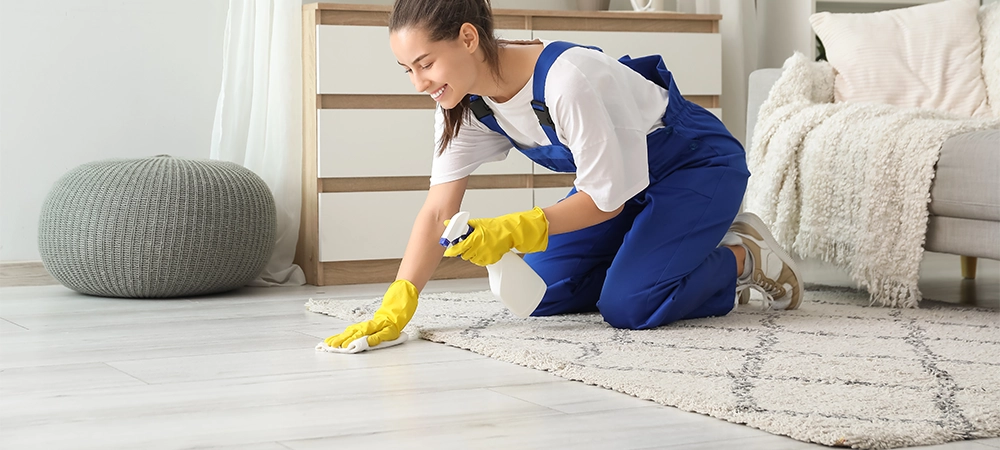
Protect People, Pets, and Air Quality
Flooring work creates sawdust, fumes, and plenty of foot traffic.
Post a daily schedule on the fridge so family members know which rooms are off-limits. Seal doorways with plastic sheeting to trap particles and keep pets from wandering into tools. Consider a playdate or pet-sitting service during the noisiest days.
Once installation wraps up, replace HVAC filters to catch the final layer of dust, then run your system a few extra cycles to refresh indoor air.
- Use painter’s tape rather than duct tape on finished walls.
- Keep a first-aid kit on site for minor scrapes.
- Provide crews with a clear path to an outdoor power source.
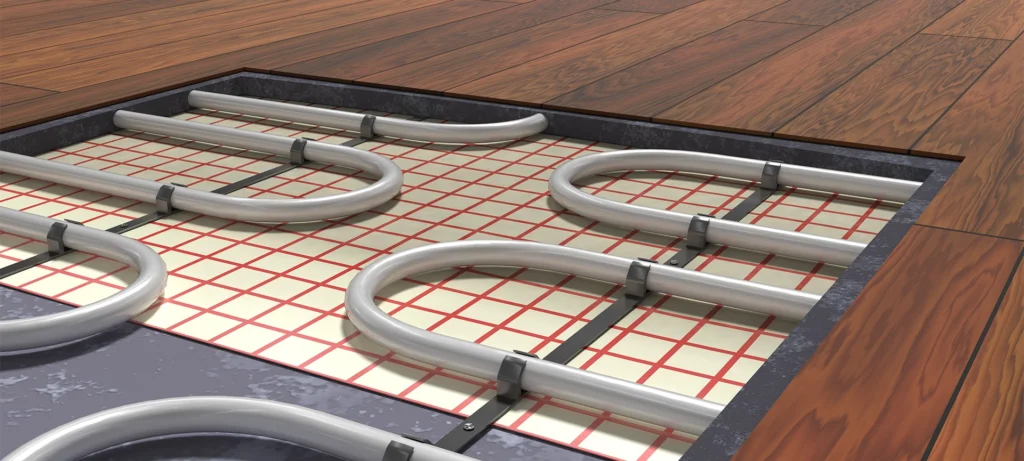
Test, Repair, and Level the Subfloor
Your new surface can only be as stable as what lies beneath.
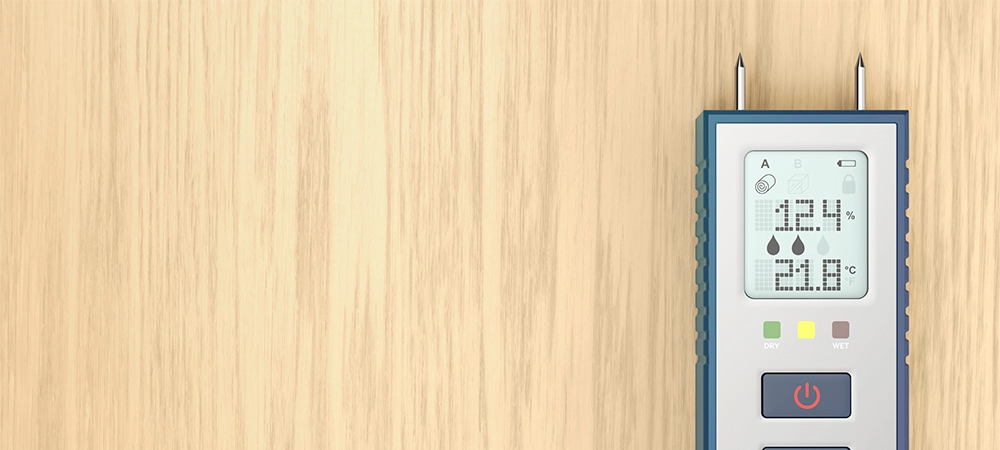
Moisture testing is critical; wood subfloors should read 6 – 9 percent, while concrete must stay below 3 lbs per 1,000 sq ft over 24 hours.
Fasten squeaky areas with screws driven into joists, then sand high spots and fill low ones with levelling compound. Vacuum thoroughly, followed by a tack-cloth wipe, so adhesives bond cleanly.
Skipping these steps risks popped boards, gapping, or finish failures that void manufacturer warranties.
- Borrow or rent a pin-type metre for reliable readings.
- Let the levelling compound cure fully; rushing invites cracks.
- Keep pets away from fresh compounds—it sticks to paws.
Related Article: Pet-Friendly Flooring: Scratches, Paw Prints & Easy Care Solutions
Manage Moisture and Indoor Climate
Wood expands and contracts with changes in temperature and humidity. Keep your heating or cooling at a comfortable room temperature—roughly 18 – 26 °C—and aim for moderate humidity (about 35 – 55 %) for two days before the installers arrive.
Lay the flooring boxes flat in the room where they’ll be installed, leaving small gaps between stacks so the wood can “breathe” and settle into its new surroundings.
Save any painting or plaster repairs until after the boards adjust; wet paint adds moisture that can throw the wood off balance. If the project is in a basement, put down a moisture barrier first or pick engineered hardwood, which handles seasonal dampness with ease.
- Use a hygrometer to monitor levels.
- Close windows during humid weather.
- Run a dehumidifier if readings spike above 55 percent.
Plan Electrical, HVAC, and Structural Upgrades
Add extra outlets behind media centres, relocate floor vents to suit new furniture, and fish network cables along joists before boards cover access points.
Cap unused plumbing lines in kitchens or laundry rooms, and reinforce subfloor sections under heavy islands or stoves. Tackling these details now avoids cutting into brand-new planks later.
- Photograph wiring paths for future reference.
- Install conduit for potential smart-home sensors.
- Ensure load-bearing changes meet code before closing the floor.
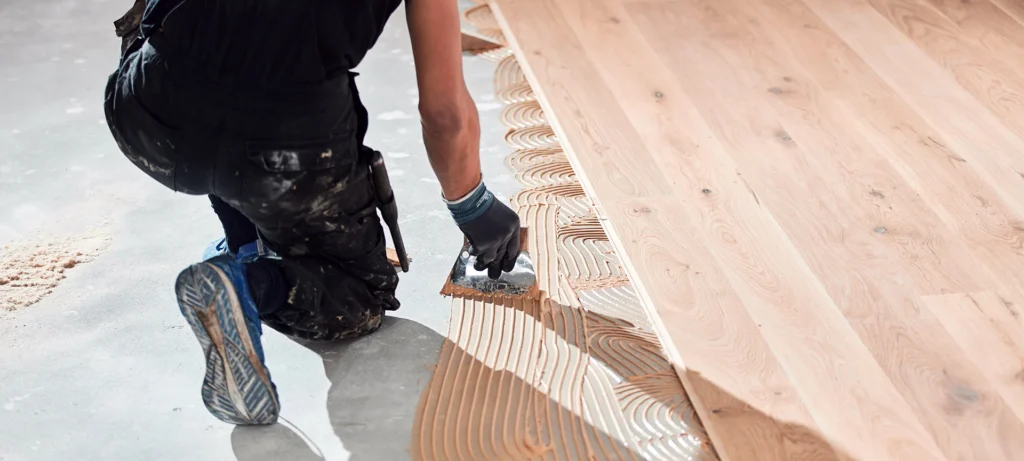
Provide Safe Access for Installers
Logistics influence both speed and quality.
Reserve a parking spot close to your entrance so crews can carry heavy cartons a shorter distance. If you live in a condo, book service elevators in advance and confirm work-hour bylaws.
Tape cardboard or rosin paper along main pathways to shield existing finishes. Clear snow or debris from outdoor walkways to prevent slips when moving tools.
- Confirm elevator weight limits match material deliveries.
- Post directional arrows if hallways are confusing.
- Keep a broom on site for quick clean-ups.
Related Article: Planning a Renovation? Here’s the Ideal Time to Install New Floors
Day-Before Checklist
A written task list keeps everyone aligned and reduces morning stress. Print, laminate, and tape this sheet to the entry door so every helper sees it:
✅ Vacuum and damp-wipe the subfloor
✅ Set thermostat to 22 °C and 45 % RH
✅ Remove interior doors
✅ Confirm storage pod pickup time
✅ Reserve parking for the delivery truck
✅ Secure pets off-site
Post-Install Care
Wait 24 hours before walking in socks and 72 hours before moving furniture. Attach felt pads to every leg to prevent scratches, then lift (never drag) heavy items into place.
Hold off on rugs for seven days so the finish cures completely, and clean with a barely damp microfibre mop. For deeper cleaning, use a pH-neutral hardwood solution and avoid vinegar or oil soaps that break down top coats.
- Keep humidity stable to prevent seasonal gaps.
- Add doormats at entrances to catch grit.
- Schedule the first maintenance coat after three to five years.
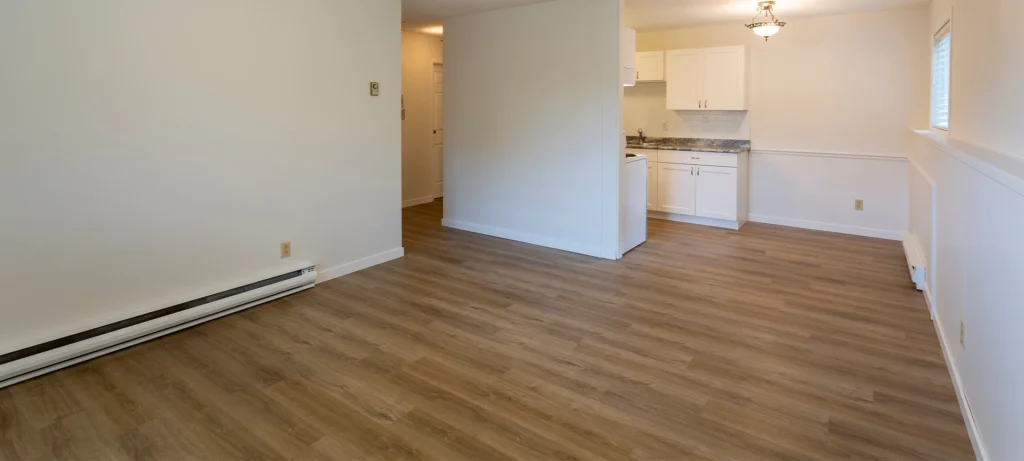
Ready to Roll Out Your New Floors?
A little preparation goes a long way. With rooms cleared and the subfloor levelled, installers can lay boards faster, apply finishes evenly, and leave behind a spotless site. You save on labour, avoid extra material costs, and step onto flawless floors sooner.
LV Flooring takes care of precise measurements, timely delivery, and thorough clean-up so you can start planning décor instead of juggling logistics.
Call LV Flooring or request a quote online today. Our crew can be on site and ready to work within the week.
Frequently Asked Questions
How long does a full-home hardwood installation usually take?
In a 1,500 sq ft bungalow, plan on two days for acclimation plus three to five working days. Complex layouts or stair nosings may add a day.
Can I leave large appliances in place?
Fridges and stoves must move so flooring runs underneath. LV Flooring supplies appliance glides and reconnects water lines after installation.
What happens if my subfloor fails the moisture test?
Crews will lay a polyethylene vapour barrier or run a dehumidifier until readings stabilize. Skipping this step risks cupping.
Is furniture moving included in the quote?
Standard estimates exclude it. For a set fee, LV Flooring hires insured movers who handle disassembly, storage, and repositioning.
Do I need to remove baseboards myself?
You can, but many homeowners choose LV Flooring’s trim-care service. Each piece is labelled, stored, and refitted with colour-matched caulking.
How soon can pets walk on new floors?
Cats may explore after 24 hours; dogs should wait 48 hours to avoid claw marks while the finishing hardens.
Will new hardwood raise my property value?
Toronto listings with recent hardwood often sell quicker and fetch up to five percent more because buyers see a move-in-ready upgrade.
Which cleaning products are safe on day one?
Use a pH-neutral cleaner designed for urethane finishes. Avoid vinegar or oil soaps; they cloud the surface over time.
Can installation happen in winter?
Yes. Keep the furnace running and entrances closed; portable dust barriers retain indoor warmth and stable humidity.
What if I discover squeaks months later?
LV Flooring offers a one-year workmanship warranty and will return to tighten fasteners or add discreet trim screws at no charge.
