How to Install Laminate Flooring
Since the 1990s, when plastic-laminate flooring came into prominence, it has remained popular among homeowners everywhere. This is no surprise as numerous advantages come from learning how to install laminate flooring and doing it properly.
Aside from its beautiful designs and durability, laminate flooring has one key benefit – you can install it yourself! All it takes is ready hands, a few tools, an enthusiastic heart, and of course, you have to know how to install laminate flooring.
Over the years, laminate flooring technology has seen various advancements, especially in its design and ease of installation. This is why today, laminate flooring is relatively straightforward to install, unlike other floor choices in Canada. Furthermore, it does not require a subfloor. All you need is a simple flooring, and you are good to go.
Laminate flooring is arguably the best all-in-one floor package that you can obtain for your home. However, if you do not set it up the right way, you may not enjoy the various benefits of a laminate floor.
This article will show you the best way to install laminate flooring and achieve satisfactory results. We will also give you a list of the tools you will need to make the process go as smoothly as possible. Without much delay, let’s jump right into the tips for installing laminate flooring.
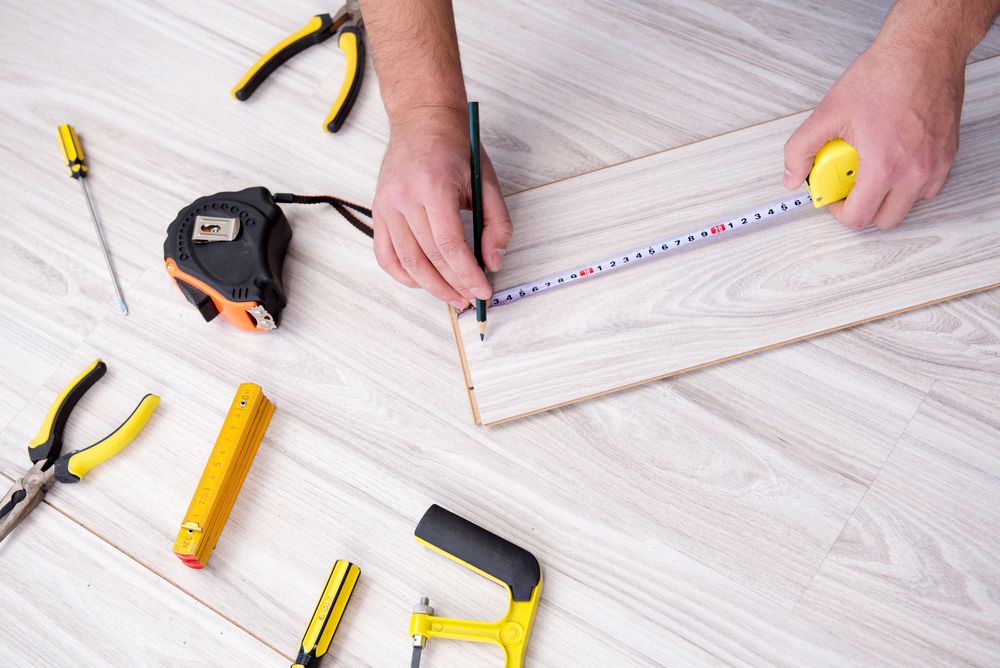
The Tools You Need To Install Laminate Flooring
It is not enough to know how to install laminate flooring. You need some tools and equipment to make the job much easier and faster.
With the perfect combination of our tips for installing laminate flooring and the right equipment, you’ll be unstoppable. Here is a list of the essential tools and materials that you will need to complete your flooring project.
Tools
- Rubber mallet
- Measuring tape
- Table saw
- Hive tool
- Utility knife
- Compass
- Tapping block
- Pencil
- Jigsaw
Materials
- Spacers
- Masking tape
- 100%-percent silicone sealant
- Underlayment
- And of course, your laminate flooring of choice
Related article: Detailed Comparison between Vinyl and Laminate Flooring
Installing Laminate Flooring: How to Do It
Laminate flooring is relatively easy to install. In fact, after installing it once, you may wonder why you ever doubted yourself.
This floor-type can go anywhere in your home, so you don’t have to worry about where to install laminate flooring.
Here is how to install laminate flooring in your property.
Prepare the room
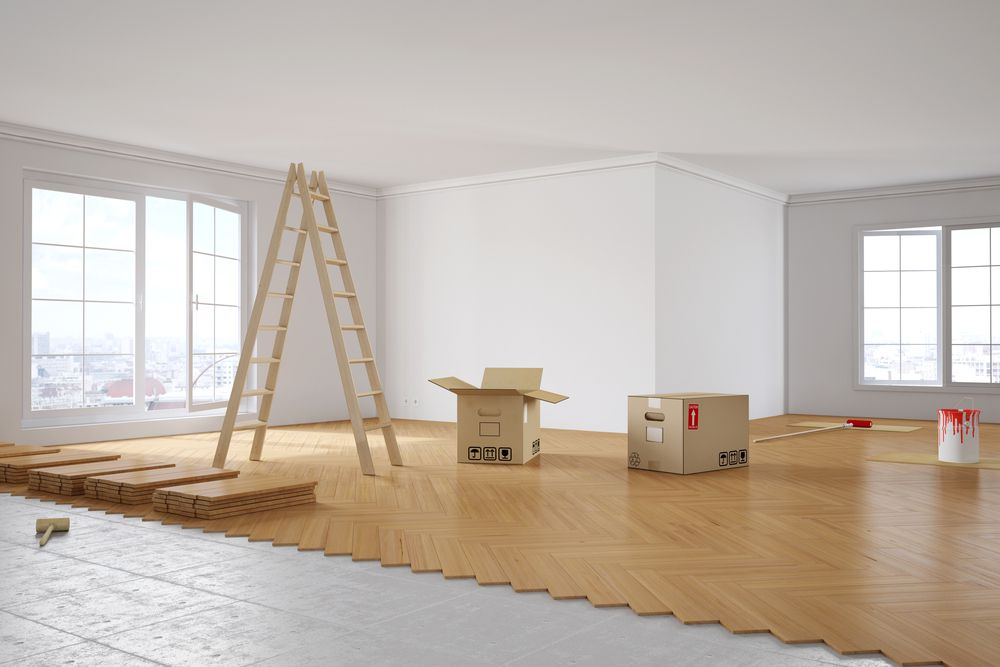
Depending on the size of the room you are working on, you may need to carry out all the furniture. For larger spaces, you may simply pile everything at one side, install half of the flooring, and then move everything onto the new floor. You can then continue with the flooring across the room.
Next, you need to check if there is quarter-round shoe moulding along the bottom of the baseboard moulding. If it does, you will need to remove it before you install your laminate flooring. You can pry up the shoe moulding with a hive tool while leaving the baseboard. But ensure the moulding comes off intact as you will need to return it after installing the laminate flooring.
If your room has an old flooring such as vinyl or wood, you should remove this existing floor. However, if it will cause too much of a hassle, you may lay your laminate floor over it.
Roll out the underlayment
The next step in this tutorial on how to install laminate flooring is to prepare your underlayment. The underlay usually comes in rolls. So roll out as many sheets of underlayment that you need to cover the entire floor. Make sure that they do not overlap. Instead, butt their edges together and secure them with masking tape.
Some underlayment comes with adhesive edges. If yours does, you may use this to stick the pieces together. Otherwise, use masking tape. It is essential to make sure that the underlayment fits against the walls. Once it lines up with the wall, trim off the excess with a utility knife.
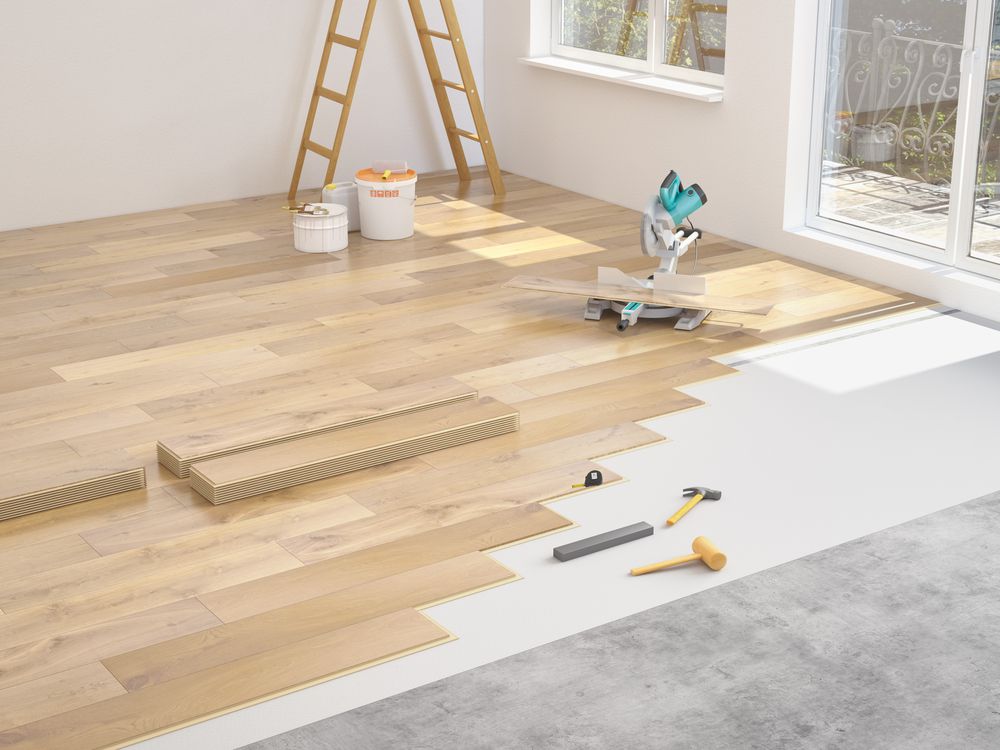
Install the first row of planks

Before installing laminate flooring, you must note that you should leave some space (3/8 inch) between the floor and wall on each side. This space is called an expansion gap. This expansion gap is essential because laminate flooring expands and contracts with humidity.
So, to avoid warping, ensure that you leave this allowance. This is where the spacers come in. You put the spacers between the first row of planks and the wall.
Next, trim off the tongues of the laminate planks that will go along the edge of the wall. Note, trim the tongues and not the grooves. You may use a sharp utility knife, or better still, a table saw.
The best way to install laminate flooring is to start the first row on the longer span of the wall (work from right to left). Put a full-size plank against the wall, making sure to leave the 3/8 inch space. Use the spacers to keep the gap sizes accurate and ensure the groove edge faces outwards.
Connect the next piece of laminate plant to its neighbour at the joints. Lock each piece to its neighbour with a tapping block to make sure that the joints are tight. You may also use a rubber mallet to close up the end joints. Remember, you are working from right to left.
Complete the first row
Once you reach the left end of the first row of planks, it is more than likely that the last plant will be too long. Measure the length that is remaining and transfer that measurement to a full-size. Remember that you should measure and cut from right to left on the plank to preserve the plank’s tongue-end.
Next, cut the plank with a jigsaw. Next, install the final piece into the first row of laminate planks and secure it. You can use a hive tool to help you fit in the very end.
Retain the cutoff from the last plank as it will form the first plant in the second row on the right side of the room. Note that the groove edge of the first row must be in a very straight line.
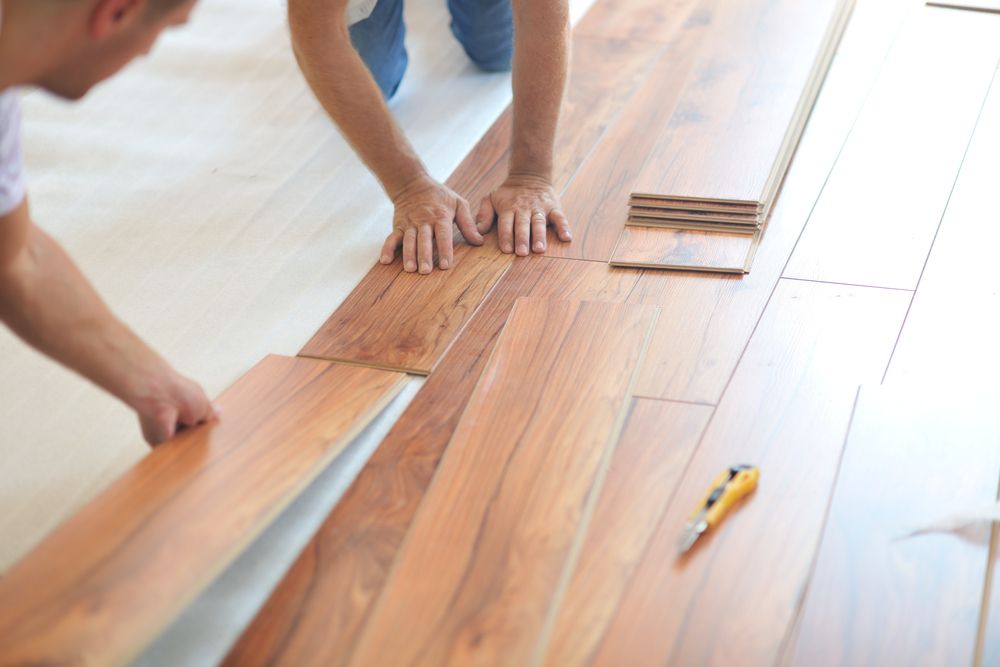
Continue laying more rows
Now that you have completely installed the first row of laminate flooring, you may proceed with the rest. However, the installation for subsequent rows requires a somewhat different technique than the first row.
For the new rows, angle each piece at a 45-degree angle and insert the long tongue edge into each preceding plank’s groove. Then, lower each plant until it is flat on the ground and then lock it into the joint. Lastly, hit the piece with a tapping block until it locks into its neighbour in the same row.
Note that the rows of laminate flooring plants should have a staggered appearance so that the joint never line-up in adjacent rows. Aside from the fact that it makes the floor look better, it also ensures the floor’s structural stability.
Install the last row
Finally, on how to install laminate flooring, the last row can be quite technical. You will likely need to resize your last row of laminate planks to finish your flooring project. Measure the remaining space and mark it out on your planks.
Then, cut out the needed width of planks using a table saw or jigsaw. Ensure that you account for the expansion gap of 3/8 inch.
You will also need to lock in the last planks’ tongue to the grooves of the previous ones. This can be slightly tricky due to the limited space. However, you can use a hive tool to help you lock it in place.
Finally, to complete the installation, remove all spacers. You may apply a flexible, 100% silicone sealant to the perimeter of the floor to make it watertight. Then, replace the quarter-round shoe moulding (if you had one).
In Conclusion
If you followed our tips on how to install laminate flooring, congratulations! You should have just installed your first laminate floor.
In addition to simple installation, laminate flooring offers beautiful aesthetics and is highly durable. Check our online store for the finest collection of laminate flooring in Canada!
Related article: What is the Cost of Laminate Flooring?