If you’re considering how to install vinyl plank flooring, then it means you just got a new house or apartment. Or maybe you’re looking to redecorate your space.
Regardless of the scenario you fit into, there’s a lot of decision-making you have to do. You’ll be thinking about how beautiful you can make your new space. Similarly, you’ll be considering the cost-effectiveness of all the expenses that go into installing new flooring.
The floors of your house add to the beauty of your space. And of course, it acts as the surface where you’ll put other items like chairs in the house. So, while you’re considering the beauty of the floors, you should consider the durability.
There are so many options to consider when you’re choosing to floor for your home. The first challenge will be selecting the type of materials you want to use for your floors. After you choose the materials you need, you can then factor in beauty and colour.
A popular material for home flooring around the globe is wood. Of course, you know that wood comes naturally in different forms. Each of these types will have its peculiar advantages and disadvantages.
There are different types of wood flooring, and of course, each style has its features. For example, some hardwood flooring is very durable for the home but may not be as beautiful. However, within these types of wood flooring, one that stands out is vinyl plank flooring.
The vinyl plank flooring is a perfect blend of durability, beauty, and quality. That’s one of the primary reasons why it’s popular among homeowners in Toronto. Another reason why you may consider vinyl plank flooring is its simplicity and affordability. The steps to install vinyl flooring are not complicated, and the floor comes at a low cost.
An exciting feature of this flooring is its versatile property. Vinyl plank flooring works perfectly with almost any base surface. For example, if you had wood there before, you can install vinyl flooring. And even if it’s concrete you have as the base, you can still use vinyl flooring.
However, you must know how to install vinyl plank flooring before you try to do it yourself. When you have a core understanding of the steps that go into vinyl flooring installation, you’ll be able to get beautiful results.
More so, there are some tools that you’ll need to install vinyl flooring. Therefore, while you’re learning how to install vinyl plank flooring, you should note the necessary tools down. It suddenly looks like there is so much to do.
Not to worry, in this guide, we’ll be showing you the tools you need to install vinyl flooring. We’ll also explore the different vinyl flooring types and walk you through the steps to installing vinyl flooring.
Types of Vinyl Plank Flooring
Before you know how to install vinyl plank flooring, you need to understand some features of this flooring. Like we’ve mentioned, this flooring has all the aesthetics of the hardwood flooring and more.
There are different types of vinyl flooring and each with its respective features and benefits. However, most experts classify vinyl flooring types based on how you install the flooring.

Glued vinyl plank flooring
As the name implies, this type of vinyl flooring glues to the subfloor using an adhesive(s). In some cases, one bond will do, while in others, you need two. The two adhesives that you’ll need are the pressure-sensitive and hard-set types of adhesives. In most cases, you’ll be using the two adhesives at the same time.
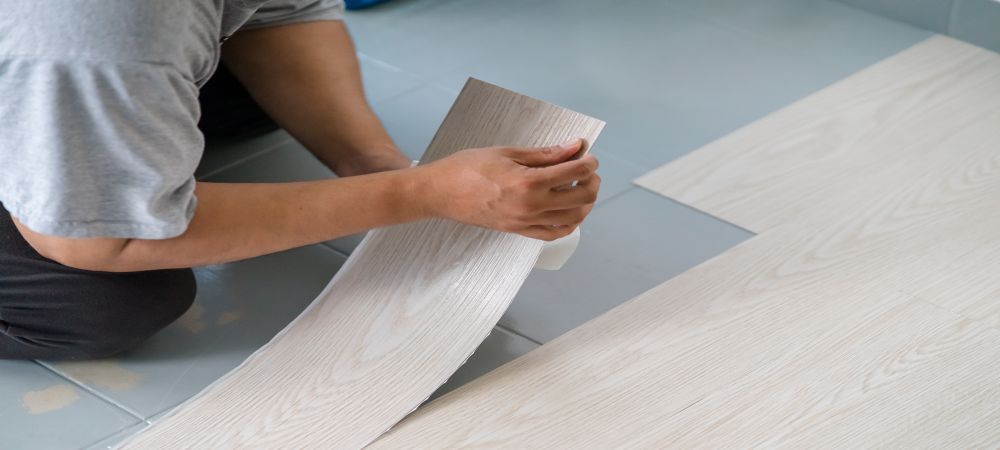
Learning how to Install this kind of vinyl flooring is quite simple. Start by applying the hard-set adhesive on the surface you want to Install the vinyl plank flooring. After that, place the flooring (which already has the pressure-set bond) on that surface. Once you put the flooring under a little pressure, the vinyl plank sticks to that surface.
Gripstip vinyl floor method
The first thing to note for this type of installation method is that it won’t glue to the floor. In most cases, many refer to this type of floor as floating floors.
If you want to learn how to install vinyl plank flooring with this method, you must first know that the adhesive comes from the manufacturers. You won’t find the adhesive for this beneath the vinyl plank flooring. Instead, the adhesive is within the vinyl plank itself. It’s there to hold all the individual layers of plank together as one.
Using a floating floor is a brilliant idea because you don’t need to touch the former surface at all. Likewise, you won’t need to get messy with any of the adhesives.
The interlocking vinyl flooring method
This method of installing the vinyl flooring works without affecting the existing flooring. Also, you will not even be needing any adhesives for this vinyl floor installation.
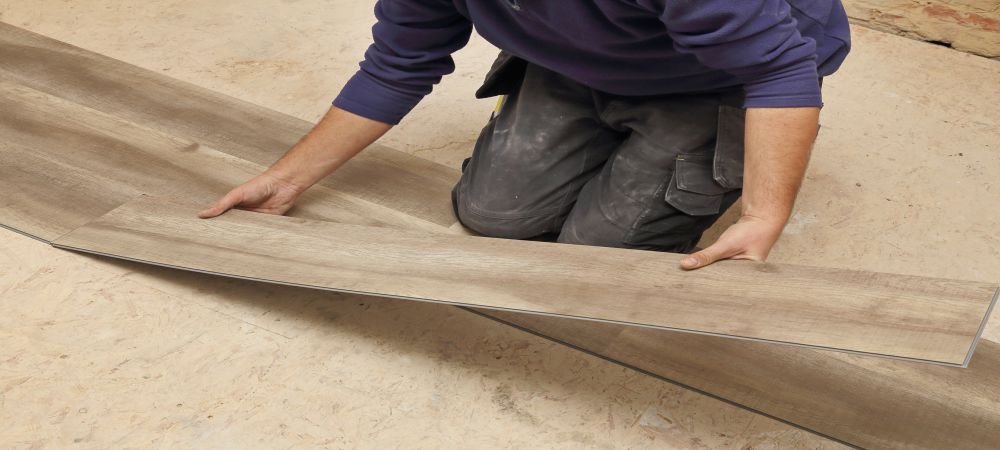
Part of how to install your vinyl plank flooring with this method involves the use of interlocking joints. These joints are the points that make the planks stay together. So, all you need to worry about is making the planks join when installing this method.
How to Install Vinyl plank flooring
The steps to install vinyl flooring are not daunting if you follow the right process. There are many installation methods for your vinyl flooring that you can employ. Furthermore, there are many vinyl plank flooring designs you can consider. For instance, vinyl flooring can come as tiles or as long sheets.
The individual features of your vinyl planks will determine the best installation methods. Some of the tools you will need are;
- Hand saw
- Measuring tape
- Cutting knives
- Trowel
- Hammer
- Safety gloves
- Vinyl plank flooring
- Adhesive
- Masking tape
- Hand roller
Some of these materials aren’t compulsory, but that depends on the kind of installation. That being said, here’s a step-by-step guide to install vinyl plank flooring.
Clear up space
The first thing you need to do when you want to install your vinyl plank flooring is to clear the space. You want to work on the floor, so you can’t have any equipment or furniture lurking on the floor. The first step you need to take is to find a place where you can keep your furniture.
The type of materials you’ll need to remove depends on the room in question. For example, if you want to place vinyl plank floors in your kitchen, you don’t have to remove the hanging shelves. Essentially any furniture that’s not sitting on the floor is fine there. You can just clear furniture that will hinder the installation process.
So, in a kitchen, for instance, what you will move is the fridge, tables, and oven. In your living room, what you need to take out are the chairs, shelves, and tables.
Some items have permanent positions in your space. For these fixtures, you will have to install vinyl flooring around them. This is where you will put your creativity to use.
Take adequate measurements of your room
This is one of the crucial steps to install vinyl plank flooring. The measurements you take are going to affect every part of your vinyl installation. Any mistake can frustrate the whole process — but, no pressure.
While you’re taking down the measurements, a smart move will be to document the measurements. In most cases, it’s always better if you make a rough sketch of the space. That way, you’ll have accurate patterns and shape for your vinyl floor.
Order for vinyl planks
The planks are a crucial part of the installation process for vinyl flooring. Therefore, the next step after taking the space’s accurate measurement is to buy the vinyl flooring. When you want to buy vinyl flooring, there are some factors to consider.
Firstly, you shouldn’t order the exact sizes of vinyl flooring in your dimensions. If you have a rough sketch, you can take that sketch to the manufacturer. You should always buy more vinyl flooring than you need for the space. This way, you can cater for errors and wastage.
Furthermore, the type and pattern of vinyl plank flooring is another essential factor you must consider. When you want to buy your plank, you should think ahead of the installation method. Likewise, you need to decide if you want the tile wood or the sheets. That decision relies totally on the pattern and design you wish to use for your vinyl plank flooring.
Check your existing surface
Before you start contemplating how to install vinyl plank flooring, you have to check the surface. You may want to ask why this step is necessary since we mentioned that vinyl works with any surface.
Vinyl plank flooring works with almost any surface as long as it is smooth and flat. So, if you want to put your vinyl floor on an old carpet, there may be issues.
For your vinyl flooring to stay firm, the sub-layer needs to be smooth. This step is crucial if you have plans of glueing the vinyl floor. When you apply your adhesive on a surface that’s not exceptionally smooth, it may not glue the vinyl floor properly. So to avoid such mistakes, you have to check the smoothness of the surface.
Related Article: What Is The Cost Of Installing Engineered Hardwood Floors?

Replace or smoothen the existing surface
The only reason why you look for a problem is to provide a solution. The only reason why you’re checking the smoothness of the base layer of your flooring is to correct it. If you check your existing surface and you find it smooth, then there’s no issue. But if you check this existing surface, and it’s rough, you have to find a solution.
If the underlayment is rough concrete, you can just find ways to smoothen the surface. In the case of other flooring options, you can decide to remove the existing flooring completely. A choice you can add as a replacement is plywood. With plywood, you’re sure of the smooth property of the wood.
One of the essential tips for vinyl plank flooring installation to note is the height of your floor. If you have a smooth surface, you may not need to replace the subfloor. However, remember the outer layer of your flooring after installation will be higher.
Choose your preferred design of vinyl plank flooring
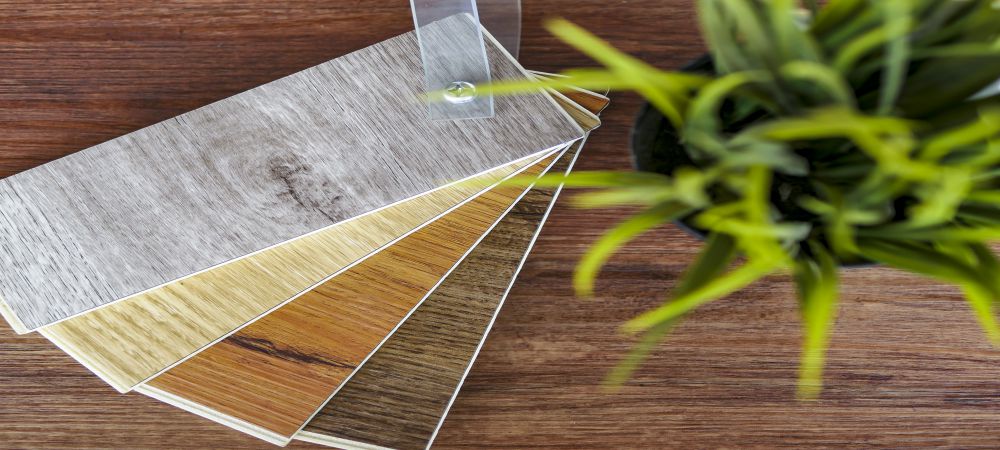
As much as durability is important, the beauty of your flooring is also crucial. When you’re learning how to install vinyl plank flooring, you should also consider aesthetics. Vinyl flooring comes in many designs, colours, and patterns. So, all you need to do is to pick the one that suits your space.
Vinyl can come either in sheets or as tiles. When you buy your vinyl plank in the sheet, you just need to measure and cut the sheet to the correct sizes. That way, you can adjust if your room is more significant than the sheets you have.
With vinyl plank flooring tiles, you have to determine a pattern to install it. In most cases, it’s always less stressful when you arrange your tiles in rows. But you may want a more exciting design. If this is the case, get more creative. You can draw your desired pattern on paper and implement it on the floor. Or you can even indicate direct pattern measurements on the floor while you’re installing.
Determine the application process for the vinyl plank flooring and install
In the previous section, we discussed how the pros classify vinyl flooring based on how they install it.
Glued vinyl plank flooring
It’s either you buy the floor with a self-stick feature or a foundation that has the glue already. Installing the self-stick vinyl is relatively easy. The flooring already has adhesive at the back, so all you need to do is to glue it to the floor.
The process for the glue-down method is quite different. Here are some tips for vinyl plank flooring installation with glue-down planks:
- You have to start marking from the centre of the space.
- Measure and determine the centre. After that, draw visible lines across the centre, dividing the space into four equal halves.
- Take the distance from the centre of the wall and determine the number of planks with their width.
- Use your adhesive well across space and allow it to get damp.
- Fix your vinyl plank flooring row by row across the space starting from the centre.
Floating vinyl plank flooring
As the name implies, the floating vinyl floor is the floor that stands alone. In this case, you’re not glueing the vinyl plank to your existing surface. There are two methods of applying floating vinyl plank flooring. They are:
Interlocking vinyl flooring method:
This vinyl floor will come with tongue joints instead of adhesive, as we have explained above. Here’s the process of installation;
- Cut some part of the tongue edges of the vinyl plank you want to start with and install on the floor.
- After that, take the second plank with a corresponding edge, and place it until the edges synchronize.
- Repeat these steps throughout the space.
- Cut away any excess wood.
Grip strip vinyl plank flooring
For this type of vinyl flooring, the adhesives are on the edges. So, if you want to learn how to install vinyl plank flooring with this method, you have to be careful. Here’s the process for installation:
- First, place the vinyl plank you wish to start with on the floor (always leave a space between the plank and the wall).
- Place the edge of the second vinyl plank flooring on the edge of the first one, so they can stick.
- Repeat this process across the space.
Related Article: Buying Hardwood In Brampton: What Are The Things To Consider?
Conclusion
Learning how to install vinyl plank flooring isn’t such a daunting task. All you need is to have the patience to follow the processes above, the manufacturer’s guide and the tools. Combine the information in this guide with all of that and you should be able to install beautiful vinyl flooring.
Here at LV Flooring, we can be your reliable partner through the installation process for new vinyl flooring. For starters, our online store is home to a collection of vinyl floor designs for all of your decor needs.
Similarly, if you don’t have the time or technical skills to install vinyl flooring, we can step in. Our technicians have many years of experience installing vinyl flooring. Contact us today to learn more!


