
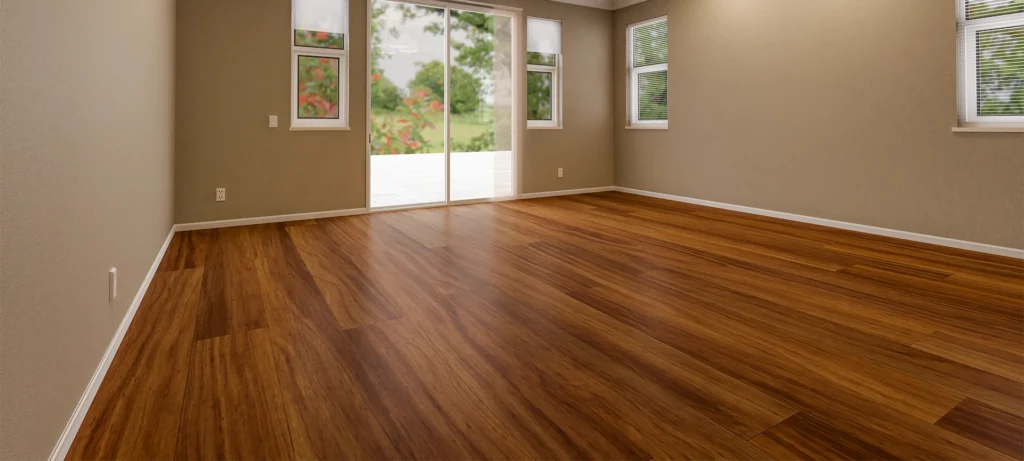
How to Repair Swollen Laminate Flooring Without Replacing
You step onto your laminate floor, expecting a smooth surface, but instead, you’re met with unsightly bumps, warping, or even gaps between planks.
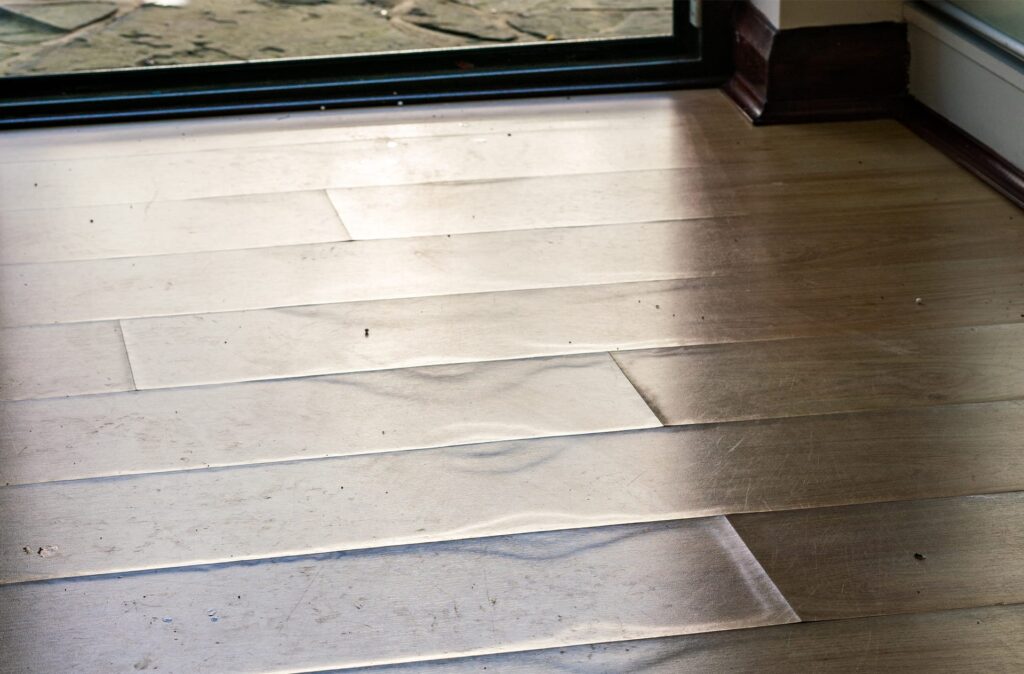
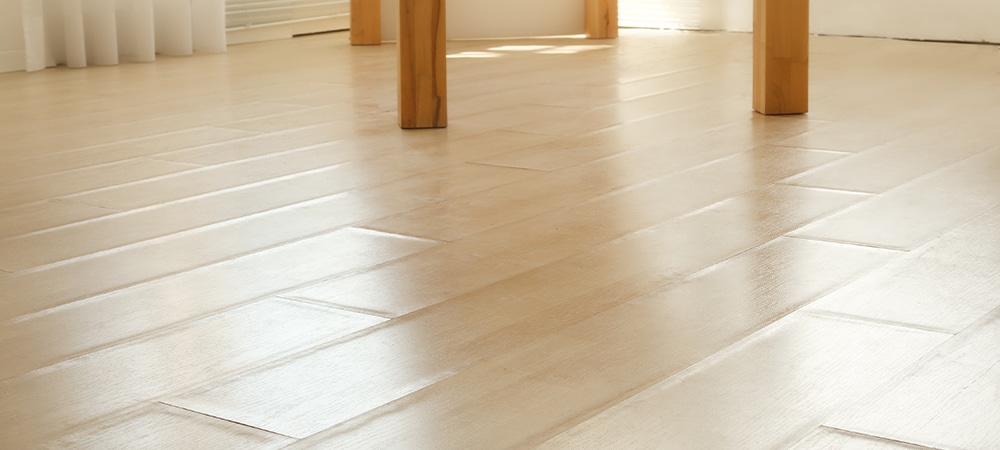
Your once-pristine floor is now a bumpy mess. Swollen laminate flooring is a common issue, often caused by moisture, improper installation, or even everyday wear and tear.
But before you resign yourself to the costly and disruptive process of replacing the entire floor, there’s good news: you might be able to fix it yourself.
With a little know-how and some elbow grease, you can repair swollen laminate flooring and restore its beauty without spending too much.
In this step-by-step guide, we’ll walk you through the process, offering simple, cost-effective solutions to restore your floor to its smooth, level best.
Assessing the Damage
Before you roll up your sleeves and get to work, it’s crucial to assess the damage and determine the underlying cause of your swollen laminate flooring. This will guide your repair approach and ensure you address the root of the problem, not just the symptoms.
Identifying the Cause
Several factors can contribute to swelling in laminate flooring:
- Moisture: The most common culprit is water damage from spills, leaks, or excessive humidity. Look for signs of discolouration, warping, or a musty smell.
- Improper Installation: If the flooring isn’t installed correctly, it may not have enough room to expand and contract with temperature and humidity changes, leading to buckling.
- Subfloor Issues: An uneven or unstable subfloor can also cause laminate planks to lift and swell.
Extent of the Damage
Once you’ve pinpointed the cause, assess the severity of the damage. Is it just a few isolated planks, or is the swelling widespread? Are the planks warped or lifted significantly? The extent of the damage will determine whether a DIY repair is feasible.
When to Call a Pro
While minor swelling can often be fixed with DIY methods, some situations require professional intervention:
- Extensive Damage: If a large area of your floor is affected or swelling is severe, it’s best to consult a professional. They have the experience and tools to assess the damage accurately and recommend the best course of action.
- Mold Growth: If you suspect mold growth, don’t attempt to tackle it yourself. Mold can pose serious health risks and requires specialized removal techniques.
By carefully assessing the damage and its cause, you can decide whether to proceed with a DIY repair or seek professional help.
DIY Repair Steps
Ready to roll up your sleeves and tackle the repair? Here’s your step-by-step DIY guide, along with some pro tips for success.
Gather Supplies:
- Moisture meter (if moisture is suspected)
- Putty knife
- Hammer
- Pull bar
- Tapping block
- Saw
- Measuring tape
- Replacement laminate planks (matching the existing floor)
- Laminate flooring underlayment (if needed)
- Wood glue or laminate flooring adhesive
- Heavyweights (e.g., books, dumbbells)
Step-by-Step Instructions:
-
- Dry out the floor (if moisture is the cause):
- Identify and fix the source of the moisture (e.g., leaking pipe, spill).
- Improve ventilation by opening windows or using fans.
- Use a dehumidifier to remove excess moisture from the air.
- Dry out the floor (if moisture is the cause):
- Remove the damaged planks:
-
-
- Score the centre of the damaged plank with a utility knife to break the seal with the subfloor.
- Carefully insert the putty knife under the plank and pry it up, starting from the edges.
- Use the pull bar to remove the plank, not damaging adjacent planks.
- Repair the subfloor (if necessary):
- If the subfloor is uneven or damaged, level it with a patching compound or replace any damaged sections.
-
- Replace the damaged planks with new ones:
-
- Cut the replacement planks to the same size as the removed planks.
- Apply wood glue or laminate flooring adhesive to the tongue and groove edges of the new planks.
- Gently insert the new planks, ensuring they fit snugly with the existing floor.
- Use a tapping block and hammer to gently tap the planks into place, ensuring a tight fit.
- Allow time for the floor to settle:
- Place heavy weights on the newly installed planks for at least 24 hours to ensure a secure bond with the adhesive.
- Avoid walking on the repaired area during this time.
Pro Tips:
- Use a tapping block to avoid damaging the edges of the laminate planks when installing them.
- Ensure the replacement planks match the colour, pattern, and thickness of the existing floor for a seamless repair.
- If you’re unsure about any step, consult a professional for guidance.
Following these steps and tips, you can restore your swollen laminate flooring to its former glory and save yourself the full replacement cost.
Preventive Measures
Prevention is the best medicine, especially when it comes to laminate flooring. Here are some tips to keep your floors looking their best and avoid future swelling:
Preventing Moisture Damage
Ventilation is Key – Ensure proper airflow in rooms with laminate flooring, especially areas prone to moisture like kitchens and bathrooms. Use exhaust fans or open windows to reduce humidity levels.
Mats and Rugs – Place absorbent mats at entryways to trap dirt and moisture before they reach your floors.
Swift Action on Spills – Clean up spills immediately to prevent water from seeping into the seams and causing damage.
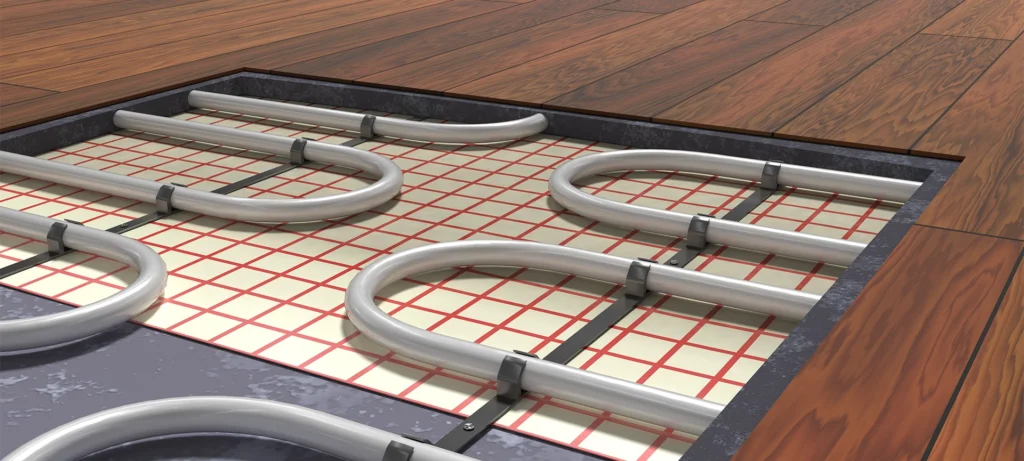
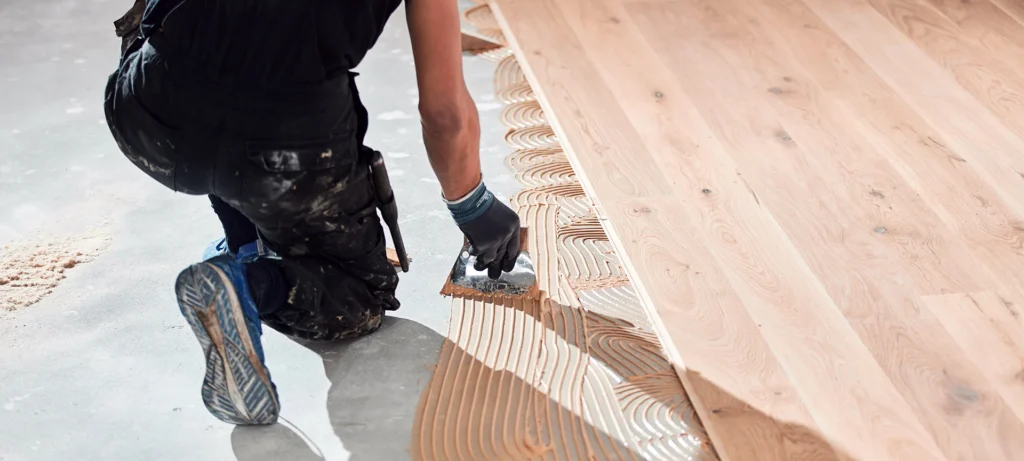
Proper Installation
How your laminate flooring is installed plays a crucial role in its longevity. Ensure proper installation by following the manufacturer’s instructions meticulously.
Leave enough expansion gaps around the room’s perimeter to allow the floor to expand and contract with temperature changes naturally.
If you’re not confident in your DIY skills, consider hiring a professional installer to ensure the job is done right.
Related Article: Flooring Installation: Tips and Tricks for a Stress-Free Experience
Regular Maintenance
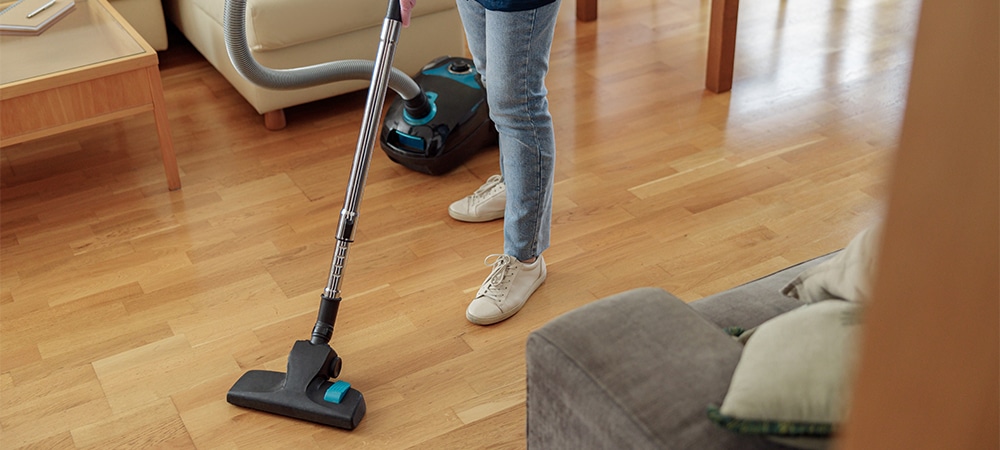
Regular Cleaning – Sweep or vacuum your floors regularly to remove dirt and debris that can scratch the surface.
Gentle Mopping – Damp mop with a mild cleaner designed for laminate floors. Avoid excessive water and never use harsh chemicals or abrasive cleaners.
Furniture Pads – Place felt pads under furniture legs to prevent scratches and dents.
Trim Pet Nails – Keep your pet’s nails trimmed to avoid scratches.
By taking these preventive measures and following a regular maintenance routine, you can prolong the lifespan of your laminate flooring and keep it looking beautiful for years to come.
Related Article: Tips for Maintaining Your Toronto Flooring
When to Consider Replacement
While DIY repairs can be a lifesaver for minor swelling, sometimes the damage is too extensive to fix. Here’s when you should consider replacing your laminate flooring:
Extensive Damage
If the swelling affects a large area of your floor or multiple planks are severely warped or buckled, repairing them individually might not be practical or cost-effective. Replacing the affected section or even the entire floor might be the best option.
Upgrade Opportunity
Replacing damaged laminate can also be an opportunity to upgrade your flooring. Perhaps you’ve been eyeing a more durable or stylish laminate option or want to switch to a different flooring type altogether.
Consider exploring LV Flooring’s extensive range of laminate options. They offer a variety of styles, colours, and textures to suit any taste and budget.
Don’t Just Repair, Reimagine with LV Flooring
Swollen laminate flooring doesn’t have to mean a complete overhaul. By identifying the cause, assessing the damage, and following our DIY repair guide, you can often restore your floor’s beauty and function without breaking the bank.
Prevention is key, so protect your laminate from moisture damage and ensure proper installation and maintenance.
Don’t let a little bump in the road deter you. With the right knowledge and a bit of effort, you can tackle this DIY project with confidence.
If you need expert advice or want to upgrade your laminate flooring, LV Flooring is here to help. With years of experience in the industry, our team can guide you through the selection, installation, and maintenance process, ensuring your floors look their best for many years.
Visit our showroom today to explore our wide range of high-quality laminate flooring options, or contact us for a free consultation.
