How to Fix Chipped Laminate Floor
Discovering a chip or scratch on your laminate floor can be a real bummer. You’ve invested time and money into creating a beautiful space, and now it’s marred by an unsightly blemish.
But don’t despair! Minor damage to laminate flooring is often surprisingly easy to fix, and you can do it yourself without breaking the bank.
Assess the Damage
Before you grab your repair kit, take a moment to assess the damage to your laminate flooring. There are a few common types you might encounter:
- Minor scratches: These are superficial surface marks that don’t penetrate the top layer of the laminate. They might be caused by dragging furniture or pet claws.
- Deeper scratches: These scratches have cut through the protective wear layer and are visible even when looking directly down on the floor.
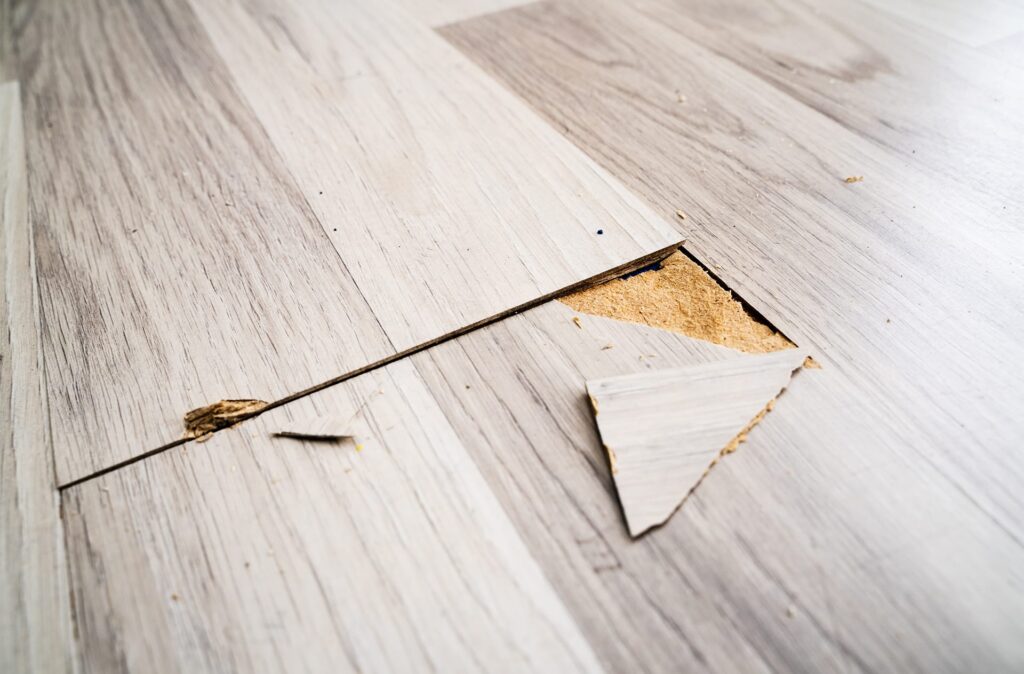
- Chips or gouges: These are small pieces of the laminate that have chipped away, exposing the underlying material. They can be caused by dropped objects or heavy impact.
The severity of the damage will determine the appropriate repair method.
- Minor scratches can often be buffed out or concealed with a repair marker.
- Deeper scratches and small chips might require filling with putty or wax.
- Larger chips or gouges might necessitate replacing the entire plank.

Safety First
Before you start any repair, be sure to clear the area of furniture and debris. Wear appropriate safety gear, such as gloves and eye protection, if using any tools or chemicals.
Gather Your Supplies
Before you begin your laminate floor repair, make sure you have the following supplies on hand:
- Cleaning supplies – Mild detergent, water, soft cloth
- Repair kit – A laminate floor repair kit that matches your floor’s colour.
- Putty knife or applicator tool – For applying and smoothing out repair compounds.
- Fine-grit sandpaper – For gently smoothing out filled areas.
- Soft cloth – To remove excess repair material and buff the finished repair.
- Optional – Painter’s tape for masking off the area around the repair, if desired.
Step-by-Step Repair Guide: Bringing Your Floor Back to Life
The repair method you choose will depend on the type and severity of the damage to your laminate floor. Here are step-by-step instructions for the most common repairs:
Minor Scratches
- Clean: Clean the scratched area with a soft cloth and mild detergent to remove any dirt or debris.
- Repair: Use a laminate floor repair marker that matches your floor’s colour to fill in the scratch. Start with a small amount and add more as needed.
- Buff: Let the marker dry completely, then buff the area with a soft cloth to blend the repair.
Deeper Scratches and Small Chips
- Clean: Thoroughly clean the damaged area with a soft cloth and mild detergent.
- Fill: Use a colour-matched putty or wax from your repair kit. Apply a small amount to the scratch or chip, slightly overfilling the area.
- Smooth: Use a putty knife or applicator to smooth the putty or wax.
- Dry: Allow the putty or wax to dry completely per the manufacturer’s instructions.
- Sand: Gently sand the repaired area with fine-grit sandpaper to blend it with the surrounding floor.
- Clean: Wipe away any dust or debris with a soft cloth.
Larger Chips or Gouges
It’s best to replace the entire plank for larger areas of damage. Contact LV Flooring for professional repair services if you’re uncomfortable doing this yourself.
Common Mistakes to Avoid
- Using the wrong colour: Make sure you use a repair kit that matches your floor’s colour as closely as possible. Test the colour on a hidden area first.
- Overfilling: Apply putty or wax in thin layers to avoid sanding down a large, uneven area.
- Not allowing enough drying time: Be patient and let the repair material dry completely before sanding or walking on the repaired area.
- Rushing the process: Take your time and follow each step carefully to achieve the best possible results.
Tips for Success
- Practise on a spare plank: If you have an extra piece of laminate flooring, practise your repair technique first to get comfortable with the process.
- Blend the repair: After sanding, use a touch-up marker to blend the edges of the repair for a seamless look.
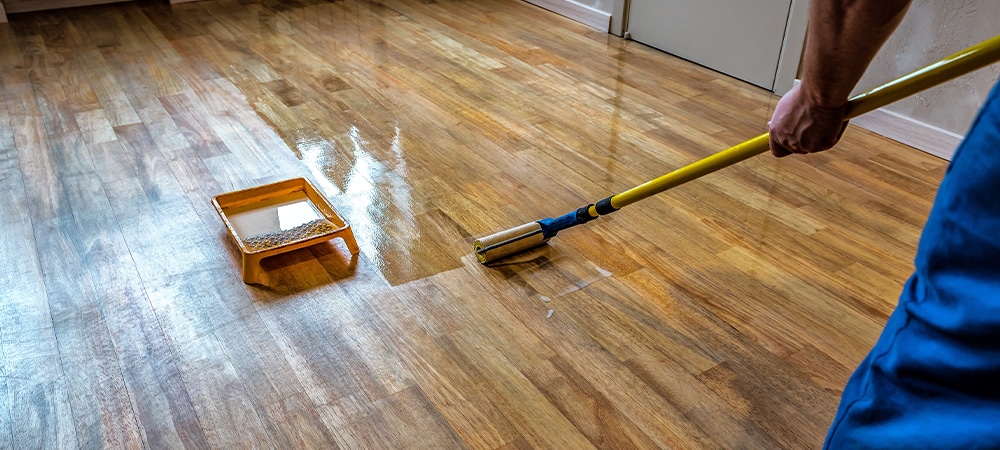
- Apply a sealant: For added protection, consider applying a clear sealant to the repaired area to prevent future damage.
With patience and the right tools, you can restore your laminate floor’s beauty and enjoy it for years.
Keep Your Laminate Looking Flawless
The best way to deal with chipped laminate flooring is to prevent the damage in the first place. Here are some proactive steps you can take to keep your floors looking their best:
- Use furniture pads – Place felt pads or glides under the legs of chairs, tables, and other furniture to prevent scratches when moving them.
- Doormats and area rugs – Place doormats at entrances to trap dirt and debris before they get tracked onto your floors. Use area rugs in high-traffic areas to protect against wear and tear.
- Trim your pet’s nails – Protect your floors and paws by regularly trimming their nails.
- Clean up spills promptly – Wipe up spills immediately to prevent moisture from seeping into the laminate and causing damage.
- Avoid harsh cleaners – Use a gentle cleaner specifically designed for laminate floors. Harsh chemicals can damage the protective coating.
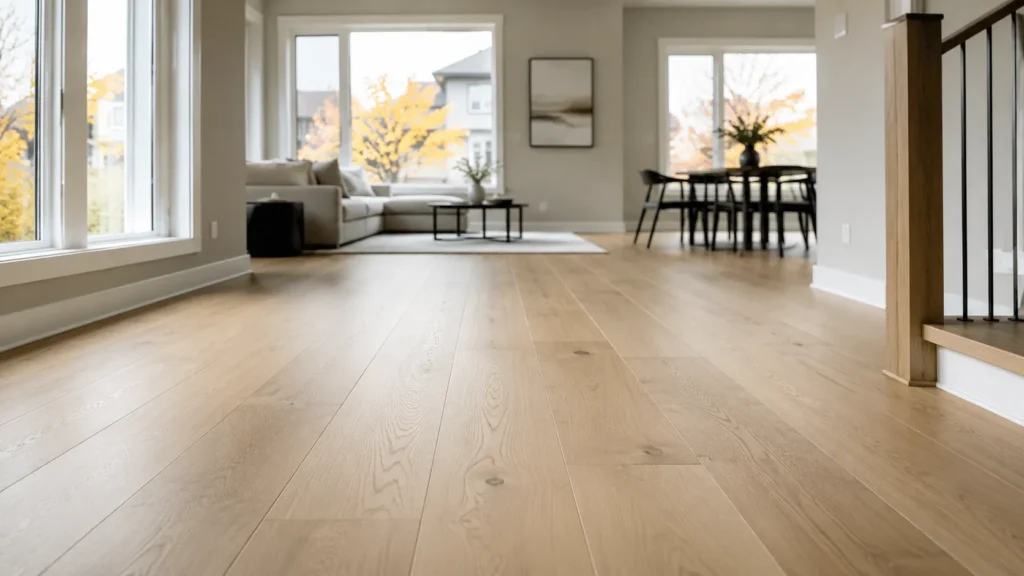
- Invest in quality flooring – Choose high-quality, durable laminate flooring from LV Flooring. Our laminate options are designed to resist scratches, stains, and fading, so your floors look beautiful for years.
- Apply a protective coating – Consider applying a clear sealant or protective coating to your laminate floors for added protection. This can create an extra barrier against scratches and moisture.
When to Call a Professional
While DIY repairs can be a great solution for minor chips and scratches, there are some situations where it’s best to call in a professional
Extensive Damage
If the damage is widespread or involves multiple planks, a professional can efficiently and effectively assess the damage and determine the best course of action.
Deep Gouges
Deep gouges that penetrate the core layer of the laminate might require specialized tools and techniques to repair properly.
Water Damage
If water has seeped into the laminate, it can cause warping, swelling, and other issues best handled by a professional.
Lack of Confidence
If you’re uncomfortable with DIY repairs or unsure of your ability to achieve a satisfactory result, it’s always better to avoid caution and seek professional help.
Related Article: Steps for Installing Laminate Flooring
LV Flooring: Your Professional Flooring Partner
If you are in any of these situations, don’t hesitate to contact LV Flooring. Our flooring professionals can assess the damage, provide expert advice, and carry out any necessary repairs quickly and efficiently. We offer a wide range of repair and installation services. We guarantee your laminate floor is restored to its original beauty.
Don’t let a damaged floor dampen your spirits. With the right tools, techniques, or professional assistance, you can restore your laminate floor’s pristine appearance and enjoy its lasting beauty for years.
Call us today to get a free quote.