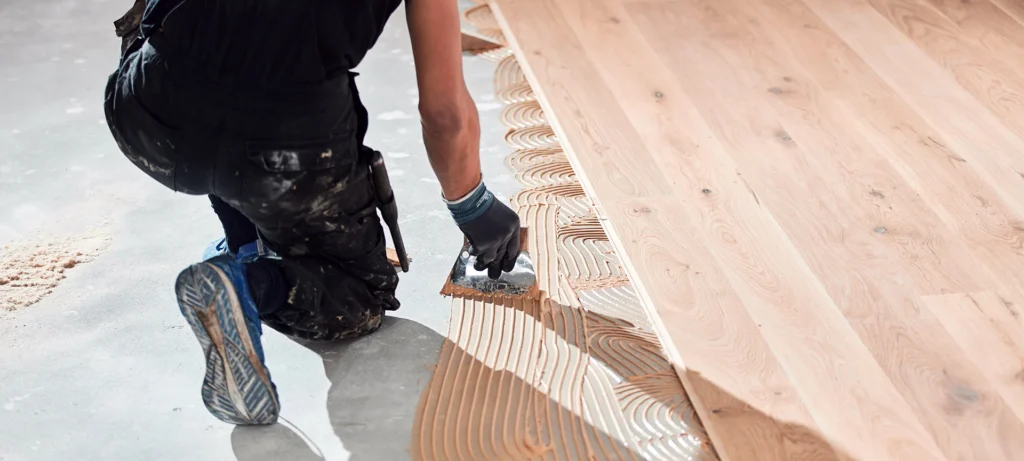
How Do You Cover A Wall With Wood?
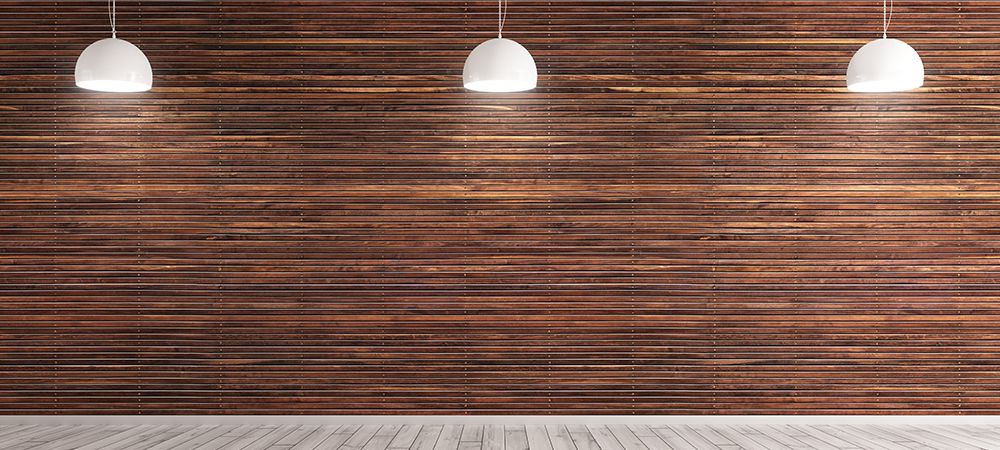
Wood panelling is now a common decor trend making it a good idea for any space. You don’t have to bother about old and rustic plywoods covering your wall. The recent rebirth of wood panelling came with a new and unique approach.
You can revamp your wall using wood while still retaining its aesthetic feel. To cover a wall with wood, you’ll need to first decide on your choice of wood panelling.
If you’re new to wood panelling, don’t fret. This article answers your questions on the types of wood covering and wood panelling ideas. Here, we’ll discuss steps on how to cover a wall with wood.
Wall panelling: Types of Wall Panelling
Choosing to cover a wall with wood requires you to understand the types of wood panelling available. Primarily, there are seven different types of wood covering. Here is a detailed explanation of each of them.
Shiplap
The shiplap design is the most common in woodwork. It features a style where you fit the groove boards horizontally to the wall. You’ll work the boards closely to meet at a point called the rabbet. As a result, the Shiplap design creates a crisp and clean line which makes the wall beautiful.
The shiplap design is more rugged and durable than ordinary drywall. It’s the best choice for you if you desire a rugged but beautiful wall. However, the disadvantage of a Shiplap design is that it’s challenging to clean due to its ruggedness. If you’re opting in for this wall covering design, take care to prevent dirt from splashing on it.
Board and Batten
The Board and Batten style is another popular way of covering a wall with wood. It involves installing batten on already installed wood boards. The batten gives the board a unique style and covering. Also, the batten can serve as a solid force to keep the boards in shape and fitted firmly to the wall.
The board and batten style is a durable wood panelling style. However, it’s expensive to set up as it requires more wood and materials. Nonetheless, the maintenance of a board and batten style is low. At most, all you have to do is paint it. You can use either wood or vinyl when installing board and batten style.
Plank wall
The plank wall style of wood covering is a good option for an aesthetic interior. The reason is, for the plank wall, you can make use of any type of wood for the covering. Exotic and vintage woods can work for this wall covering style. Your choice of wood may also depend on your decor.
You can install the plank wall vertically, horizontally, diagonally, or in herringbone style. The flexibility of installation is one of the added advantages of plank walls. Additionally, plank walls allow you to make use of wood finish and paint.

Raised panel
The raised panel was commonly used in the royal houses of the 18th and 19th centuries. It has an alluring aesthetic appeal making it a great way to cover a wall with wood.
The raised panel features a three-dimensional installation. The dimensions are a bevelled panel, an adjoined horizontal panel, and a vertical rail.
The Raised panel is a solid and durable wall covering design. The installation process involves cap and cove moulding, top and bottom rail, stile, and raised panel. The result often adds a glint of royalty to any space.
Flat panels
The flat panel style is an old style that originated in the 19th century. However, the polished surface and the beautiful outlook it gives make it the preference of many homeowners in Canada.
Flat panels feature a formal but straightforward style, as in the raised panel. The style is also unique as it can match any other element or furniture in the room.
The flat panel style requires you to choose your panel height to make an accurate installation. The height of the plank can either be a chair level height, three-quarters of the wall, or made to fit the entire wall.
Tongue and Groove
The tongue and groove style is one of the best ways to cover a wall with wood. However, its pre-installation process is quite tasking. Instead of rabbet joints like in a Shiplap design, this style uses the tongue and groove connection. The planks are snuggly joined together during the installation.
Additionally, the tongue and groove style is easy to clean as it keeps dirt out of the woods. One downside of the tongue and groove wood covering style is the timeframe for installation. Typically, the pre-installation process involves carving out the tongue and groove.
Beadboard
The beadboard style is a wall covering design that gives both a classic and traditional look. Like the tongue and groove style, the headboard allows you to choose your desired installation height.
You can install the beadboard style using either sheet or the tongue and groove method of installation. One good thing about the beadboard is that it allows you to paint the board after installation.
Another advantage of this wooden wall covering is that it perfectly matches the elements in the room. However, it requires regular cleaning as the grooves can easily trap dirt. You can use either natural wood or medium-density fiberboard (MDF) for beadboard wood covering.
Related Article: What Flooring Is In Style 2021?
How to Cover a Wall with Wood
To cover a wall with wood, you need to start with a crucial pre-installation procedure. The work doesn’t begin with installing the wooden covering. The pre-installation process determines the results you’ll get.
The installation process involves measuring the room, fastening the board, and ensuring it’s firm. Here is a step-by-step process of how to install wood panelling.
Pre-installation process
The wall covering process starts with the pre-installation. Pre-installation covers everything you need to do before you begin to install wood panelling.
They are:
Wood selection
Wood selection is the first step to cover a wall with wood. It involves the selection of wood capable of delivering your desired wall covering design. There are three major wood types you can use for your wall covering.
- Wood or Plywood
- Salvage or Reclaimed Wood
- Fiberboard.
Certain factors must guide your choice of wood. The first factor is the wall covering design. Plywood may be ideal for groove and tongue design, while you may need to use fiberboard for the beadboard design.
The second factor is the finishing of the wood. The last factor you need to consider is the cost of the wood.
Wood acclimatization
The second step to cover your wall with wood is acclimatization. Before you cover a wall with wood, you must ensure the environment has a controlled temperature. Before the installation, it’s important to acclimatize the wood with the room’s humidity and temperature.
The acclimatization process requires you to purchase the wood a week earlier than the installation date. Then, stack the wood in alternating rows inside the installation space.
Allow the wood to remain like this for a week to acclimatize. The essence of the acclimatization step is to prevent the wood from shrinkage and expansion.
Wall preparation

The wall preparation is the last step in the pre-installation process. If the building is a new one, you may need to use plywood for the wall covering.
There are few things to consider when installing a wall covering on drywall. If you have already painted the wall, you must start by cleaning the paint using sandpaper. Cleaning the paint will ensure a strong bond between the wall and the boards. Then, you may need to add a primer to the wall after removing old paint and gloss.
In the future, trying to uninstall a wall covering from drywall may damage the wall. The damage is due to the presence of adhesive used in fastening the wood to the wall. To prevent damage to the drywall, fasten a thin plywood sheet to the wall using a nail before applying the adhesive on the board.
Installation process
The entire process of covering a wall with wood is seamless. It’s possible to do the installation yourself without hiring a contractor. However, you must have the required tools for the task.
Here are the steps to cover a wall with wood:
Measure the room
To cover a wall with wood, begin by measuring the room. Using a tape rule, find out the dimensions of each side of the room. The measurement will give an idea of the right dimensions for your wood planks. Also, it’ll help you determine the number of wood planks you’ll use to cover the wall.
In most cases, the measurement may take place as a pre-installation step. Nevertheless, it should be your first consideration when you’re about to start the installation.
Install the boards at a length of ¼ inches above the floor. This measurement will aid easy uninstallation and can also be an avenue to be creative.
Mark out special openings
It’s essential to pay attention to unique places on the wall. It would be best to consider places such as switches, socket outlets, and similar wall fixtures.
Mark out these areas such that there can be an opening for them during the installation. Marking out these points prevents rough work while attempting to cut out the openings during installation.
Fasten your sheet to the wall
Fastening your sheet to the wall may be an optional step, depending on the type of wall you’re covering.
For a recently built wall, you may need to skip this process. The reason for ignoring this process is because adhesives don’t affect new walls. During installation or replacement, you won’t have to bother about damaging your walls.
However, for drywall, fastening the sheet to the wall is a crucial step. You must attach a thin plywood sheet to the wall with the aid of a rubber mallet.
You will proceed to install your board on this sheet. During uninstallation or replacement, the wall covering will not damage the wall.
Position your first board
The next step is to position your first board to the wall. You will need to take it aboard and fit it into the base of the wall to determine how it sits. Doing this helps to determine if there is a need to do some carving on the wood.
Also, it would be best if you did the positioning in a definite way. The tongue must be pointing up while the groove is facing the floor. Double-check to see if there are no lapses in the position and ensure your measurements are intact.
Apply the adhesive to the back of the board and plum
Remove the board from the position. Afterwards, apply adhesive to the back of the board. You must be careful not to apply excessive glue to avoid damaging the board. Using the best adhesive for wooden boards is essential to top-quality wall covering installation.
After applying adhesives, place the board on the wall. Then with the aid of a level, ensure the board is upright. Checking to see if it’s well-positioned is essential. It determines the overall look in the end. Ignoring this check may result in a crooked wall covering.
Fasten the board to the wall
After ensuring that the board is straight, firmly press the board to the wall. Make sure it’s glued firmly to the wall or the sheet. Also, you may need to secure the board on the wall using a nail gun. Although using a nail gun isn’t necessary, it ensures that your wooden board stays in place.

Apply the second board
Place the second board in position and make sure it fits neatly into the first board. Like the first board, ensure the second board’s groove fits into the tongue of the first board. Apply adhesive to the back and firmly press it to the panel.
Repeat this process for all boards
You can continue by repeating the positioning process for all other boards. Do this until the boards attain the desired height of the room. Remember, it’s recommended to maintain a ¼ inches space on the wall while covering it with wood. Also, remember to cut out the special openings using a sabre or mitre saw where necessary.
Add a corner moulding
Another way to ensure safe plank placement on the wall is by adding a corner moulding. The corner moulding also helps fill the corner gaps that may show up during installation. Fasten the corner moulding to the wall using nail guns
Add necessary finishing or paint
Finishing or paint may not be necessary, depending on the type of wood you are using. A fiberboard may not require you to make use of finishings or paints. You may only need to add putty to the nail outlet to hide them. However, if you’re using plywood for your wall covering, you’ll need to add finishing and colour.
Safety Tips for Installing Wood Covering
When attempting to cover a wall with wood, it’s crucial you follow safety measures. If you’re new to wood installation, you may need to hire a professional installer.
Below are safety tips to prevent accidents during DIY wall covering installation
Leave space for linear expansion
Woods are liable to expand depending on temperature change. You should maintain a space of ⅜ inches above the baseboard.
Use both adhesive and nail
Adhesive can provide not more than 50 percent of the bond. It is therefore advisable to use nails alongside construction adhesive. You can then add putty to the nail surface after the installation.
Treat the wood with a fire-resistant spray
To reduce the susceptibility of the wood to fires, you may need to treat the boards with a spray. Treating the wall covering does not make it fireproof. It only reduces the risk of a fire.
Use polyurethane paint for wood in a wet area
If you cover your bathroom or kitchen wall with wood, you may need to apply polyurethane. Polyurethane paints make the wood water-resistant, thereby reducing the possibility of shrinkage and wrapping.
To Sum It Up
Wooden wall coverings are capable of making your once-boring wall look beautiful. Depending on the type of wall covering you choose, you can also paint it.
To cover a wall with wood, you must consider the temperature of the wall. Wooden boards don’t do well in wet environments.
Want to cover your wall with wood but will rather not go through the stress? LV Flooring has experienced contractors capable of getting the job done.
Get in touch with us today! We’ll inspect your space and provide recommendations on the best wall covering.
