How to Replace Old Carpeting with Engineered Wood Flooring: A Step-by-Step Guide
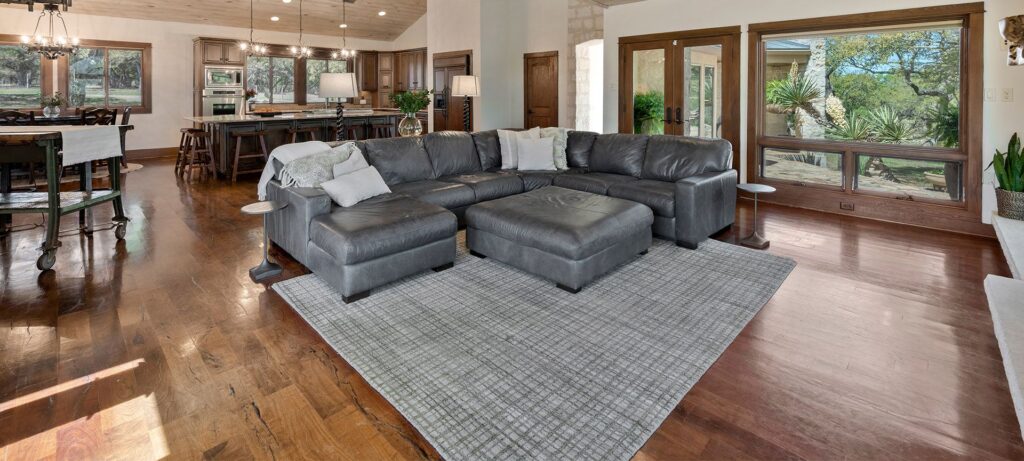
Replacing old carpeting with engineered wood flooring is a fantastic way to elevate the look and feel of your home. Engineered wood flooring offers the beauty of hardwood coupled with increased stability and moisture resistance.
To install engineered hardwood flooring, it’s important to measure the area where you’ll be installing the new flooring. You’ll need tools like a pry bar and hammer if you’ll be doing the installation. Also, you’ll want to install the underlayment before the new flooring, as it offers moisture protection and soundproofing.
This detailed guide will walk you through replacing your old carpet with stunning engineered wood flooring. Here’s your detailed step-by-step guide.
Steps to Replacing Carpeting with Engineered Wood
The cost to rip up old carpeting and install engineered wood floors depends on the installation are and if you’ll be doing the project yourself. While a DIY can be less expensive, it’s time-consuming, and if you’re not skilled in wood installation, you may not get the desired results.
But we can help you avoid that. Follow these steps to replace your old carpeting with engineered wood that stands out and improves your decor.
Step 1: Planning and Preparation
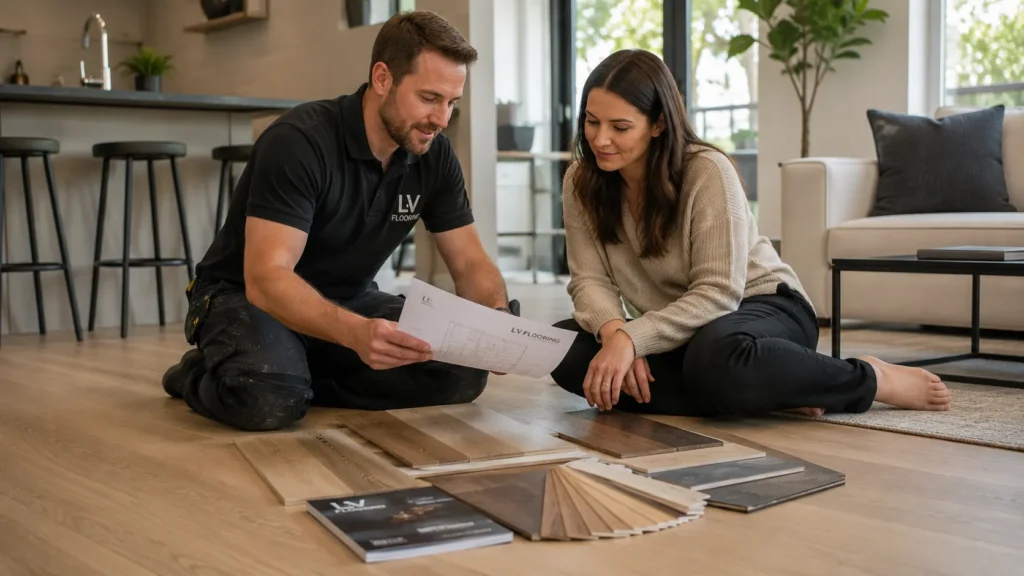
Before diving into the project, proper planning is crucial. Measure the room to determine how much-engineered wood flooring you’ll need. Consider factors like the room’s layout and the wood’s grain pattern.
It’s advisable to purchase a little extra to account for mistakes or tricky areas. Choose a style and color that complements your space, keeping in mind LV Flooring’s vast range of options.
Step 2: Gather Your Tools and Materials
If you’re installing engineered wood yourself, you will need:
- Engineered wood flooring
- Underlayment
- Pry bar
- Utility knife
- Tape measure
- Hammer
- Nails or flooring stapler
- Saw (hand saw, jigsaw, or circular saw)
- Spacers
- Carpenter’s square
- Safety equipment (gloves, goggles)
Related Article: How To Decorate With Flooring: A Perfect Blend Of Style And Functionality
Step 3: Remove the Old Carpeting
Begin by pulling up the carpet from a corner using pliers or a pry bar. Roll up the carpet and padding and dispose of them according to your local regulations.
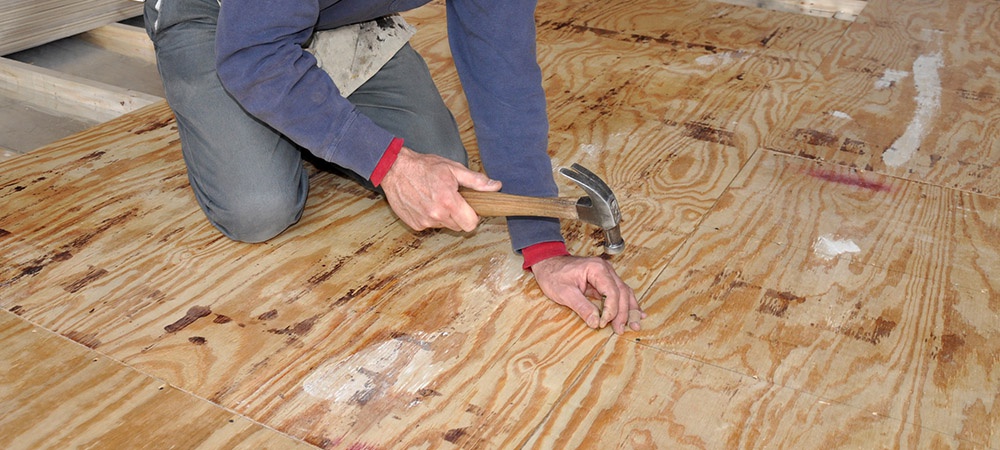
Remove any staples or tack strips from the subfloor using the pry bar. Ensure the subfloor is clean, dry, and level. Any discrepancies in the subfloor can affect how the engineered wood lays.
Step 4: Install the Underlayment
Underlayment provides a smooth, flat surface for the engineered wood and can also offer soundproofing and moisture protection. Roll out the underlayment across the entire floor, cutting it to fit and taping any seams as per the manufacturer’s instructions.
Step 5: Lay the First Row of Engineered Wood
When replacing old carpeting with engineered hardwood, start in a corner, working along the longest wall.
Lay the planks parallel to the longest wall to create a balanced look, place spacers between the wall and the planks to allow for expansion. Finally, don’t forget to use the carpenter’s square to ensure your row is straight.
Step 6: Cutting the Planks
You’ll need to cut planks to fit the space. Measure the length needed, mark the plank, and use a saw to cut it. Always cut with the finished side up to avoid splintering.
Step 7: Stagger the Joints
As you start the next row, stagger the joints from the first row. This not only creates a more visually appealing floor but also adds to the structural integrity of the flooring. A good rule of thumb is to keep end joints at least six inches apart in adjacent rows.
Step 8: Continue Laying the Flooring
Continue laying the flooring, ensuring each plank is snug against its neighbour. Use a tapping block or rubber mallet to gently tap planks into place. Be sure to check that planks are aligned and level.
Step 9: Fitting Around Corners and Obstacles
When you encounter obstacles like vents or corners, measure and mark the plank, then cut it to fit using a jigsaw. It’s important to be precise to ensure a professional-looking finish.
Step 10: Final Row and Finishing Touches
For the final row, you may need to cut the planks lengthwise. Once the last row is in place, remove the spacers. Install base moulding or quarter-round to cover the expansion gap. This also gives your new floor a polished look.
Step 11: Clean Up and Furniture Replacement
Sweep and clean the new flooring to remove any sawdust or debris. Once the floor is clean, you can start moving furniture back into the room. Be careful not to drag or drop heavy items on your new flooring.
Related Article: How To Deal With Pet Stains On Floors: A Comprehensive Guide By LV Flooring Company

Top Quality Engineered Wood Available in Ontario
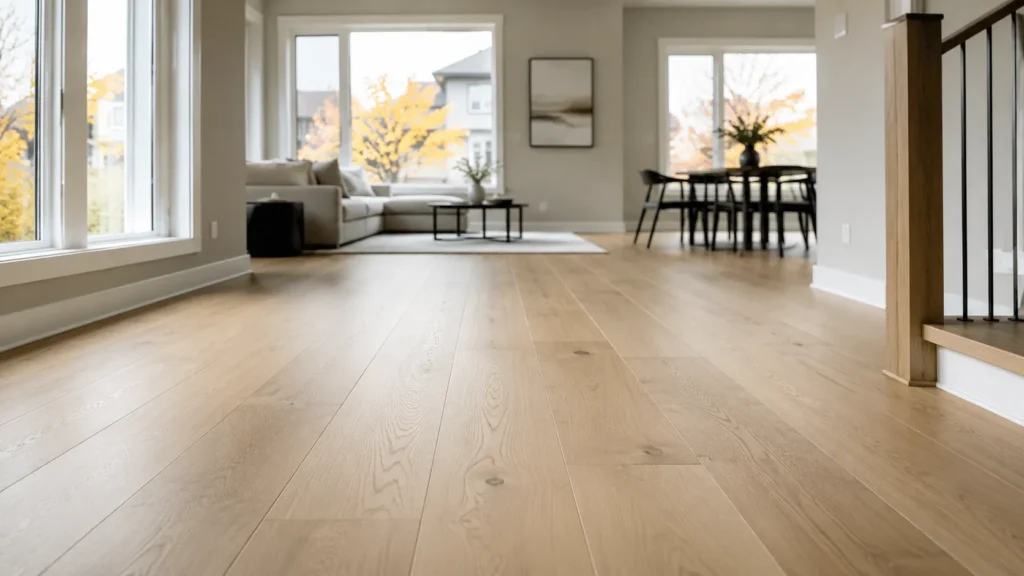
Replacing old carpets with engineered wood flooring can dramatically transform your space. With careful planning, the right tools, and attention to detail, this can be a rewarding DIY project.
With this guide on how to replace old carpeting, you can enjoy the elegant and timeless look of your new floors. Remember to take your time and refer to the manufacturer’s instructions for specific details related to your engineered wood product from LV Flooring.
If DIY isn’t your preference, LV Hardwood Flooring offers professional installation services along with the best flooring. Our experienced team ensures a flawless installation, saving you time and guaranteeing a perfect finish.
With our expertise, you can relax and enjoy the transformation of your space. Contact us today at (416) 665-5645 to transform your old carpeting into a perfectly engineered wood floor.