How to Restore Hardwood Floors Without Sanding
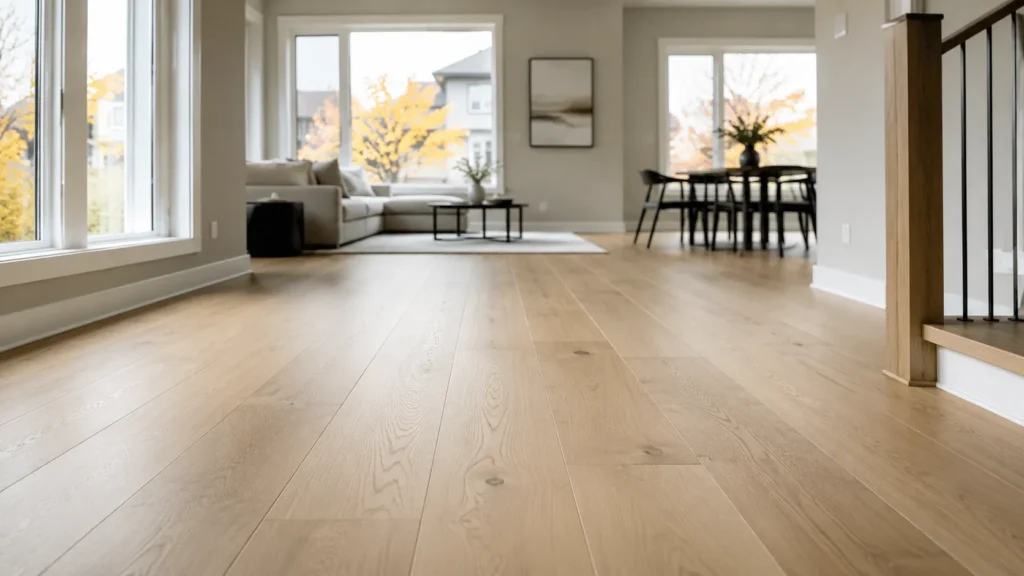
Hardwood floors – those classic planks that grace countless homes – are a joy to behold. They lend a timeless elegance and warmth that other materials can’t match. But over time, even the most resilient hardwood can show some wear and tear.
The good news? You don’t have to face a daunting sanding project to bring your floors back to life. Here, we’ll reveal the secrets to restoring your hardwood floors without the mess and dust of sanding.
Buckle up and get ready to rediscover the beauty hiding beneath the surface!
The Benefits of Restoring Hardwood Floors
Bringing your hardwood floors back to their former glory isn’t just about aesthetics (although that warm, welcoming glow is pretty awesome).
Restored hardwood floors can boost your home’s value, making them a smart investment. Compared to replacing them altogether, restoration is a much more budget-friendly way to breathe new life into your space.
On top of that, hardwood floors are incredibly durable and easy to maintain once restored. They can last for generations properly, becoming a cherished feature you and your family can enjoy for years.
Alternatives to Sanding for Hardwood Floor Restoration
Forget the dust clouds and elbow grease! Here’s where the magic happens: restoring your hardwood floors without the hassle of sanding.
Here are a few effective alternatives:
Buffing and Recoating
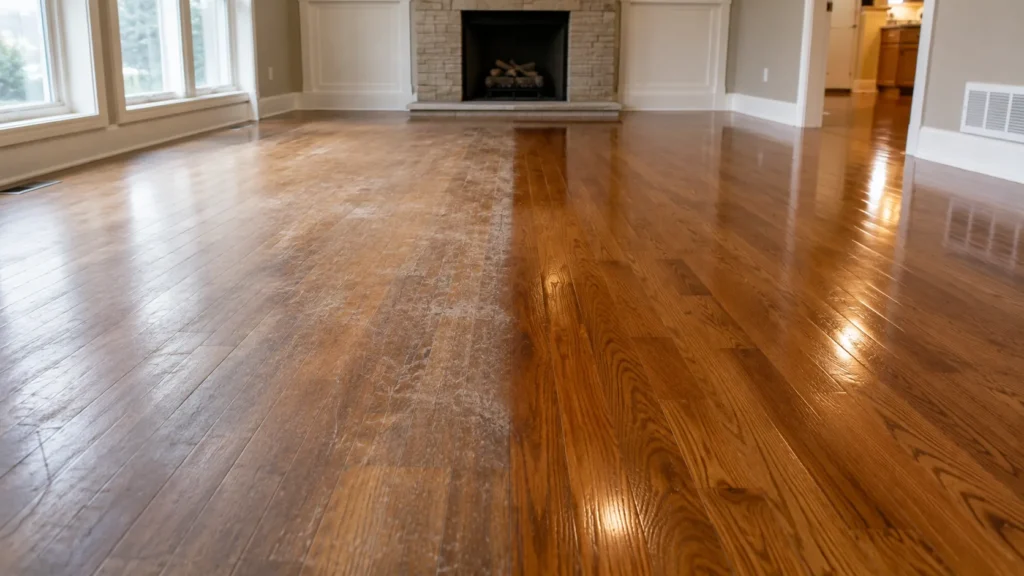
This method is like giving your floor a spa day. A floor buffer uses a rotating pad to gently remove the top layer of grime and built-up polish, revealing the fresh wood beneath. This process restores the floor’s natural shine without removing any significant material.
Following the buffing, a fresh sealant or finish protects and beautifies your newly revitalized floor.
Chemical Abrasion Kits
These kits are lifesavers for minor scratches and scuffs. They contain a special chemical solution that gently etches the surface of the wood and evens out those imperfections.
After following the cleaning and application instructions, you can simply recoat your floor for a flawless finish.
Wood Stain and Wax
For the faint of heart (or those with minimal damage), a touch-up with wood stain and wax can work wonders.
A carefully chosen stain can camouflage hairline scratches, while a coat of wax adds a protective layer and enhances the existing finish. This option is best suited for minor imperfections but is a quick and easy way to refresh your floors.

Rolling Up Your Sleeves: Restoring Your Floors Step-by-Step
A clean floor is a must before we get into the fun stuff. A clear working area allows the restoration products to truly work their magic.
Here’s how to get your hardwood floor prepped for its transformation:
- Clear the room: Move furniture and rugs for ample working space. Don’t forget to remove any baseboard trim that might get in the way.
- Vacuum thoroughly: Use a vacuum cleaner with a hardwood floor attachment to remove all loose dirt, dust, and debris. Pay close attention to corners and edges where grime loves to hide.
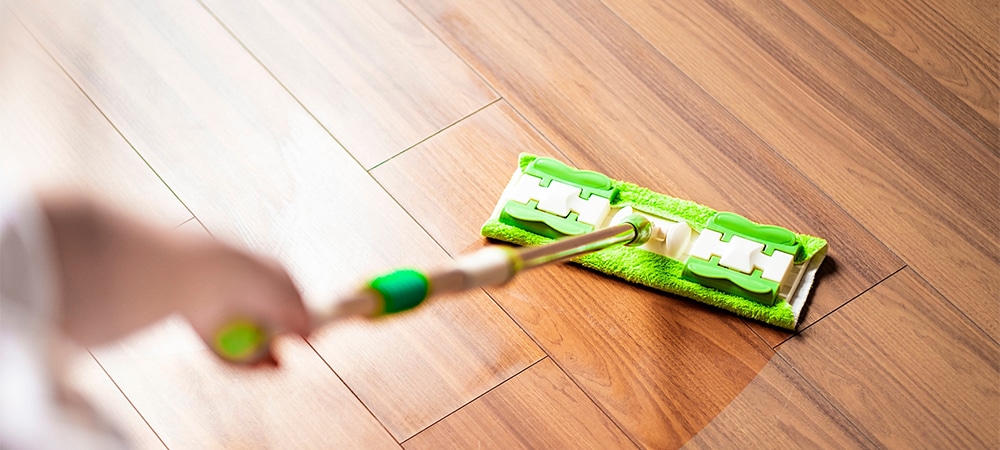
- Deep clean: Using a hardwood floor cleaner specifically designed for your finish (oil or water-based), mop the entire floor. Follow the manufacturer’s instructions for dilution and application. Let the floor dry completely before proceeding.
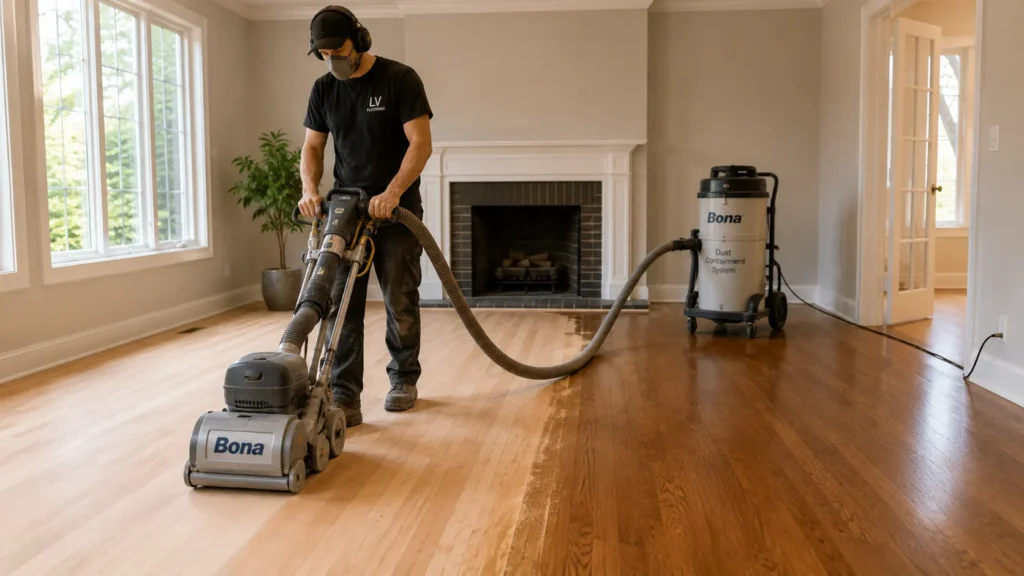
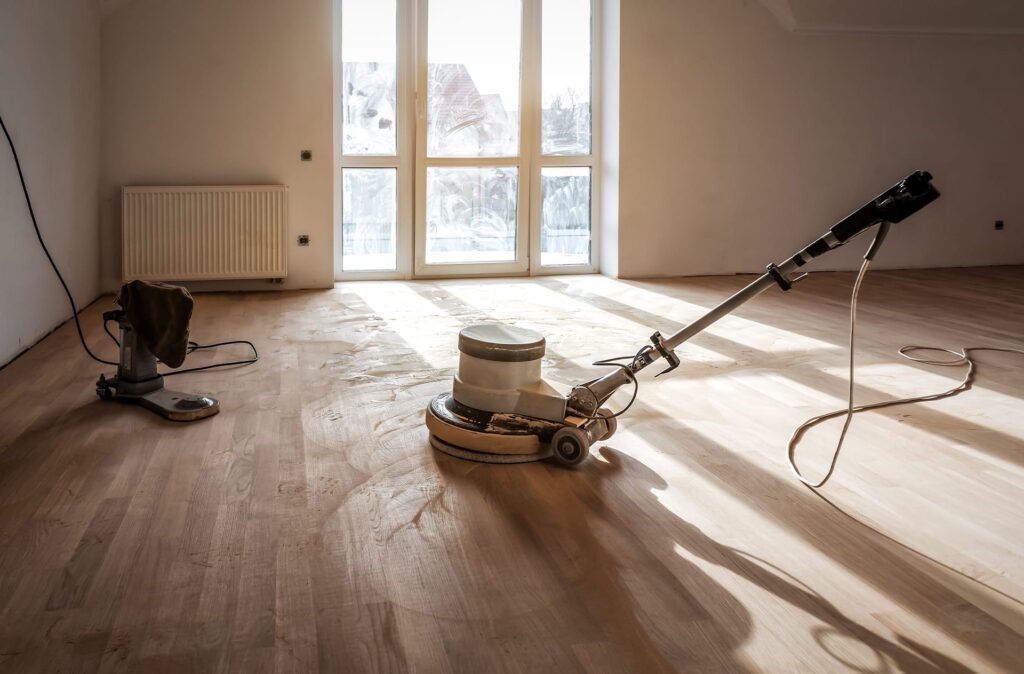
Buffing for Extra Shine
A buffing machine can be your best friend if your floor needs a serious shine revival. Here’s how to use it safely and effectively:
- Safety first: Wear safety glasses, a dust mask, and long pants for protection.
- Attach the buffing pad: Choose a pad appropriate for your floor finish. Consult the user manual for your buffer for specific recommendations.
- Work in sections: Start in a small, manageable area and buff the floor toward the grain. Apply light, even pressure, as you move the machine.
- Vacuum up debris: Once you’ve finished buffing the entire floor, use a vacuum to remove any dust particles left behind.
Applying a New Finish
Now it’s time to protect and beautify your newly restored floor with a fresh finish.
Here’s a breakdown of popular options:
Types of Finishes
Polyurethane – This is a popular choice for its durability and high-gloss shine. It comes in water-based and oil-based varieties, so choose the one that best suits your needs and preferences.
Wax – A more traditional option, wax offers a warm lustre and is relatively easy to apply. However, it requires more frequent maintenance compared to polyurethane.
Choosing the right finish – Consider factors like foot traffic, desired sheen level, and drying time when selecting your finish.
Applying the Finish
- Read the label carefully – Each finish will have specific application instructions. Follow them closely for optimal results.
- Work in sections – Pour a small amount of finish onto a lint-free applicator pad or cloth. Apply the finish in thin, even coats, following the grain of the wood.
- Allow drying time: Let the first coat dry completely before applying subsequent coats (usually 2-4 hours).
- Light sanding between coats (optional) – Some finishes recommend lightly sanding the floor with fine-grit sandpaper between coats for a smoother finish.
- Enjoy the results – After applying the final coat and allowing it to dry completely (usually 24 hours), admire your newly restored hardwood floors!
Related article: https://lvflooring.ca/refinishing-hardwood-floors-when-to-do-it-how-to-do-it-and-how-much-it-costs/
Pro Tips and Aftercare: Keeping Your Floors Looking Fabulous
Now that your hardwood floors are gleaming like new, here are some insider tips to ensure their long-lasting beauty:
- Allow ample drying time between cleaning, buffing, and applying finishes. Rushing the process can lead to uneven results or a tacky surface.
- Don’t tackle the entire floor simultaneously. Work in manageable sections to ensure thorough cleaning, buffing, and even application of the finish.
- When applying cleaning solutions or finishes, a little goes a long way. Using too much can leave streaks or make the floor slippery.
- Regular cleaning with a hardwood floor cleaner is essential to maintain the shine and prevent dirt build-up. Avoid harsh chemicals or abrasive cleaning products, as they can damage the finish.
- Place throw rugs at entryways to trap dirt and debris before it gets tracked onto your beautiful floors.
- Encourage family and guests to remove shoes indoors, especially those with high heels or rough soles that can scratch the surface.
Following these simple tips and establishing a regular cleaning routine, your restored hardwood floors will continue to grace your home for years!
The Takeaway: Restoring Beauty Without the Mess
Restoring your hardwood floors without sanding isn’t just about saving yourself the hassle – it’s about rediscovering the timeless beauty and value these floors bring to your home. With some prep work and techniques, you can achieve stunning results that boost your home’s curb appeal and create a warm, inviting atmosphere.
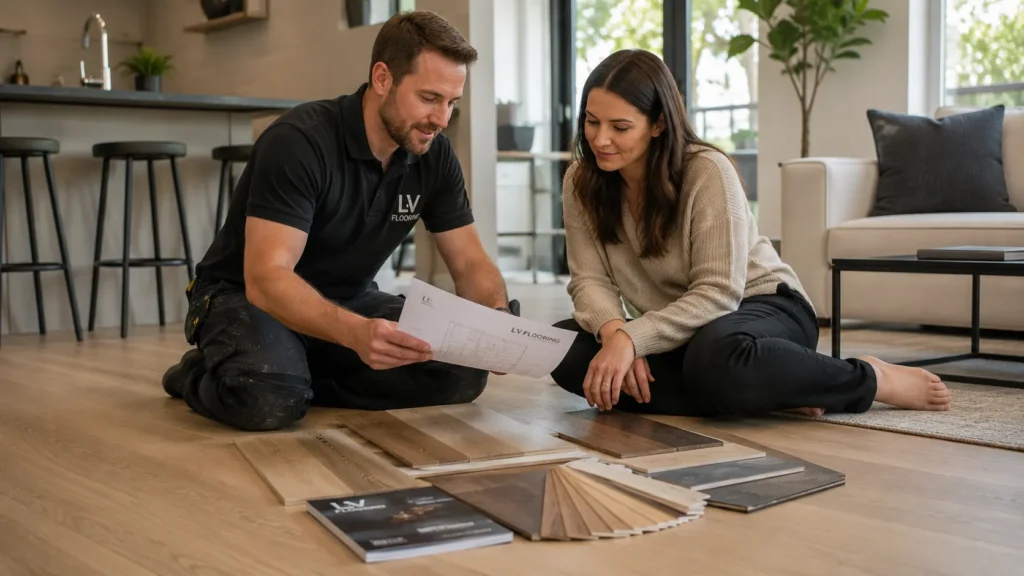
Feeling empowered? This DIY approach is a great way to save money and add a personal touch to your space. However, if you’d prefer expert guidance or a helping hand, the professionals at LV Flooring are here for you.
Contact Us
Visit our showroom or contact LV Flooring today for a consultation. We offer a wide variety of hardwood floor restoration services and a vast selection of new hardwood flooring options if you’re considering a complete refresh.
Let our experienced team help you find the perfect solution for your home!