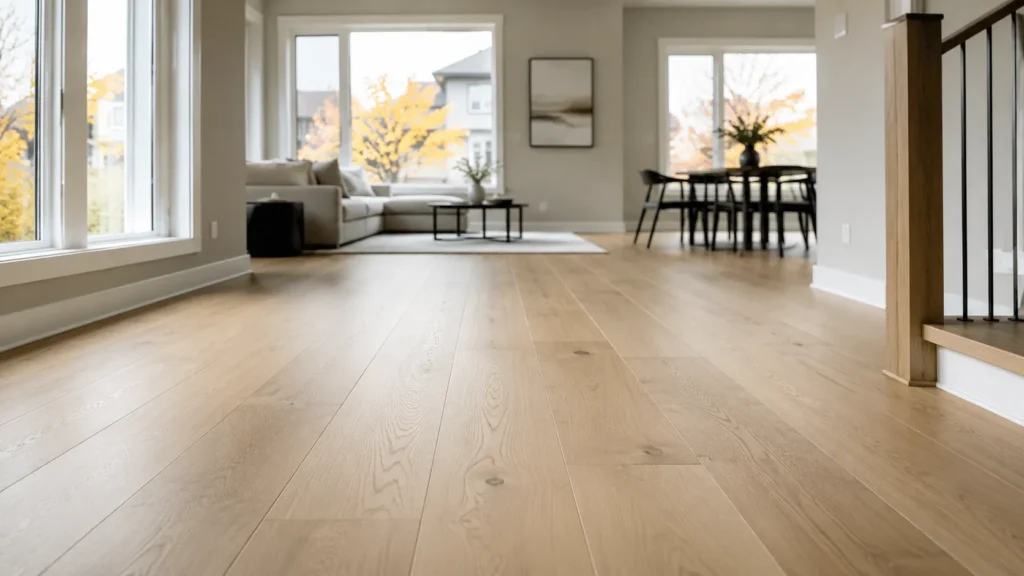
Know-how On Refinishing Hardwood Floors
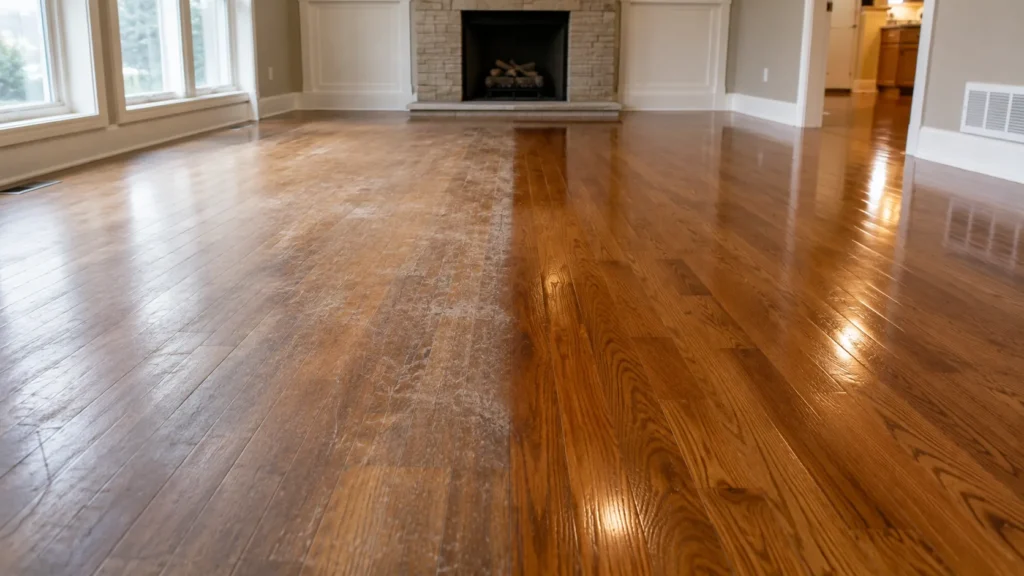
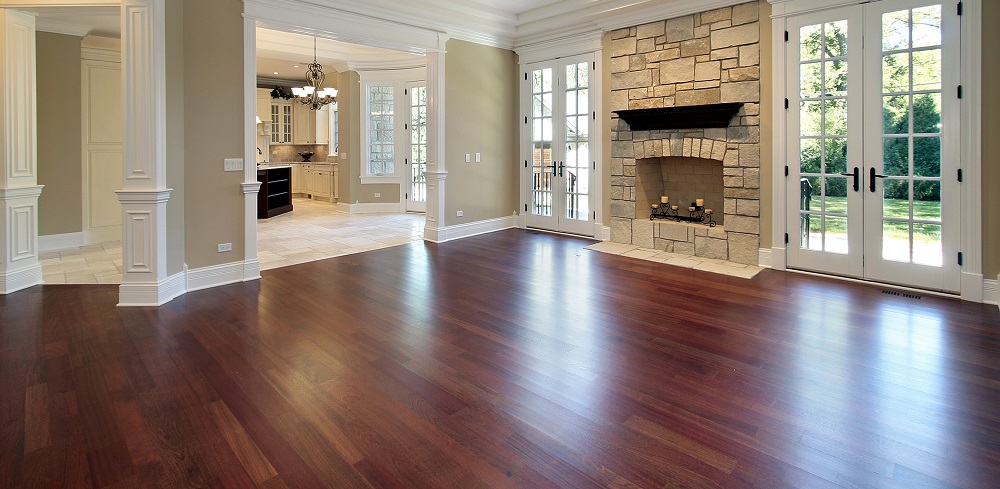
There are several queries on how to refinish hardwood floors. For most people, the task of keeping their hardwood floors looking new can be a mystery. Hence this guide explores all you need to do. It is commonplace for hardwood floors to have scratches. But the ease with which you can repair them is one significant advantage they have over other floor types. Refinishing is all you need to do on hardwood floors that have lost their lustre.
Hardwood floors can stand the test of time. Over its lifespan, you can refinish it up to ten times. Although you can do it yourself, for the best results, you should hire a professional to refinish hardwood floors.
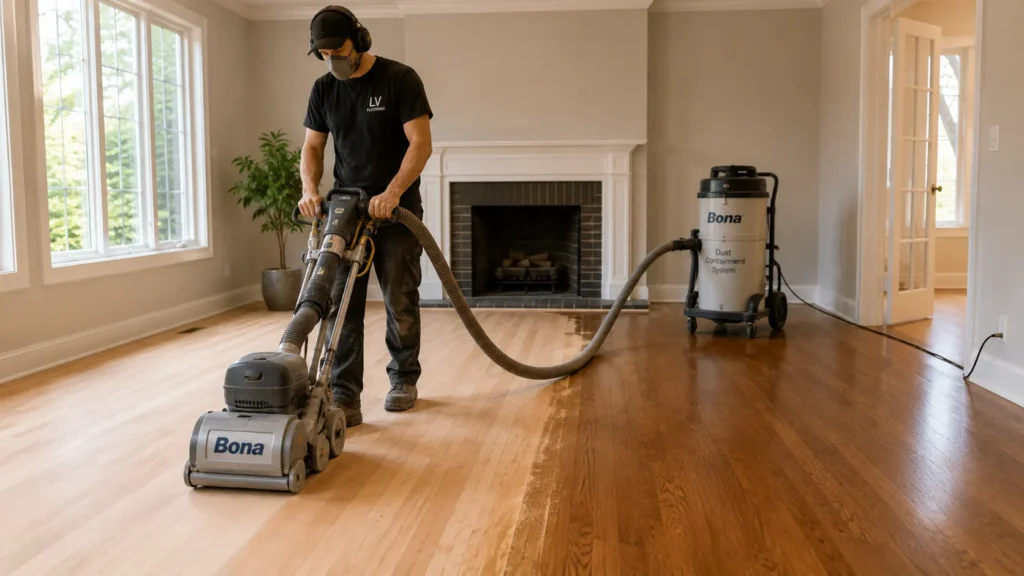
The process of refinishing wood floors starts with sanding off the old finish. To do this, you need a walk-behind floor sander, which is only the start of the tools you will need. Over the rest of this blog, we will discuss useful tips and steps for refinishing your wood floors.
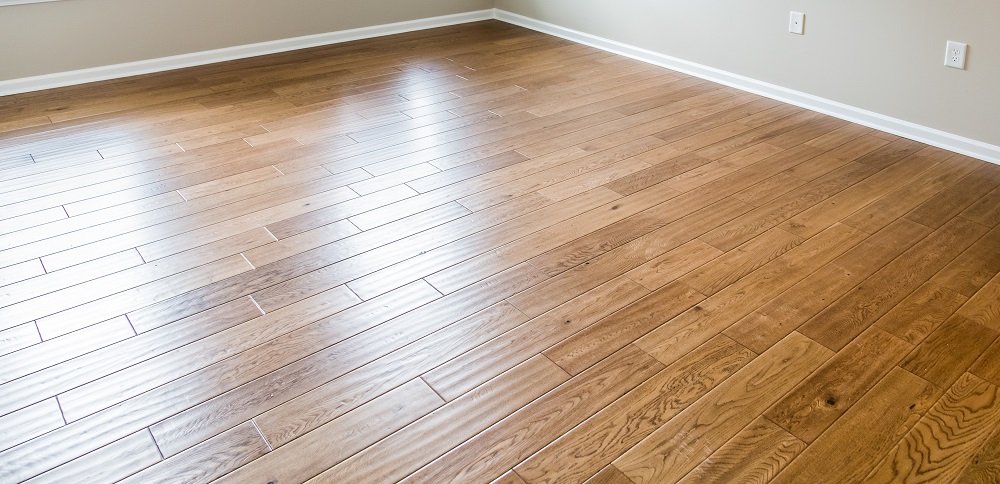
Hardwood floors will undoubtedly suffer from scratches and dents. However, you don’t need to install new ones. With these tips on how to refinish wood floors, your old floor will be as good as new.
How To Care for Hardwood Flooring
When you properly care for your floor, you will not need to worry about how to refinish wood floors for a long time. Of course, proper care will only reduce the rate of the wood floor’s degradation. It cannot eliminate the possibility of scratches, bores, and dents.
There are different types of finishing for hardwood floors. But, they all go through similar maintenance steps. Hardwood floors are the best, especially if you have kids and pets. This is because it is easier to clean.
The standard maintenance practices for your wood flooring are:
- Sweeping, vacuuming, and dust mopping. These processes remove dust and dirt from the floor.
- When there is a spill on the floor, clean it immediately with a dry or damp cloth. You shouldn’t use wet mops because it can damage the floor finishing.
- You should do most of the cleaning with a cleaner made specifically for the floor finishing you have. You can request this once the installation of the floor is complete. This tool will help you clean every form of spill and dirt without damaging the finishing.
There is no defined cleaning schedule for hardwood floors. The frequency and mode of cleaning are dependent on peculiar conditions. However, you need to ensure that you don’t let dirt and stains stay on the floor for long periods.
Related article: Refinishing vs. Replacing Hardwood Floors: Which is Best?
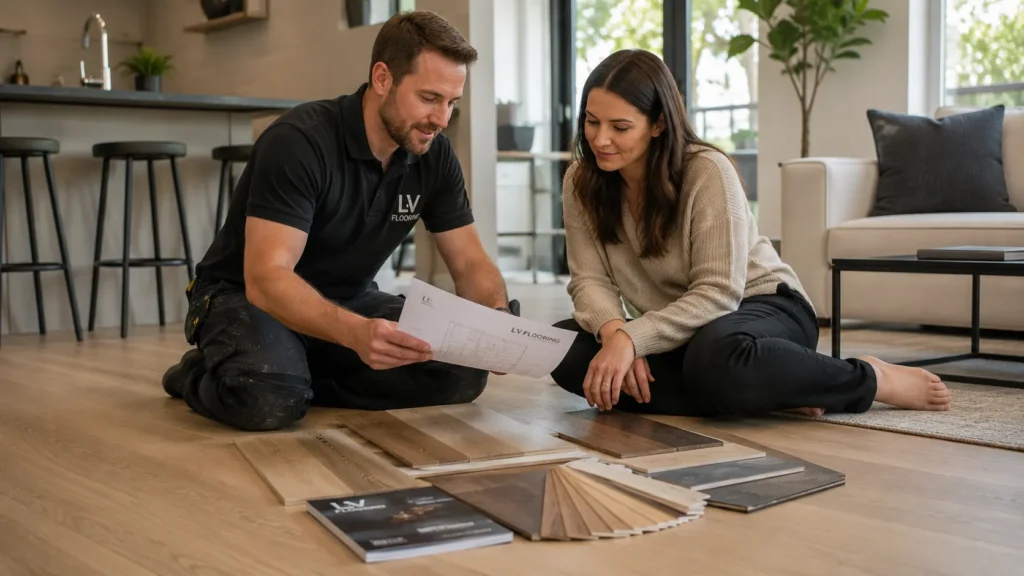
Types of Hardwood Flooring
How to refinish wood floors is dependent on the type of finishing you have. Also, you may decide to change to another flooring. The different choices of finishing are good, but each comes with its peculiarities.
Polyurethane
This is a common type of floor finishing, which comes in varying degrees of lustre. The clean, glossy finish makes the floor look like plastic. This finishing can either be water-based or oil-based.
If your space is one where several persons will walk on per time, this is the best finishing type. One thing you should know about this type of finishing is that it is not easy to patch.
If there is a dent on a part of the floor, you can’t simply repair it. You may have to wait till you can afford professional floor refinishing services in Toronto.
Varnish
Just like polyurethane, varnish also comes in varying degrees of lustre. This lustre ranges from matte to glossy finish. The durability of the floor, in this case, is directly proportional to the glossy finish. This will determine how often you have to refinish your hardwood floor.
The downside to the use of varnish is that it gets darker with time. However, unlike polyurethane, you can repair damaged spots, without fixing the whole floor.
Penetrating Sealer
Of all the types of floor finishes, the penetrating sealer finish looks the most natural. Like varnish, it has the downside of darkening over time. But, it also offers excellent protection of the floor.
Furthermore, waxing ensures its durability, though it’s still not up to the quality of varnish and polyurethane. Spot-repair is possible on this floor.
Refinishing Hardwood Floors: Steps to Follow
There are two approaches on how to refinish wood floors; DIY and hiring a professional. There is no need to mention that professionals better execute the process of refinishing hardwood floors. However, if you decide to do the job yourself, there are some tools you need.
- Drum Sander
- Belt Sander
- Detail Sander
- Hammer
- Pry Bar
- Respirator
- Hearing Protection
- Safety Goggles
These tools are more than essential if you are going to refinish your hardwood floor. You may decide to rent most of these, or you can buy them.
Here is a step-wise guide to refinishing your hardwood floor.
First, clean the floor
This is the foremost step on how to refinish wood floors. The best tool to use is the hardwood floor cleaner. Remove all the furniture in the space, and spray the cleaner on the floor.
Mop the floor, or you can use a towel on a mop head. It is best if you close all the windows. Doing this will trap the dust in the space. This results in more effective cleaning of the area.
Sanding
Sanding helps with removing the old finishing. Sand through the perimeter of the room with sandpaper. With sandpaper, you can reach corners that buffers won’t reach. Follow this up by scuff-sanding the whole space.
You do this by directly attaching a maroon buffing pad to the buffer. Ensure you also have a dust mask over them. Finally, be aware of the direction of the grain while scuff sanding.
Leave, then vacuum
Once you complete the sanding, leave the room for about fifteen minutes. In this time, the dust from the sanding will settle. Follow this up by using a vacuum cleaner in the space.
Ensure that you use a new filter for the vacuum cleaner. Also, be sure to cover the full expanse or the hardwood floor. Then, dry-tack the floor. You can use a microfiber cloth to carry out this step.
Kit up and apply finishing along the perimeter
Part of learning how to refinish hardwood floors is understanding the concept of safety. This is especially important during this step. Be sure to use a respirator and cover your shoes.
With a brush, apply the new finish along the perimeter of the room. This layer should be 3-inches wide. When you finish the edges of the baseboards, leave it for about ten minutes.
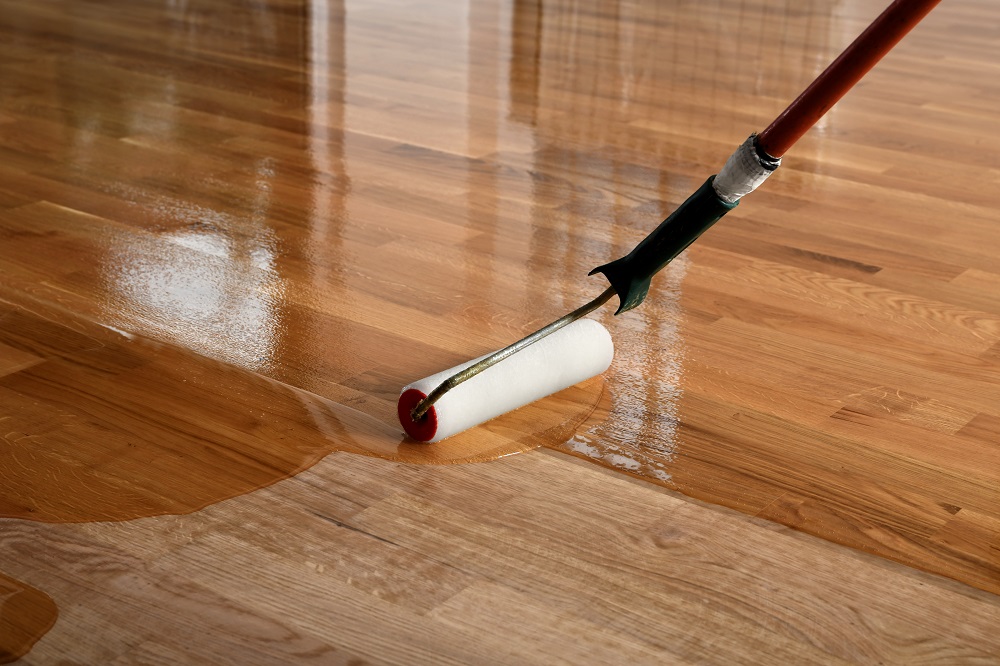
Finishing with poly
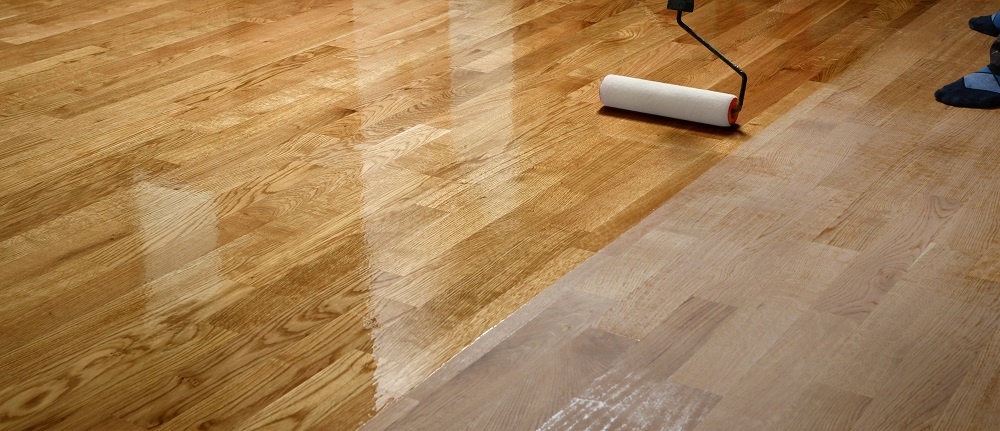
Pour some of the finish on the floor, about a 1-inch wide stripe. Ensure that it is a quantity you can keep spreading for about ten minutes. Use a roller equipped with a long end to apply the finish evenly on the floor. Finally, be sure that each pass overlaps. You need to be fast with laying, as you want to keep a wet edge.
Once you complete this, pour another round of finish and lay. The time you need to cover the whole floor with the finishing will depend on how vast it is. When you are done, leave the area for about one week before you bring back the furniture.
Final Take
The steps listed above are the standard on how to refinish wood floors. These steps will be time-consuming and require that you buy or rent the gear you need. However, if you feel like taking on a DIY project, the steps above will work for you.
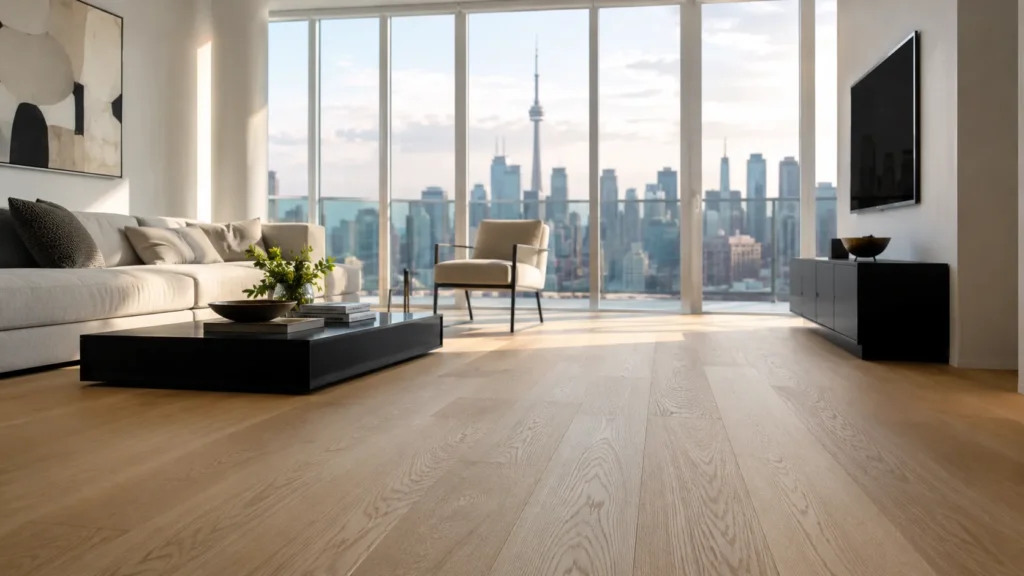
Here at LV Flooring, we provide first-class refinishing services for residents in Toronto and the GTA. With our experience and expertise, your floor will look and feel new again. Contact us today to get started!
Related article: Cost of Refinishing Hardwood Floors in Canada and more interesting