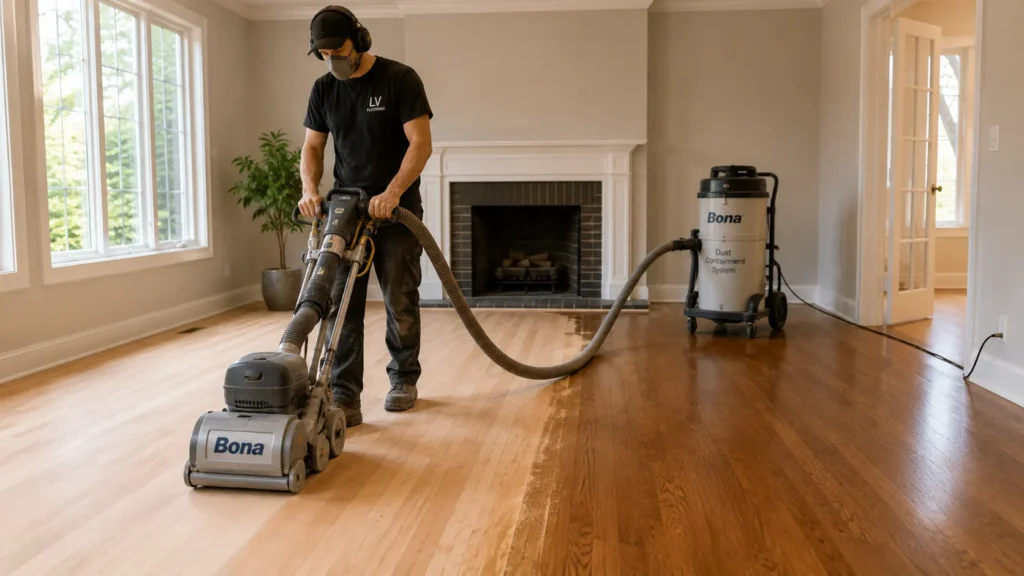
What is the Best Way to Install Hardwood Floors?
Finding the best way to install hardwood floors may seem like a simple task. Yet, it’s an important one when you’re renovating or building your house. And this is because it can be the difference between satisfaction and regret.
Yes, you’ve chosen your preferred floor type and even the kind of finish that you prefer. Still, you need to ensure you’re picking the best possible installation option.
Are you wondering about your options? We’ve got you covered. In this article, we’ll present the best way to install hardwood floors. We’ll also let you in on the procedure to install them.
Let’s get right to it.
Methods of Installing Hardwood Floors

If you’re looking to install hardwood flooring, we’ve four excellent options for you. They are:
Nail down
The first option you can take advantage of is to nail down the wood. We recommend that you use this if you pick thin or solid wood for the flooring.
Staple down
You can also staple down the wood. This is quite straightforward compared to the nail-down method. You’ll also exert less energy if you decide to go with this method.
Glue down
Another great way to install hardwood flooring is to glue them down. And you’ll need to do this through a secure adhesive.
This way, the wood stays permanently glued to the floor. We recommend this option if you’re looking to install parquets. It’s also an excellent choice for engineered wood floorings.
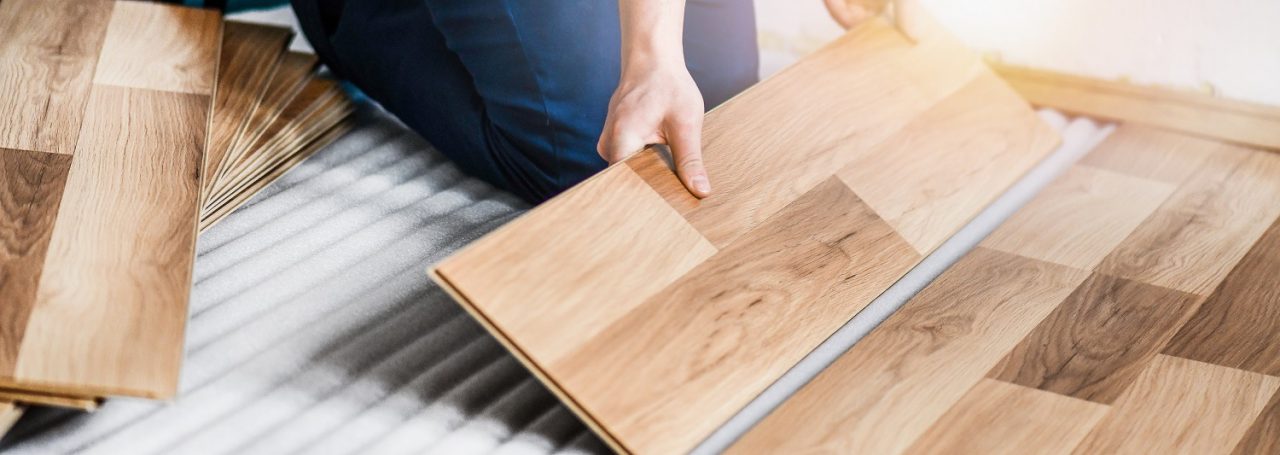
Floating
Floating is one of the best, if not the best way to install hardwood floors. And this is thanks to the ease and speed at which you can do it. Even more, you can install it on practically every surface.
In this instance, you don’t need to attach them to your subfloor. All you need to do is either glue the boards together. Or instead, snap them together.
After this, you’re good to go. However, it might be best to place a pad between the subfloor and the wood flooring. This way, you can reduce noise and prevent moisture.
Related article: Cost of Installing White Oak Flooring
How to Install Hardwood Flooring
Choosing any of the options above isn’t the end of the installation process. Instead, it’s merely a means to an end.
As such, you’ll need to engage in a step-by-step activity to get your hardwood installed. Wondering how? Here’s our guide to installing hardwood floors.
Step 1: Select an installation method
Just so you don’t err, you’ll need to pick any of the installation methods listed above. And this will generally depend on the thickness, width, and type of hardwood. You’ll also need to consider where you intend to install it.
If you’ve picked a robust hardwood, then nailing or stapling might be a great choice. You can also glue or decide to go for floating if you selected engineered wood. Remember that the best way to install hardwood floors depends on your choice of hardwood.
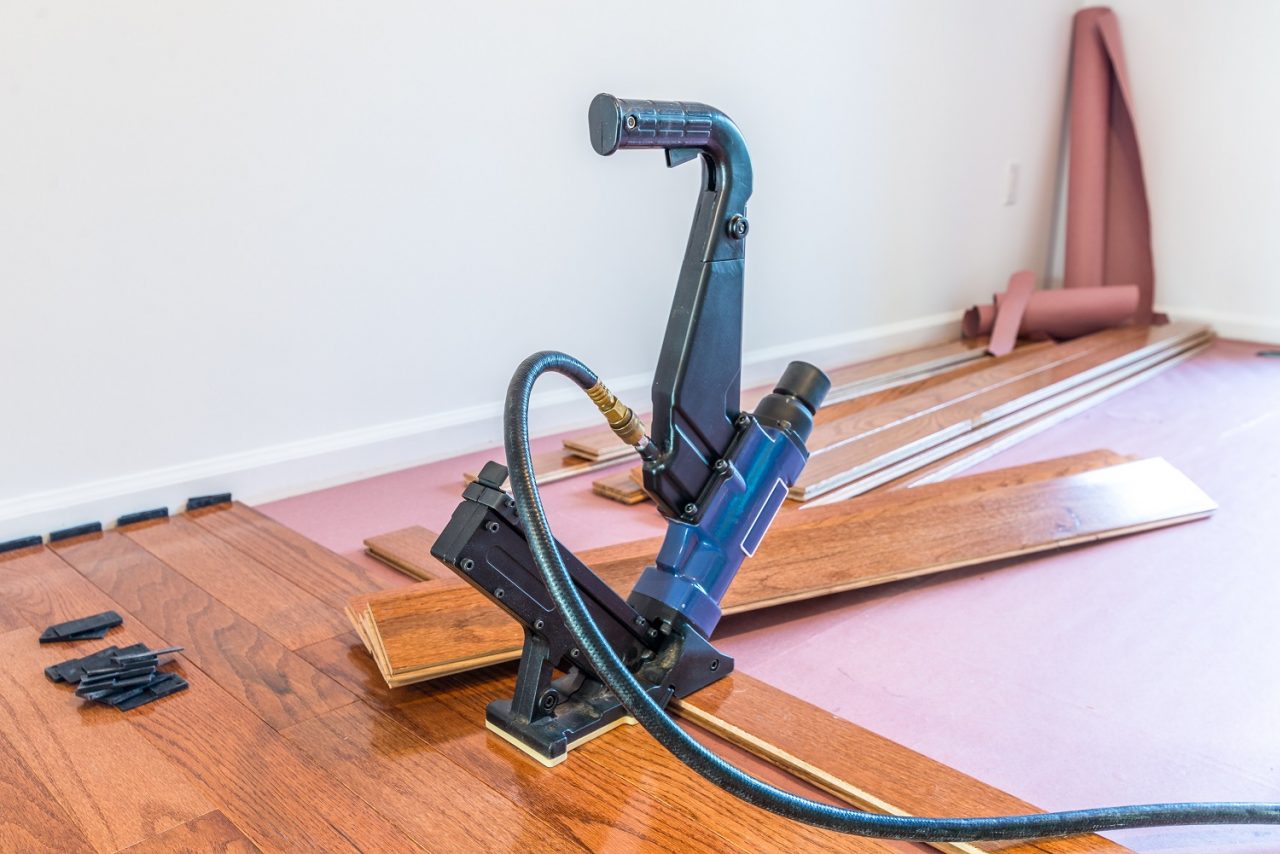
Also, you’ll generally need different materials based on your installation method choice. The various tools that you may need include pneumatic flooring nailer, drill bits and drills, nails, saw, pry bar, and hammer.
If you decide to go with glue or nail installations, know that they can be quite challenging. As such, you might need a professional to install hardwood floors in Toronto.
Step 2: Allow your floor to acclimate
The next step is to allow the flooring to adjust to your room’s condition. To do this, open the flooring box in the place where you want to install them. Also, ensure you raise the box above the ground and allow it to sit for a few days. However, you don’t need to worry about this if you go with engineered flooring.
Step 3: Prepare the installation space
After you allow the flooring acclimate for a while, this is the next step. And this will involve reading the installation guide present in the product box.
While you need our hardwood installation tips, prioritize the information provided by manufacturers. Hence, go through it and note the instructions and tools that you need.
If you intend to install on current flooring, ensure you can still close and open your doors. You don’t need to worry if there’s an existing marble, terrazzo, or ceramic tile. All you need is an effective adhesive or durable underlayment.
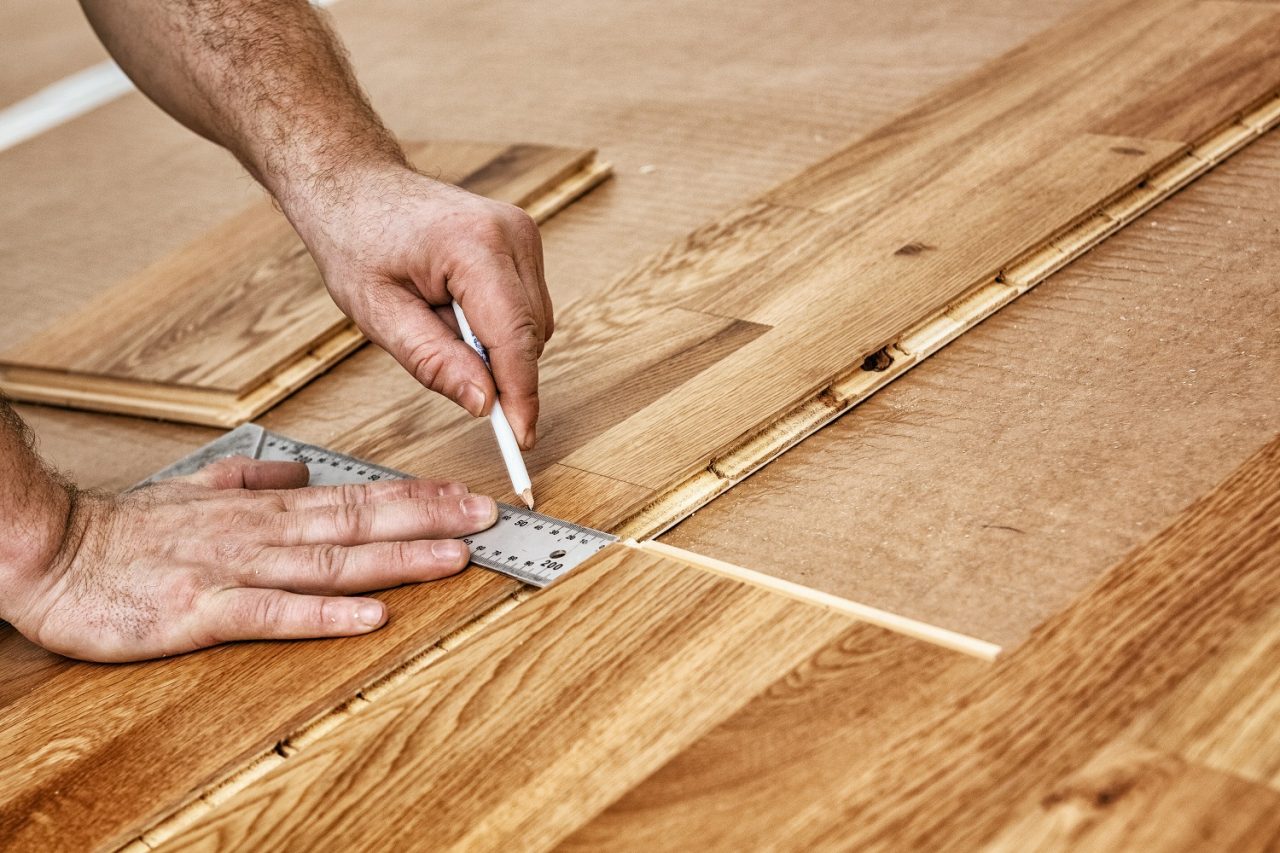
Also, you need to measure the width and length of your room. Ensure you add an extra 5% to the measurement as a cutting allowance.
Remove any trim or millwork that you plan to reuse. And where you need to remove existing flooring, do so at this stage.
You should also mark your wall if you intend to use the nailing method. This way, you can spot the location of your floor joist.
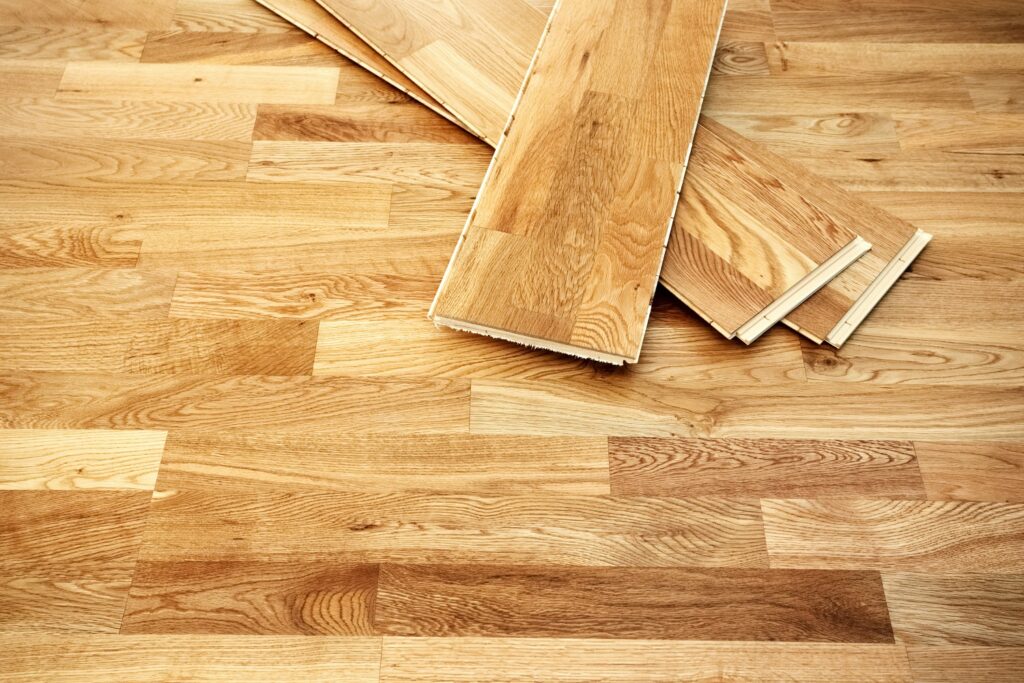
Step 4: Set up the wood flooring
The next step is to install hardwood flooring. Where necessary, the first thing to do is roll the underlayment.
We recommend that you do this by placing the flooring in a parallel position to your room’s longest wall. Ensure you also start from your left and then move to your right hand. You should utilize spacers between your walls and the boards so you can extend them.
You should also make pilot holes if you’re utilizing pneumatic nail guns. Ensure you face-drill the first set of rows, so there’s space for the pneumatic gun.
Your boxes might have floorings that have a slightly different colour. As such, ensure you mix floorings from different bundles. This way, you can create a beautiful appearance that blends in. And more importantly, avoid having a carpet with various colour patches.
Remember to refer to your manufacturer’s hardwood installation tips. This way, you can get the best results.
Step 5: Apply finishing touches
This is the final step of our guide to installing hardwood floors. Also, this is perhaps the most crucial step.
The reason is that you might get complacent and think that you’ve gotten the job done. However, this is the difference between giving your flooring a professional look and a scrappy look.
As such, you’ll need to be extra careful at this stage. To get the best result, we recommend you do the following.
Ensure you cut the boards lengthwise when you get to the final row. Also, based on your manufacturer’s guide, locate contours that you need to cut and fit.
After installing all the rows, remove all the spacers you included earlier. You can then add mouldings and trim to give your hardwood flooring the perfect finish.
Related article: Installing White Oak Engineered Hardwood
The Best Way to Install Hardwood Floors: Final Thoughts
While you’re looking for how to install hardwood flooring, you’ll first need to select a type of flooring. If you haven’t made a choice or are looking to make a choice, we can help you.
You can check out our online store for different top-quality hardwood flooring options. With our eye for aesthetics and quality, we can please your flooring needs.
Related article: Installing Hardwood Flooring in Your Kitchen