Common Mistakes When Installing Vinyl Plank Flooring
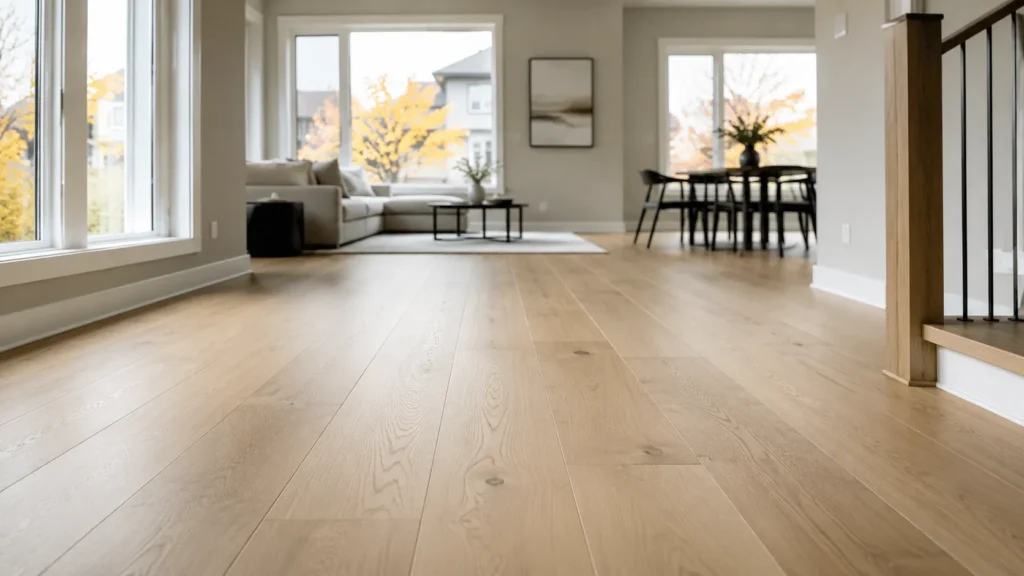
Vinyl plank flooring has become a popular choice for homeowners looking for a durable and stylish option to enhance their living spaces. Its ability to mimic the look of hardwood or stone, combined with its affordability and resilience, makes it a versatile flooring solution for any room.
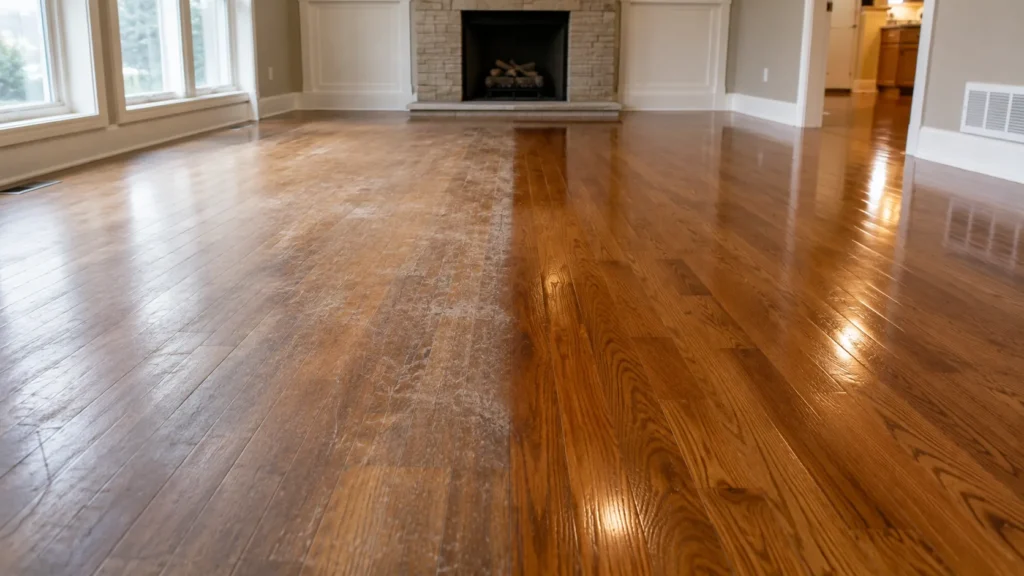
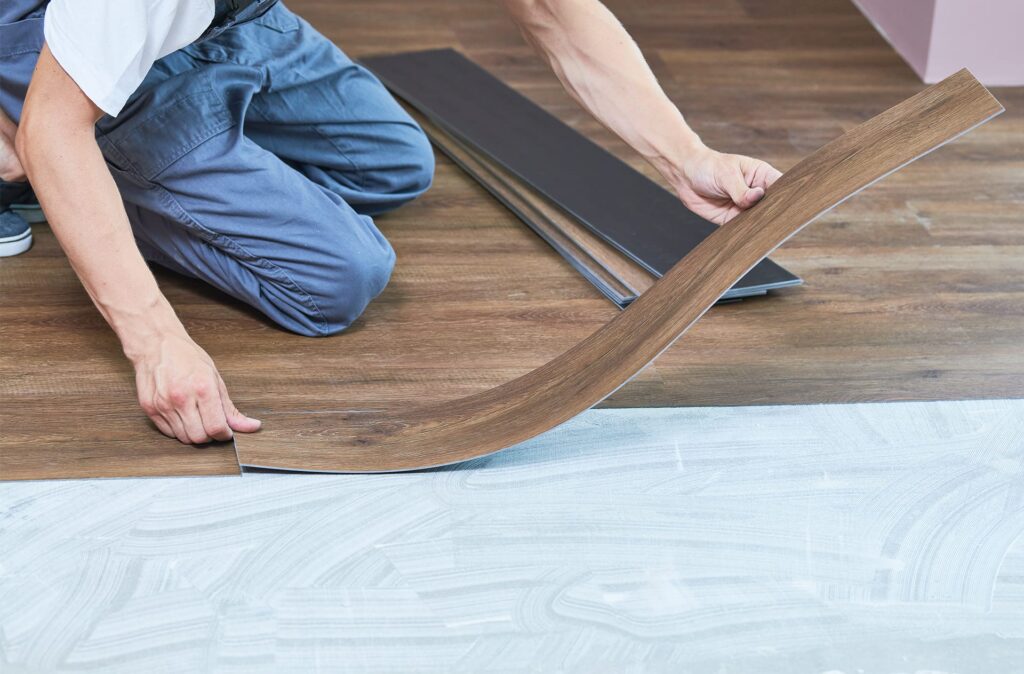
However, proper installation is key to ensuring that vinyl plank flooring performs well and lasts for years. Even minor mistakes during the installation process can lead to issues such as gaps, buckling, or uneven surfaces, detracting from its appearance and functionality.
Common mistakes happen. Learn the importance of professional flooring installation and avoid common pitfalls to help you achieve flawless results.
Related Article: What Type of Vinyl Flooring Should I Use for My Whole House? A Guide to Luxury Vinyl Flooring (LVF)
Choosing the Wrong Type of Vinyl Plank Flooring
Selecting the wrong flooring type can result in long-term problems. Subfloor condition, room usage, and environmental considerations play a critical role in choosing the right product for your space.
Failing to Consider the Subfloor Type
The condition and type of subfloor beneath your vinyl plank flooring significantly impact its performance. Uneven surfaces can cause gaps or buckling, while moisture-prone areas, such as basements or bathrooms, require waterproof or moisture-resistant options to prevent warping or mould growth.
Selecting Flooring That Doesn’t Match the Room’s Usage
Different rooms have different demands, and choosing a product that doesn’t align with the room’s usage can lead to premature wear or damage. For example:
- High-Traffic Areas: Opt for thicker, more durable planks with a robust wear layer.
- Wet Areas: Waterproof vinyl planks are essential for spaces like kitchens, bathrooms, or basements.
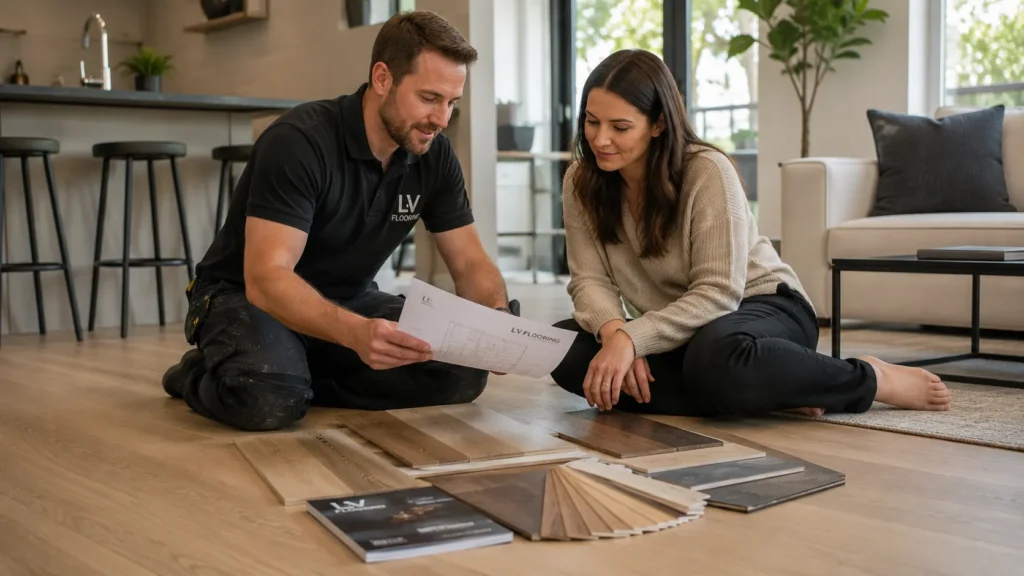
Importance of Consulting Experts
Choosing the right vinyl plank flooring can be overwhelming given the variety of options available. Consulting experts, such as the team at LV Hardwood Flooring, ensure that you select a product tailored to your space, budget, and long-term needs. Their professional guidance helps you avoid costly mistakes and ensures a successful installation.
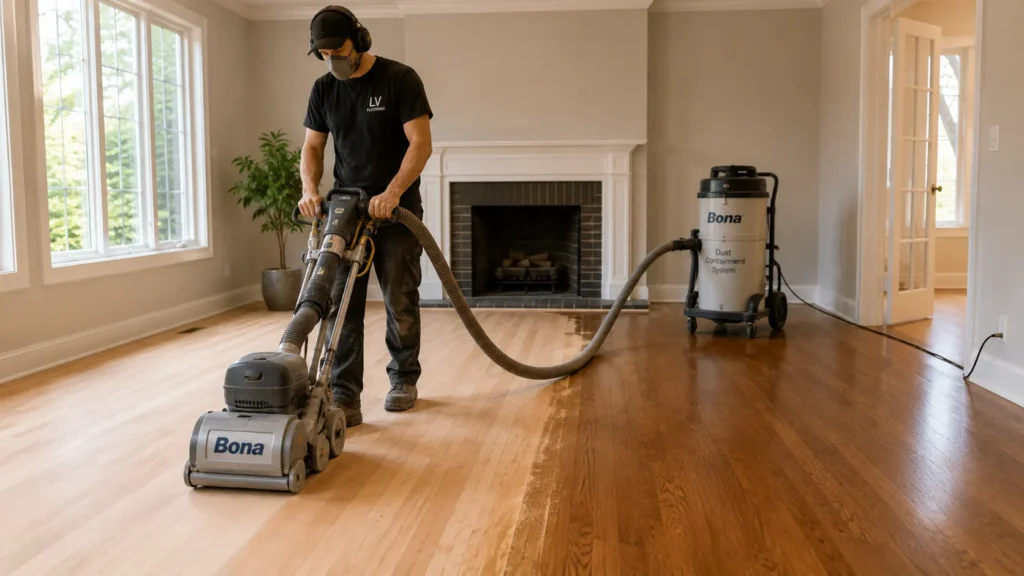
Skipping Subfloor Preparation
The subfloor serves as the foundation for a successful vinyl plank flooring installation. Proper subfloor preparation ensures a smooth and stable surface, helping your flooring look and perform its best for years to come.
- Overlooking Uneven Surfaces: High or low spots disrupt the stability of the flooring and compromise its appearance. Proper levelling with a self-levelling compound or sanding is essential to address these issues before installation.
- Neglecting to Clean Debris: Debris such as dust, dirt, or small particles left on the subfloor can interfere with the adhesive or locking mechanisms of vinyl planks.
- Failing to Check for Moisture Levels: Testing the subfloor for moisture levels and installing a moisture barrier if necessary is crucial to protect your flooring from damage.
Not Allowing the Vinyl to Acclimate
Vinyl plank flooring needs time to adjust to the temperature and humidity of the room where it will be installed. Skipping this important step can lead to long-term issues that compromise the appearance and performance of your flooring.
- Risks of Immediate Installation: Installing vinyl planks straight out of the box without acclimation can cause warping or gaps.
Recommended Acclimation Period and Storage Conditions
To prevent these issues, vinyl planks should acclimate for at least 24 to 48 hours in the room where they will be installed. During this time:
- Store the planks flat on the floor, in their original packaging, at room temperature.
- Ensure the room’s temperature is stable, ideally between 18°C and 30°C (65°F and 85°F), with a relative humidity of 30–60%.

Incorrect Measurement and Cutting
Precision in measurement and cutting is essential for achieving a professional-looking vinyl plank flooring installation. Mistakes in this process can lead to gaps, misalignment, or wasted materials, detracting from the overall appearance and functionality of your flooring.
Misjudging Room Dimensions
One common mistake is failing to accurately measure the room’s dimensions, which can result in:
- Too Little Material: Running out of planks mid-project causes delays and may lead to mismatched batches if additional planks need to be purchased.
- Too Much Material: Overestimating the required planks results in unnecessary costs and waste.
Taking precise measurements and factoring in a 10% overage for cuts and mistakes ensures you have just the right amount of material.
Uneven Cuts
Poor cutting techniques can create planks that don’t fit properly, leading to gaps along walls and corners and improper alignment.
Achieving clean, accurate cuts requires the proper tools, such as a utility knife, straight edge, or a vinyl plank cutter. Using the right equipment ensures precise edges and reduces the risk of damaged planks.
Ignoring Manufacturer’s Instructions
Each vinyl plank flooring product comes with specific installation guidelines designed to ensure optimal performance and durability. Failing to follow these instructions can lead to avoidable issues that compromise the quality of your installation.
Using Incorrect Adhesive or Neglecting Click-Lock System Instructions
Different vinyl plank products require different installation methods:
- Adhesive Installation: Using the wrong type of adhesive can result in poor adhesion, causing the planks to lift or shift over time.
- Click-Lock Systems: Neglecting to properly engage the locking mechanisms can leave gaps or create uneven surfaces.
Overlooking Spacing Requirements for Expansion and Contraction
Vinyl planks expand and contract with changes in temperature and humidity. Ignoring the manufacturer’s specified spacing requirements around walls and fixtures can lead to buckling or lifting and gaps.
Consequences of Voiding Warranties
Improper installation often voids the manufacturer’s warranty, leaving you responsible for repairs or replacements if issues arise. By adhering to the guidelines, you not only ensure a quality installation but also maintain the protection offered by the warranty.
Not Installing Expansion Gaps
Expansion gaps are a crucial component of vinyl plank flooring installation, allowing the material to expand and contract with changes in temperature and humidity. Skipping this step can lead to significant problems that affect both the appearance and durability of your flooring.
Issues Caused by Tight Installations
Failing to leave expansion gaps can cause:
- Buckling or Lifting: When vinyl planks have no room to expand, they can push against each other and buckle.
- Damage to Planks: Tight installations can result in stress on the planks, leading to cracking or separation.
Correct Spacing Guidelines
To prevent these problems, it’s essential to follow proper spacing guidelines:
- Leave a 6–12 mm (1/4–1/2 inch) gap between the flooring and walls, door frames, or fixed objects.
- Use spacers during installation to maintain consistent gaps.
Related Article: How to Fill Gaps in Hardwood Floors

Tips for Maintaining a Clean Finish
Expansion gaps can be concealed for a polished look:
- Install baseboards or quarter rounds to cover the gaps without restricting the planks.
- Use transition strips at doorways or between different flooring materials.
Overlooking Final Touches and Maintenance
The final touches and ongoing maintenance of your vinyl plank flooring are just as important as the installation process. Neglecting these steps can lead to premature wear or an unfinished look, undermining the effort you’ve put into your flooring project.
Failing to Seal Edges or Install Transition Strips
Finishing details such as sealing edges and adding transition strips are crucial for both functionality and aesthetics:
- Sealing Edges: Prevents moisture from seeping beneath the flooring, which can cause warping or damage over time.
- Transition Strips: Ensure a seamless connection between your vinyl plank flooring and adjacent surfaces, improving durability and visual appeal.
Skipping these steps leaves your flooring vulnerable to damage and creates an unpolished appearance.
Related Article: What Are the Benefits of Sealing a Vinyl Floor Before Laying It?
Ignoring Initial Cleaning and Regular Maintenance
Proper cleaning and maintenance help your flooring maintain its beauty and durability:
- Initial Cleaning: Remove any dust or debris from installation to prevent scratches or wear.
- Regular Maintenance: Sweep or vacuum regularly to remove dirt and grit, and use manufacturer-recommended cleaners to avoid damaging the finish.
Related Article: How to Clean Vinyl Flooring?
Get Vinyl Plank Flooring Done Right
Installing vinyl plank flooring can be a rewarding project, but avoiding common mistakes—like skipping subfloor preparation, ignoring manufacturer instructions, or failing to install expansion gaps—is crucial to achieving a long-lasting, professional result.
At LV Hardwood Flooring, we take the guesswork out of the process. With our expertise, high-quality products, and professional installation services, we help you achieve beautiful, durable flooring that enhances your space.
Visit our showroom to explore our wide range of vinyl plank options or contact us today for expert advice and assistance with your flooring project. Let us help you get vinyl plank flooring done right!