How to Install Engineered Hardwood Flooring
Engineered hardwood flooring is a popular choice for homeowners due to its durability, aesthetic appeal, and versatility. Unlike solid hardwood, engineered wood consists of multiple layers, making it more resistant to moisture and temperature changes.
Whether you’re upgrading your home’s flooring or installing engineered wood in a new space, proper installation is key to ensuring a long-lasting, high-quality finish.
This guide will take you through each step of the installation process, from preparation to finishing touches, helping you achieve a professional-grade result.
Related Article: Can I Install Engineered Hardwood Flooring Over Existing Floors?
Step 1: Gather Tools and Materials
Before starting, ensure you have all the necessary tools and materials for a smooth installation.
Tools Needed:
- Tape measure
- Chalk line
- Carpenter’s square
- Level
- Utility knife
- Pry bar
- Rubber mallet
- Nail gun (for nail-down method)
- Flooring adhesive (for glue-down method)
- Tapping block
- Spacers
- Circular saw or mitre saw
Materials Required:
- Engineered hardwood planks
- Underlayment (for floating installation)
- Moisture barrier (if installing over concrete)
- Wood glue or adhesive (if applicable)
- Nails or staples (for nail-down installation)
Having everything ready before starting will make the installation process more efficient and minimize disruptions.
Step 2: Prepare the Subfloor
A properly prepared subfloor is essential for preventing issues such as uneven surfaces, creaking, or premature wear.
- Check for Moisture – If installing over concrete, test for moisture levels using a moisture meter. If levels are too high, use a moisture barrier to protect the flooring.
- Ensure the Surface is Even – Use a level to check the subfloor. If there are any dips or high spots, sand down uneven areas or fill gaps with a levelling compound.
- Clean the Subfloor – Remove dust, debris, and any protruding nails or staples that may interfere with installation.
If installing over existing tile or vinyl flooring, ensure the surface is clean, dry, and firmly adhered to the subfloor.
Related Article: What Should I Know About Installing Hardwood Floors in a Humid Climate?
Step 3: Acclimate the Flooring
Engineered hardwood flooring should be acclimated to the room’s temperature and humidity to prevent expansion or contraction after installation.
- Place the flooring boxes in the room at least 48 hours before installation.
- Maintain an indoor temperature between 60-80°F (15-27°C) and humidity levels between 30-50%.
- Avoid storing flooring in basements, garages, or damp areas to prevent warping.
Acclimating the wood ensures a stable installation and minimizes future movement.
Related Article: Is It Better to Install Hardwood Floors in the Winter or Summer?

Step 4: Plan the Layout
Before installing the first row, plan the plank layout to avoid awkward gaps or uneven cuts.
- Determine the Starting Wall – Begin on the longest, straightest wall of the room.
- Use a Chalk Line – Snap a chalk line to establish a straight reference guide.
- Stagger the Planks – Arrange planks in a random pattern to prevent seams from aligning, which enhances structural integrity and visual appeal.
Proper planning reduces material waste and ensures a professional-looking result.
Step 5: Choose the Installation Method
There are three main installation methods for engineered hardwood flooring, depending on the subfloor and product type:
Floating Installation (Click-Lock System)
- Best for plywood, concrete, or existing flooring.
- Planks are clicked and locked together without nails or glue.
- Underlayment is placed beneath the planks to provide cushioning and noise reduction.
- Steps: Lay underlayment → Connect planks using the click-lock system → Use spacers along walls for expansion gaps.
Glue-Down Installation
- Best for concrete subfloors or when extra stability is needed.
- The adhesive is applied directly to the subfloor before laying planks.
- Steps: Spread adhesive using a trowel → Press planks firmly into place → Wipe excess glue before it dries.
Nail-Down Installation
- Best for wood subfloors (plywood or oriented strand board (OSB)).
- Planks are secured with nails or staples using a flooring nailer.
- Steps: Lay the first row → Secure planks with a nail gun → Continue staggered installation.
Choose the installation method best suited for your flooring type and subfloor condition.
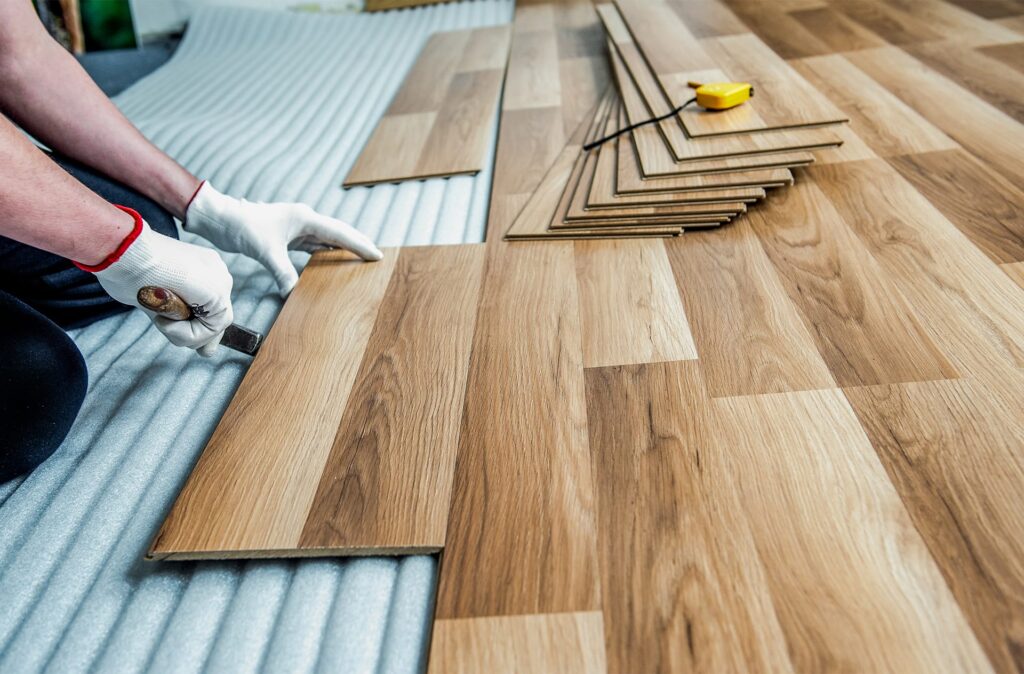
Step 6: Install the Flooring
Once the layout is planned and the installation method is chosen, begin installing the planks.
- Start with the First Row – Position the first plank along the chalk line, leaving a 1/4-inch expansion gap along the walls.
- Connect Each Plank – For floating floors, click the planks together. For glue-down installations, apply adhesive before pressing the plank into place. For nail-down installation, secure planks every 6-8 inches with a nail gun.
- Continue Staggering Planks – Arrange planks in an offset pattern for a natural look and structural strength.
- Use a Tapping Block – Tap planks gently into place to ensure tight seams.
- Cut Planks as Needed – Use a circular saw or mitre saw to trim pieces for the edges and corners.
Taking time to install each plank carefully prevents gaps, misalignment, and future damage.
Step 7: Add Finishing Touches
After all planks are installed, complete the project with finishing details to ensure durability and a polished look.
- Remove Spacers and Install Baseboards – This covers the expansion gap and provides a seamless finish.
- Inspect for Gaps or Loose Planks – Walk across the floor and check for loose sections that may require adjustment.
- Clean the Floor – Use a soft broom or vacuum to remove dust and debris. Avoid excessive moisture when cleaning.
For glue-down installations, allow 24 hours for the adhesive to set before walking on the floor.
Related Article: How to Fill Gaps in Hardwood Floors

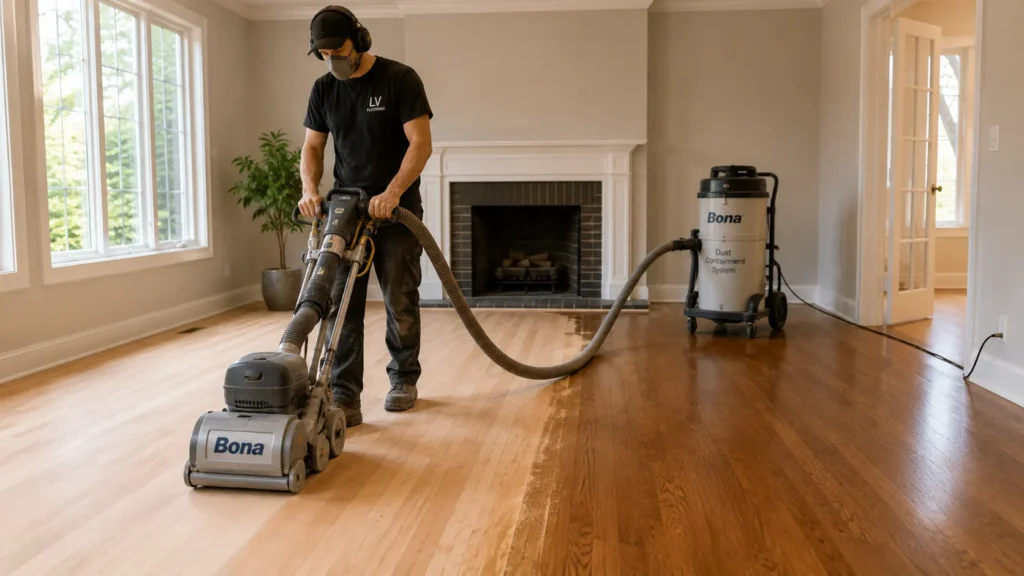
Why Choose Professional Installation?
While DIY installation is possible, hiring professionals like LV Flooring ensures precision, efficiency, and long-term durability.
- Expert Handling – Professionals have the tools and experience to install flooring without gaps, misalignment, or damage.
- Time-Saving – A professional team can complete installation faster while maintaining high quality.
- Warranty Protection – Many manufacturers require professional installation to maintain warranty coverage.
LV Flooring provides expert installation services to ensure a flawless engineered hardwood floor that enhances your home’s beauty and longevity.
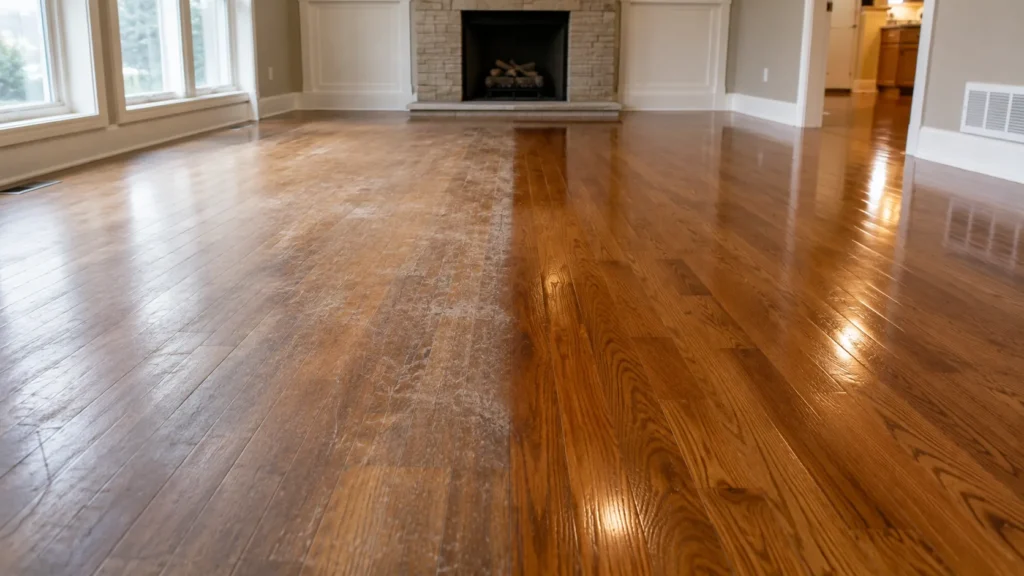
Enjoy a Seamless Engineered Hardwood Installation
Installing engineered hardwood flooring is a rewarding project that enhances the look and feel of your home. Whether using a floating, glue-down, or nail-down method, careful preparation and proper technique ensure a stable, long-lasting finish.
For homeowners seeking a hassle-free, professional installation, LV Flooring offers expert services and high-quality flooring options in Toronto.
Reach out to us today for a free consultation and quote to get started on your flooring project.