← All project collections
PROJECT JOURNAL / INSTALLATION IN PROGRESS

Stair tread and riser installation
A photo journal from the LV Flooring team showing the visible stages of stair tread and riser installation. Follow the exposed stair base, the first fitted steps and the cladding progressing up the flight.
Site photographs supplied by Anton. This journal documents work in progress.
Exposed stair base before the visible tread and riser claddingStair flight with newly fitted treads and risers and protective tape
STEP 01

The starting point

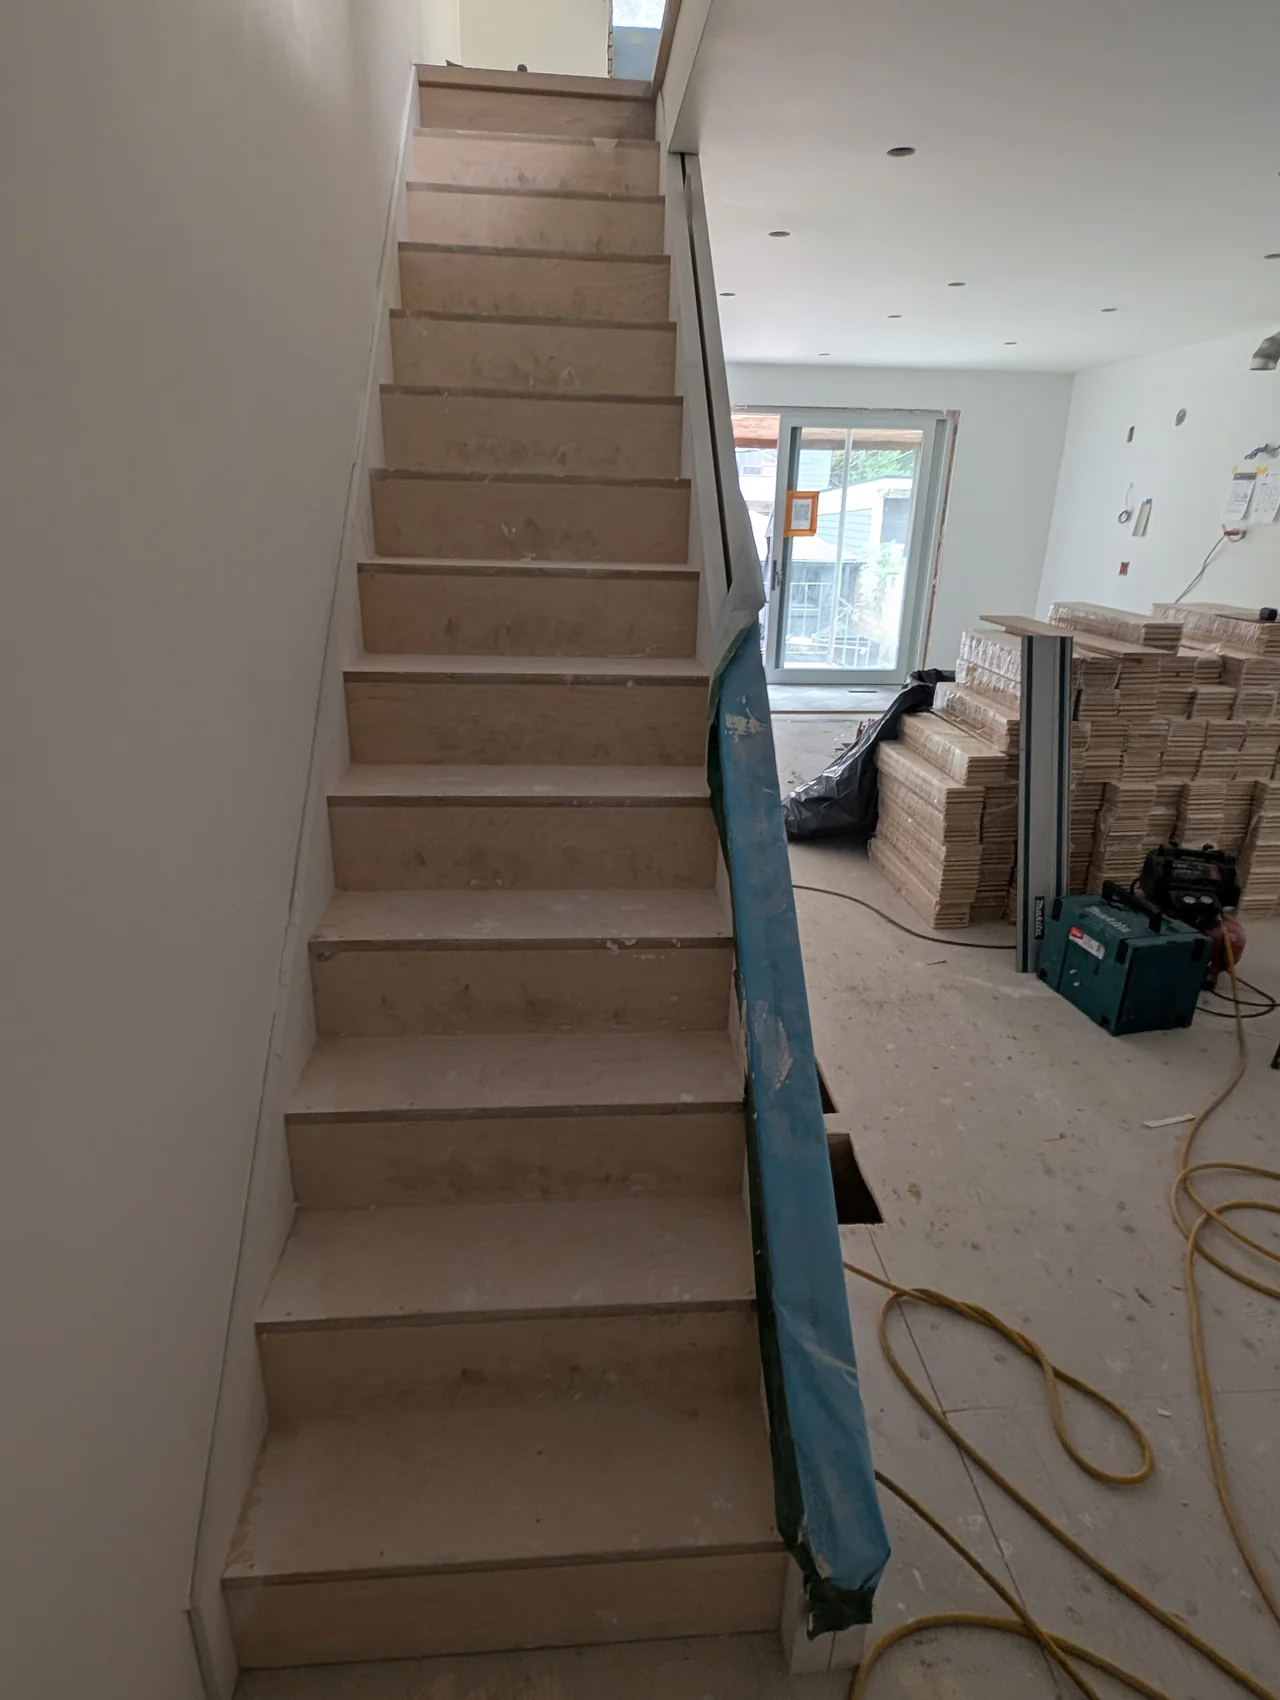
The first view shows the exposed stair base, the surrounding walls and the open renovation area. It gives a useful reference for understanding what changes as the new tread and riser surfaces are fitted.
Exposed stair base beside a renovation work area
STEP 02

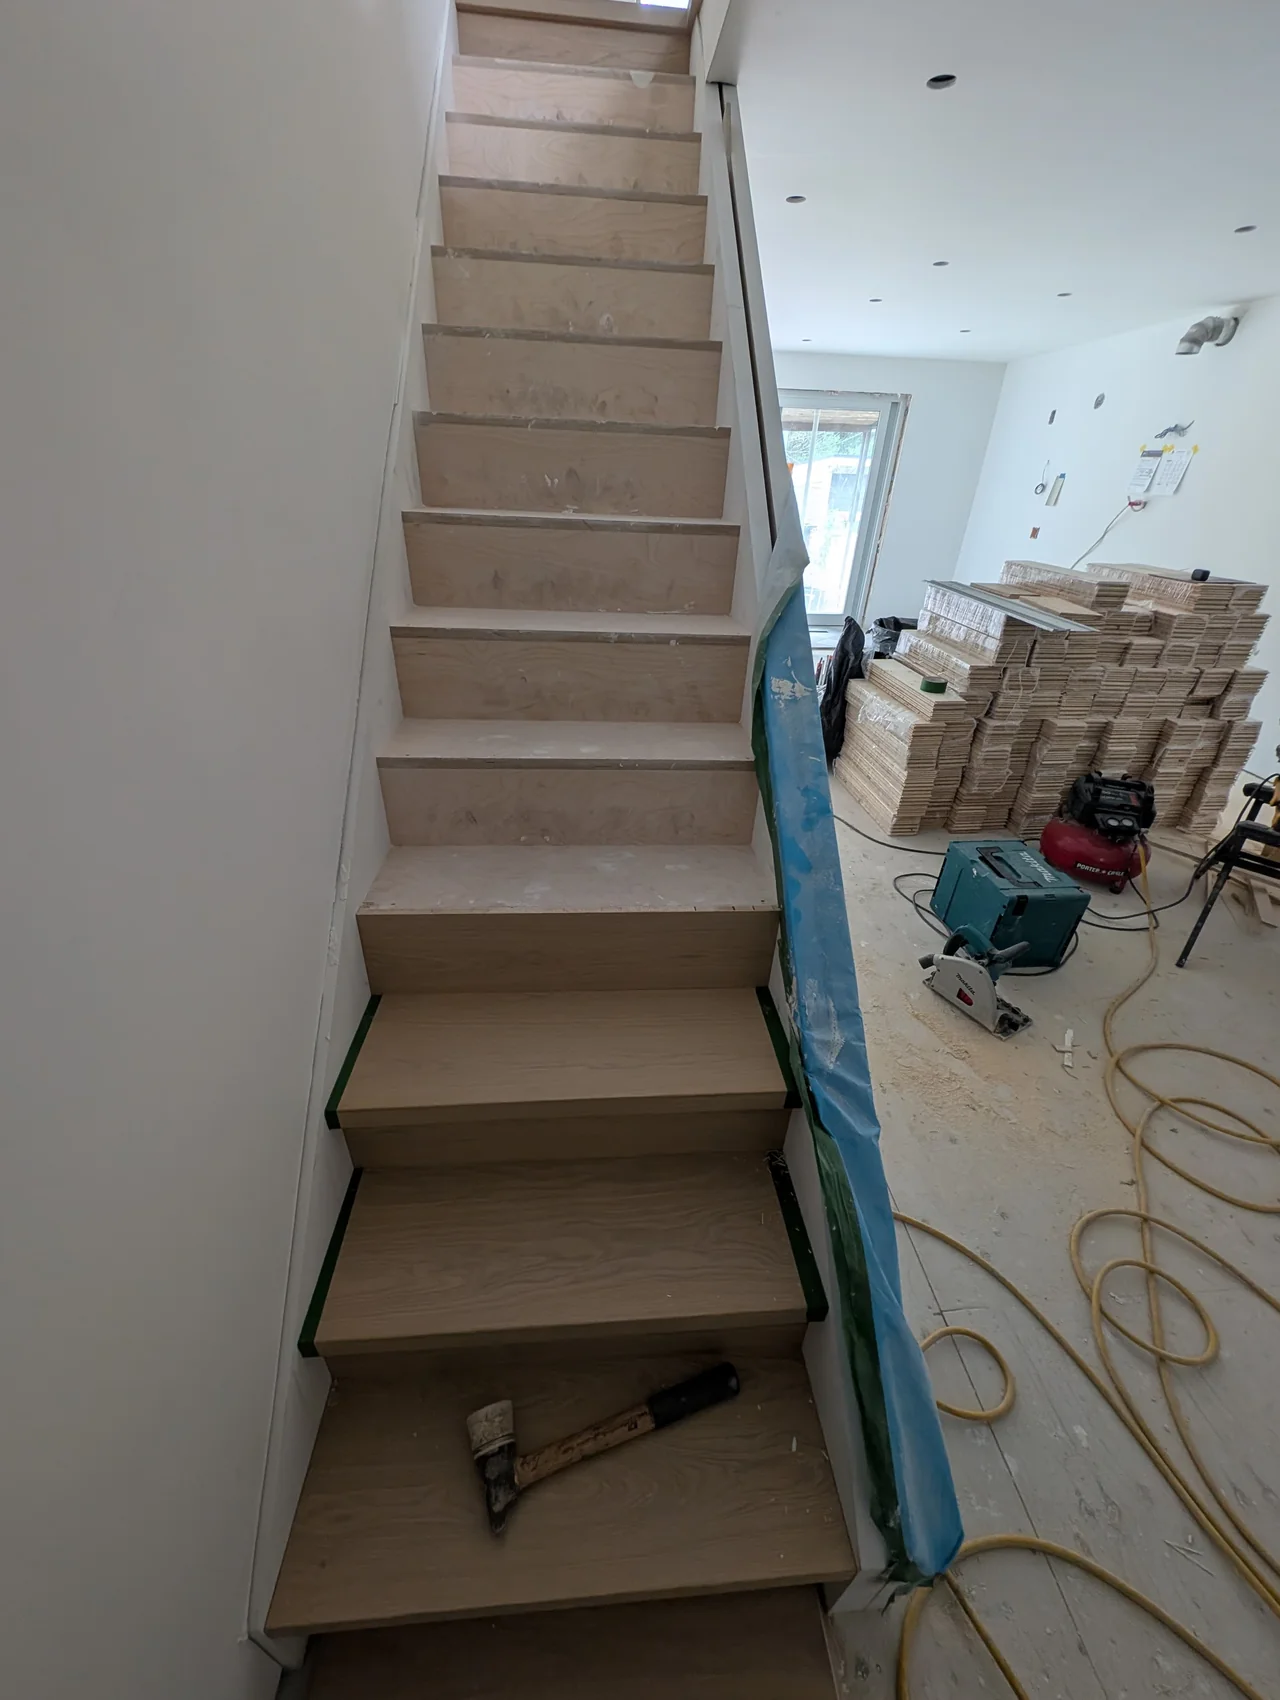
The first steps take shape

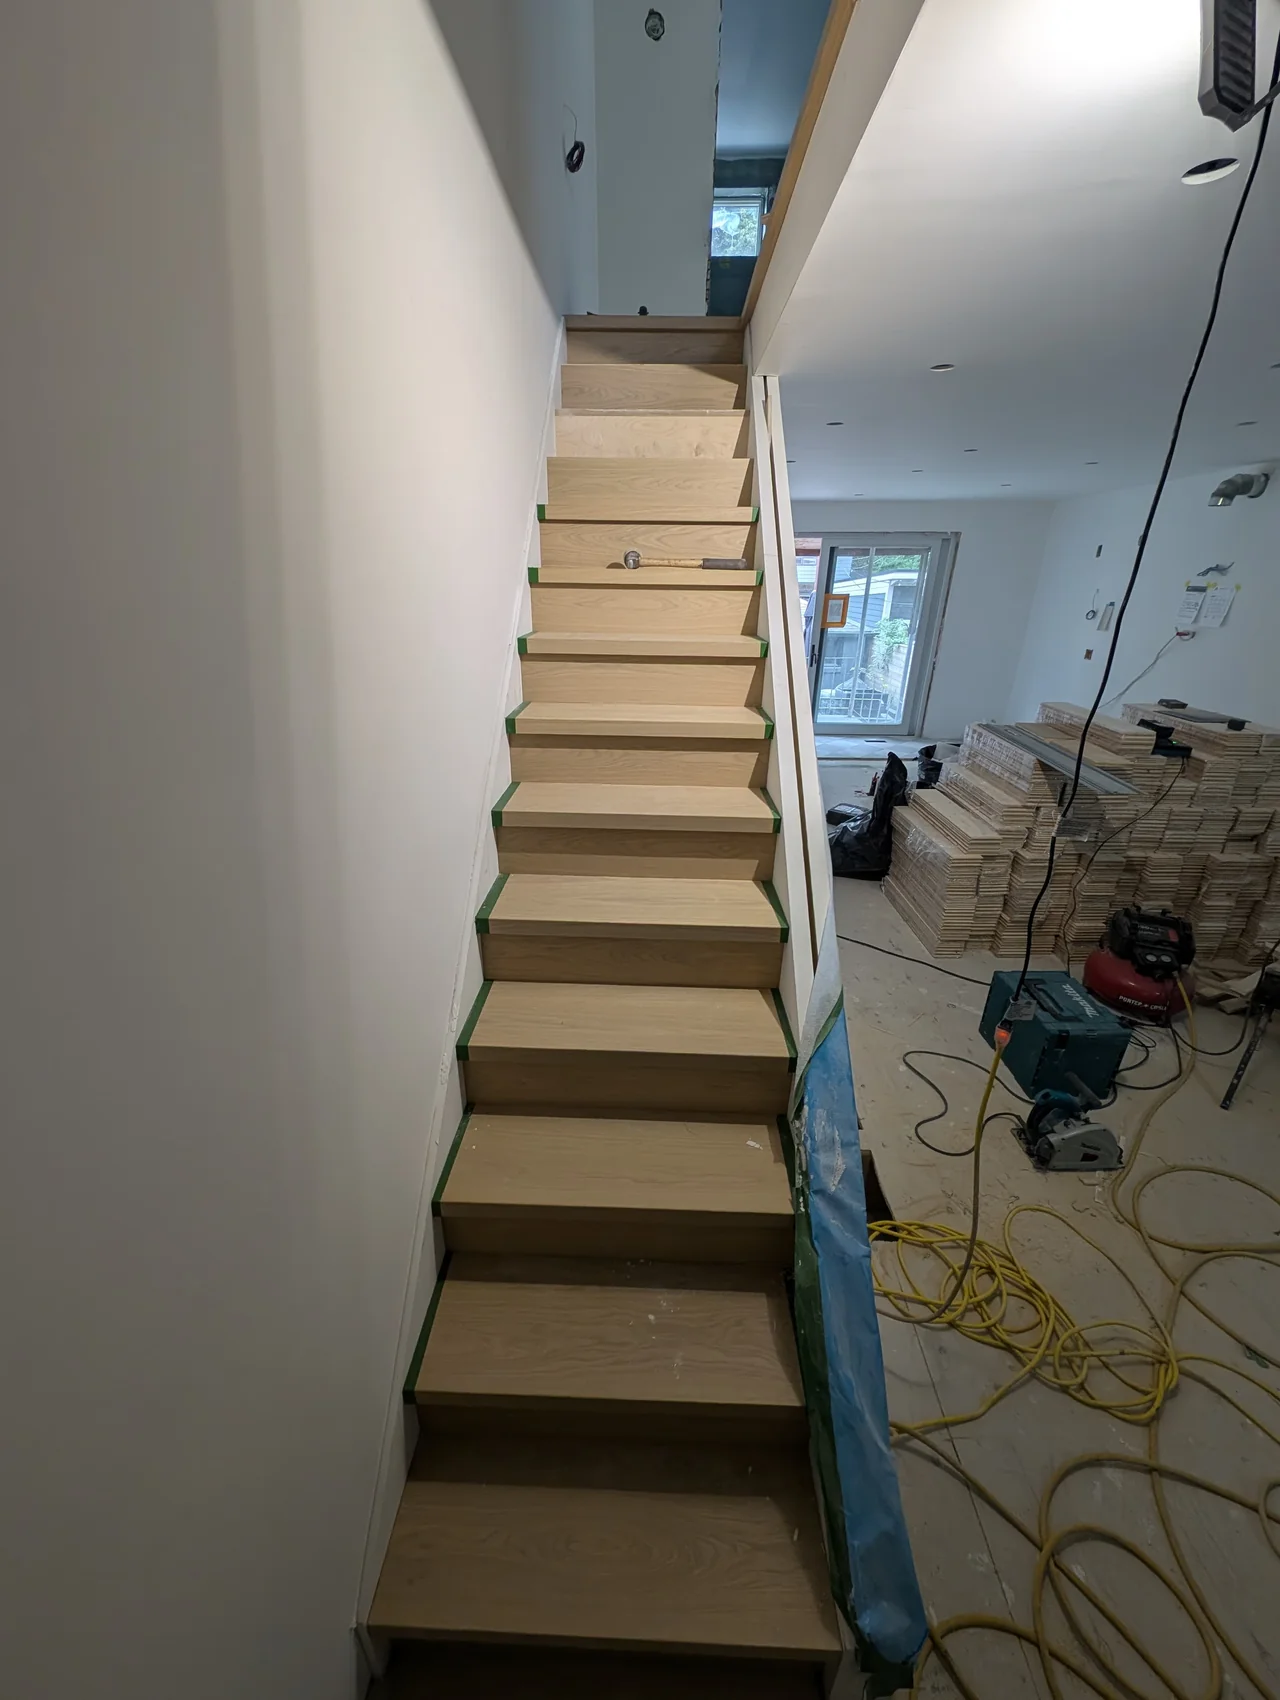
The lower steps have their new surfaces while the upper flight remains exposed. This view makes the difference between the stair base and its new cladding easy to see. Green tape is visible at the sides of the fitted steps.
New cladding on the lower stair steps with the upper base still exposed
STEP 03

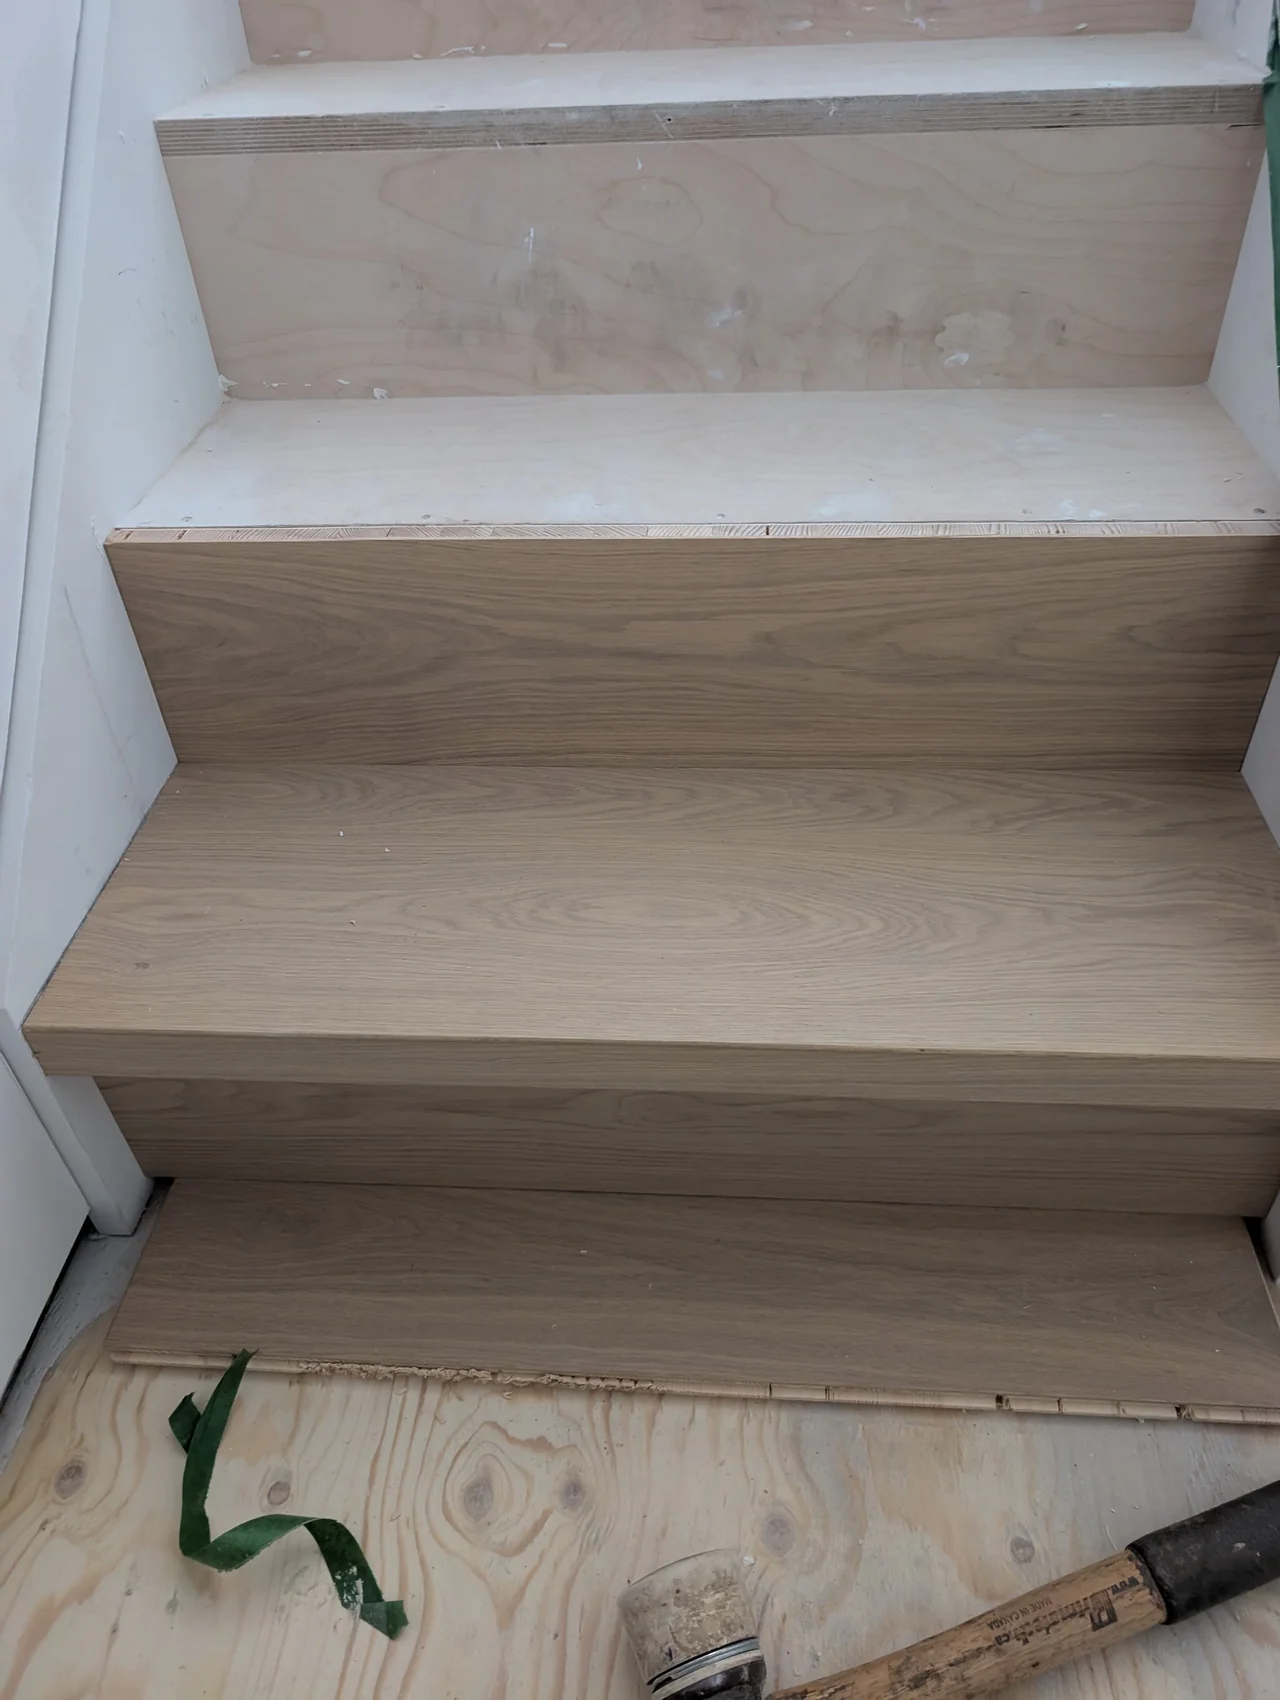
A closer look at the junctions

The close view brings the tread, front edge and vertical riser into focus. These connections are worth including in a flooring brief, especially when the staircase needs to sit comfortably beside a new floor or a retained landing.
Close-up of the tread edge and riser beside unfinished steps
STEP 04

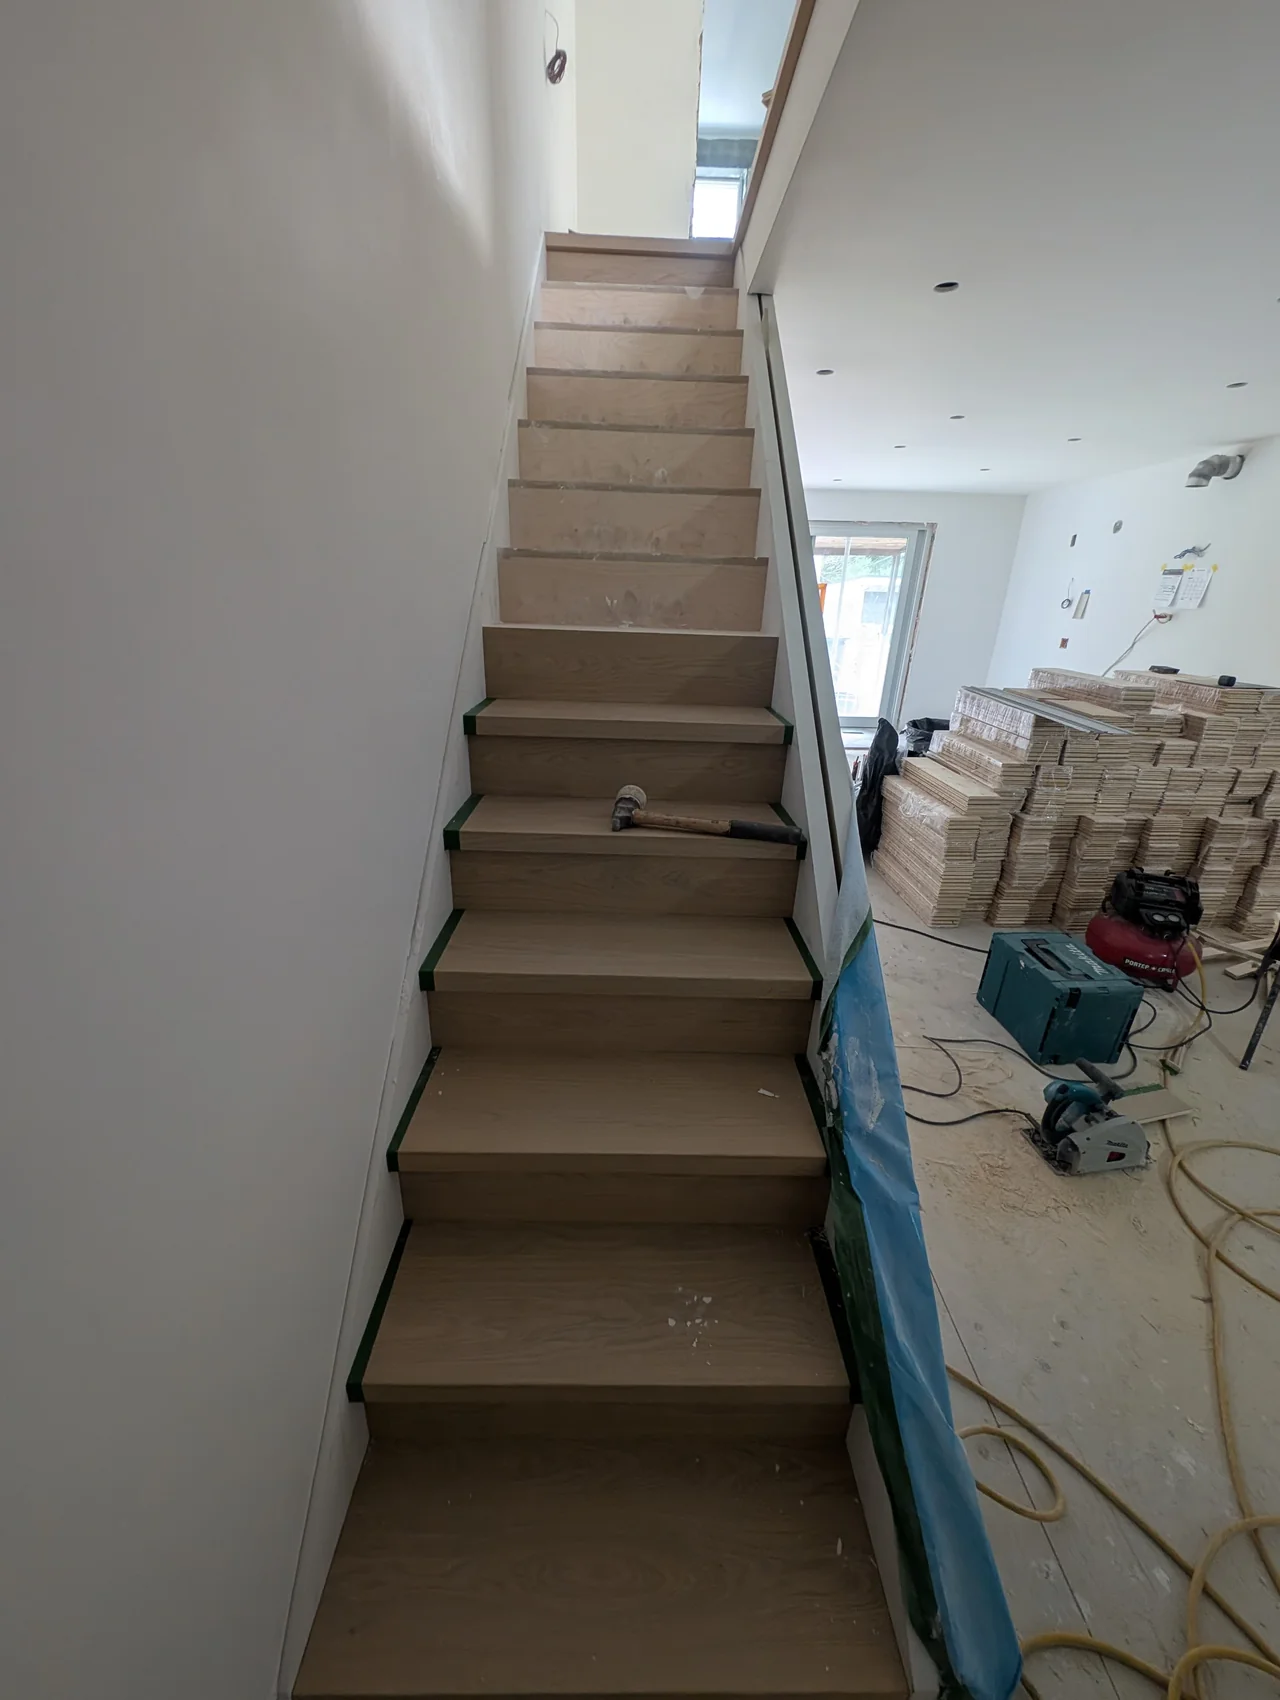
Progress up the flight

The installation has advanced farther up the staircase in this photograph. Keeping a similar viewpoint makes the progress clear, while the tools and surrounding work area show the setting in which the surfaces are being fitted.
Tread and riser installation progressing up the staircase
STEP 05

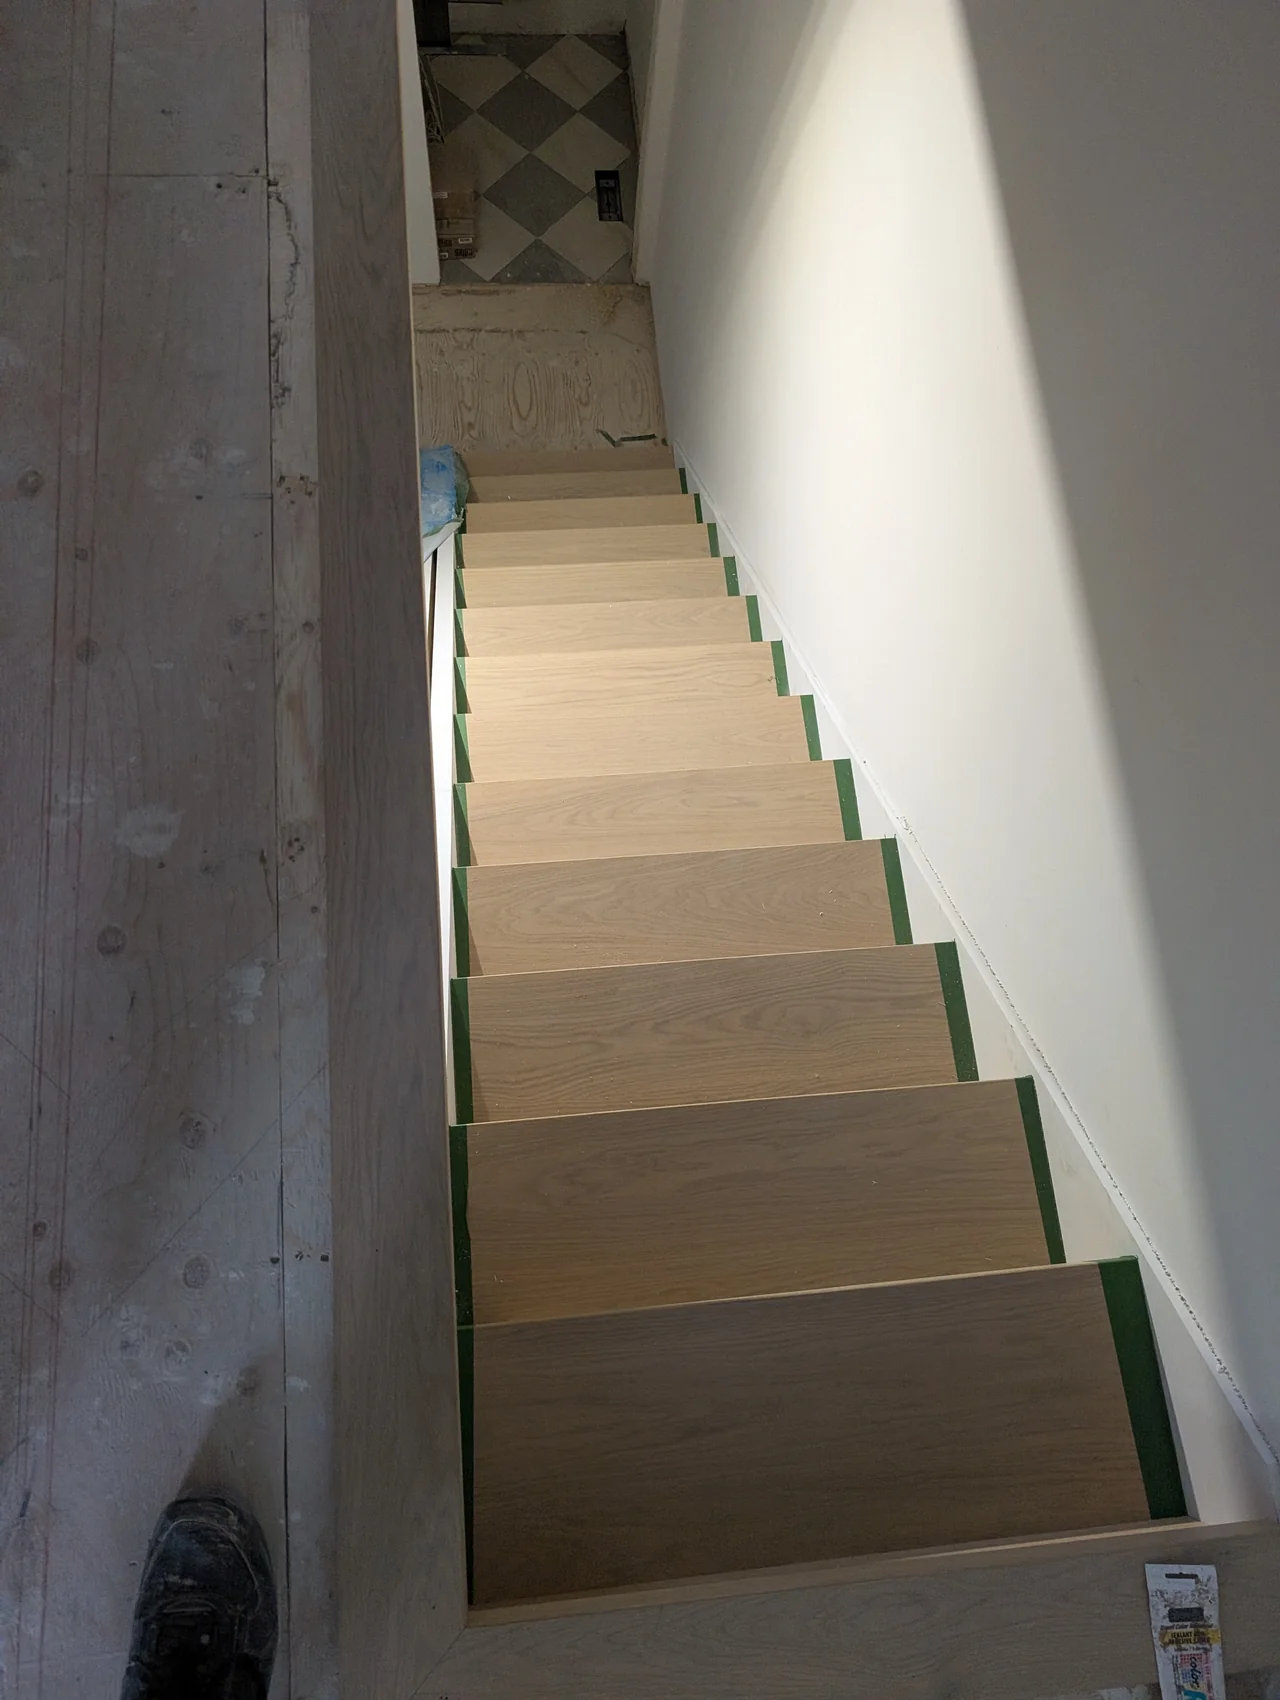
The flight from two viewpoints

The final views in this set show the clad steps from below and from the upper level. Tape and ongoing renovation work are still visible. These are installation-stage photographs, rather than a final handover record.
View down the newly clad staircase from the upper floor

Thinking about your own staircase?

Bring photographs of the full flight, close-ups of the step edges and views of the upper and lower landings. Include any adjoining flooring you plan to keep. These details help the team understand the scope before discussing materials, finish and installation.
Discuss your stair projectExplore stair partsStair refinishing servicesNorth York flooring servicesToronto flooring services

Planning a similar staircase in Toronto or North York

This stair tread and riser installation journal helps explain what to include when discussing new stair surfaces. The photographs show the exposed base, the first fitted lower steps and the cladding progressing up the flight. Close views make the meeting points between a tread, its front edge and the vertical riser easier to discuss than a single finished-room photograph.

For your own project, start with our Toronto flooring services or North York flooring team. Send a view of the complete flight, both landings and the adjacent flooring. Note which finishes will remain and whether the surrounding renovation is still in progress.

Ask the estimate to identify the surfaces being fitted, the stair parts included and how the upper and lower connections will be handled. Use the stair parts selection to discuss materials and visible edges. If the aim is to retain existing wood surfaces, compare the scope with stair refinishing before deciding on replacement.

The latest photographs in this journal still show protective tape and work around the staircase. They document an installation stage. For other ways floors and landings can connect, see the stair treads, railings and landings collection.