How to Test Hardwood Samples in a North-Facing Room Before Winter
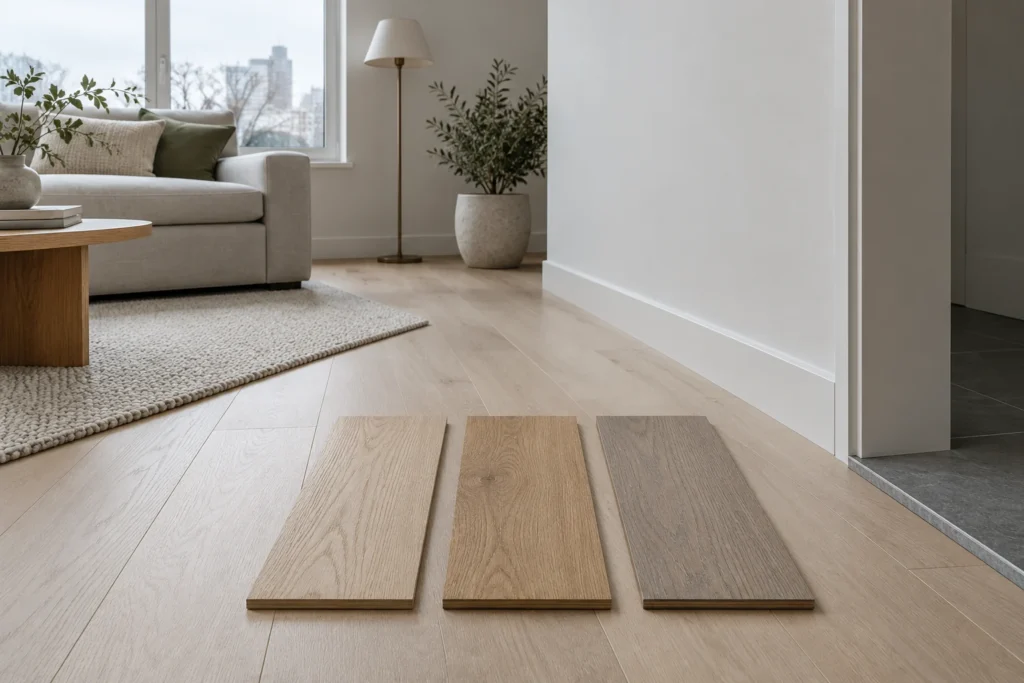
Test hardwood samples flat on the floor, in the same positions, during daylight and under the lamps you normally use after dark. For a north-facing room, a controlled comparison is more useful than choosing a colour from one showroom visit or a phone photograph.
This is a practical test for a shortlist of two or three products before winter. It will help you identify a sample that works beside your existing walls, furniture and adjoining floor, without turning the decision into a search for one supposedly perfect “north-facing” colour.
Why one daylight check is not enough
Benjamin Moore’s guidance on northern exposure describes light that can be cool and muted, and recommends observing colour in the actual room during the day and evening. Its advice concerns paint, but the useful starting point here is the room’s lighting: do not assume the showroom reproduces it.
For flooring specifically, Mirage recommends viewing samples at home under different lighting conditions. The routine below turns that advice into a repeatable comparison. It is a homeowner’s decision aid, not a laboratory colour measurement.
Start with the room you actually have. Note any second window, deep balcony, neighbouring wall or large tree, and whether the room is mainly used during daylight or in the evening. “North-facing” alone does not tell you how every part of the floor will look.
1. Gather a small, clearly labelled shortlist
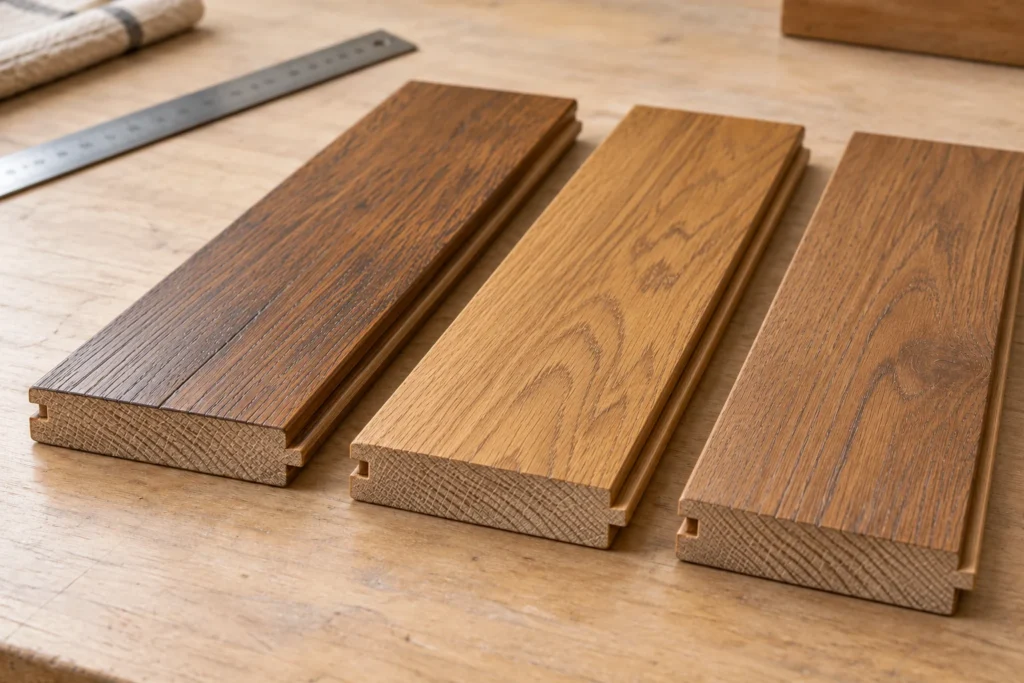
Choose two or three candidates and record the manufacturer, collection, colour, sheen and texture for each. Give them simple labels, such as A, B and C, on cards placed beside the samples. Do not attach labels or tape to your existing floor.
Compare finished samples that represent what you are considering buying. An unfinished offcut cannot show the appearance of a finished product. If the project involves a site-applied stain and finish, ask for a representative sample of that combination rather than treating a stain chart as the finished result.
Where practical, use similarly sized samples. If one is much larger, record that limitation rather than interpreting its stronger visual presence as proof that the colour is better. Ask what additional boards or display panels are available if a small piece leaves you uncertain.
2. Establish three floor-level positions
Choose three places that answer different questions:
- Near the window: where the room receives its strongest available daylight.
- In the usual sitting or walking area: where you will see the floor most often.
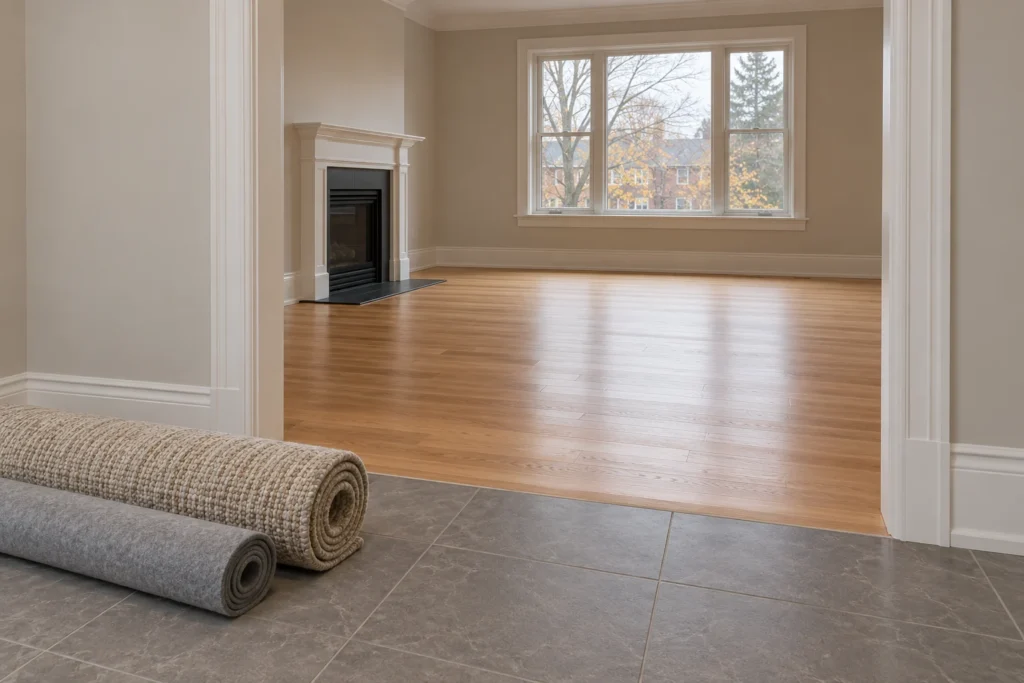
- At a transition: beside flooring, cabinetry or another fixed finish that will remain.
Lay the samples flat, with the grain pointing in the proposed installation direction. Keep them clear of walkways and lift them when moving them. Inspect the backs for grit or sharp edges before placing them on an existing finished floor.
Begin with all candidates together at the first position. Compare them from a normal standing view and from the chair or sofa you use. Then move the same group to the other positions. Avoid comparing sample A by the window with sample B in the darkest corner: that changes the location and the product at the same time.
Swap their left-to-right order for a second look. If the preferred sample changes when its position changes, investigate the local light or reflection before eliminating a colour.
3. Run a daylight pass with the lamps off
Choose a time when you can assess the room comfortably without electric lighting. Keep blinds or curtains in their normal daytime position and record whether the sky is clear or overcast.
At each position, make short notes about three things:
- Colour cast: does the sample look more grey, pink, yellow or brown than you expected?
- Contrast: does it sit comfortably beside the wall, cabinet or adjoining floor that will stay?
- Surface appearance: can you see the grain and texture as you would like, or does a reflection dominate from your normal viewpoint?
Describe what you see instead of recording only “nice” or “too dark.” A note such as “A looks pink beside the existing tile” is something you can discuss at the showroom.
4. Repeat after dark with your normal lighting
Return the samples to the same positions and turn on the lamps and ceiling lights you normally use. Keep dimmers at their usual settings. For the first evening pass, do not change the bulbs to make a favourite sample look better.
If the room has several common lighting arrangements, test them separately. A living room used with reading lamps may look different from the same room with every ceiling light on. Write down which lights were on for each observation.
If new lighting is already part of the renovation, treat that as a second test. Repeat the same sample arrangement under the proposed lighting when it can be demonstrated. Do not combine a change of bulb, sample and sample position into one comparison and expect to know which change helped.
5. Use a simple observation sheet
One row per sample and viewing condition is enough. The entries below are prompts, not predicted results:
| Record | What to write |
|---|---|
| Sample and position | A, B or C; window, sitting area or transition. |
| Light | Time, weather, curtains and which lamps or dimmers were used. |
| Colour and contrast | The specific cast or mismatch you notice beside a fixed finish. |
| Sheen and texture | What you see from standing and seated viewpoints. |
| Decision | Keep, reject or check again, with one reason. |
If two candidates remain close, repeat the comparison on another day rather than adding six more samples immediately. Give extra attention to the lighting under which you spend the most time in that room.
6. Check each finalist on its own
A side-by-side shortlist helps you spot differences. A final look with only one candidate present helps you judge it against the room rather than against the other samples. Repeat this at the transition and in your usual sitting area.
Leave the permanent finishes in view. Bring an upholstery swatch or a cabinet sample if those items are changing, but avoid surrounding the floor sample with a complete new scheme that you have not decided to buy. Record which items are confirmed and which are still possibilities.
Phone photos can preserve the layout and your notes, but make the final colour decision in person. If you take pictures, use the same viewpoint, include the sample labels and avoid filters. An attractive photograph is not a colour-match guarantee.
7. Confirm what a small sample cannot show
Before ordering, ask to see the product’s expected board-to-board variation, grade, dimensions and texture over a larger area. Mirage, for example, states on its Oak Wedding Day product page that its small sample validates colour, texture and finish, not the final product’s technology, grade or width. Check the limits for the specific sample you are using.
For the broader decorating decision, our guide to choosing a floor colour considers the room and its furnishings. This test has a narrower job: deciding whether your shortlisted products work in your own north-facing room’s lighting.
Bring the observations back to the showroom
Contact LV Flooring to discuss your shortlist and ask about current sample options. Bring the product labels, your observation sheet and photos showing the room and adjoining finishes. Ask to compare the finalists with a larger display before placing an order.
The goal is a choice you still like in the centre of the room after dark, not only one that looks good next to the window at noon.
Tag