Tile-to-Hardwood Entryway Transitions: Heights, Expansion and Door Clearance
Editorial date: October 11, 2026, 9:00 a.m. America/Toronto. First published: October 23, 2026.
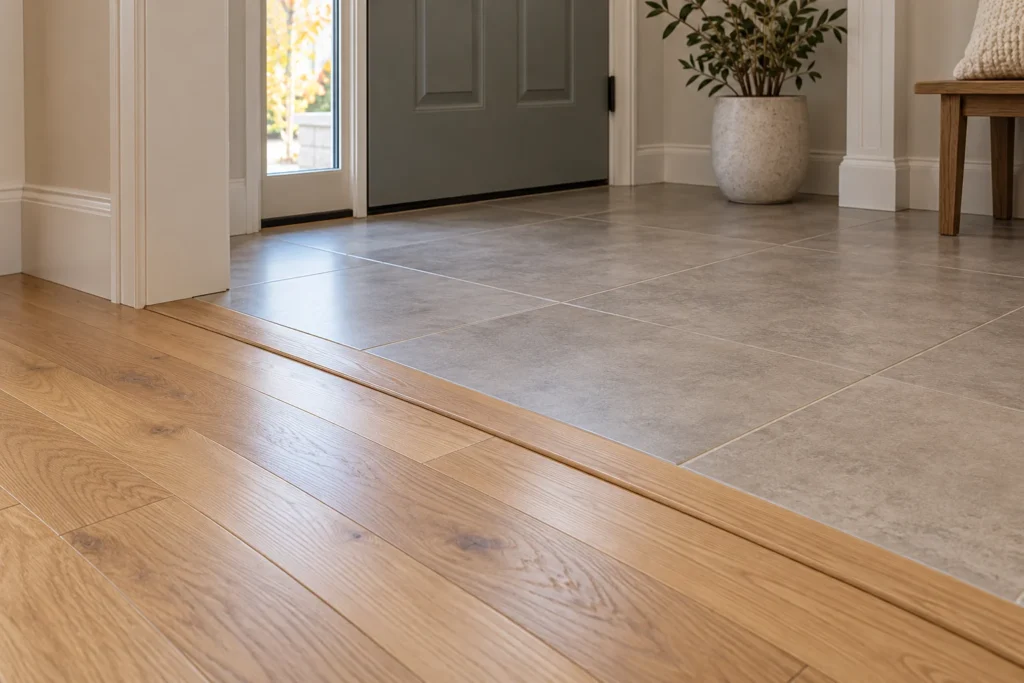
A tile-to-hardwood transition near the front door needs four checks before you choose a strip: the finished height on each side, the wood floor’s movement allowance, the profile’s attachment detail and the clearance beneath the opening door. A colour-matched moulding cannot compensate for a joint that traps the wood or catches the door.
For a Toronto entryway refresh before winter, make those checks while the flooring build-up can still be changed. This guide covers the interior join between a tiled entrance and an adjoining hardwood floor. The exterior door sill, weather seals and drainage are separate details that must remain functional.
Measure the finished assembly, not just the tile and plank
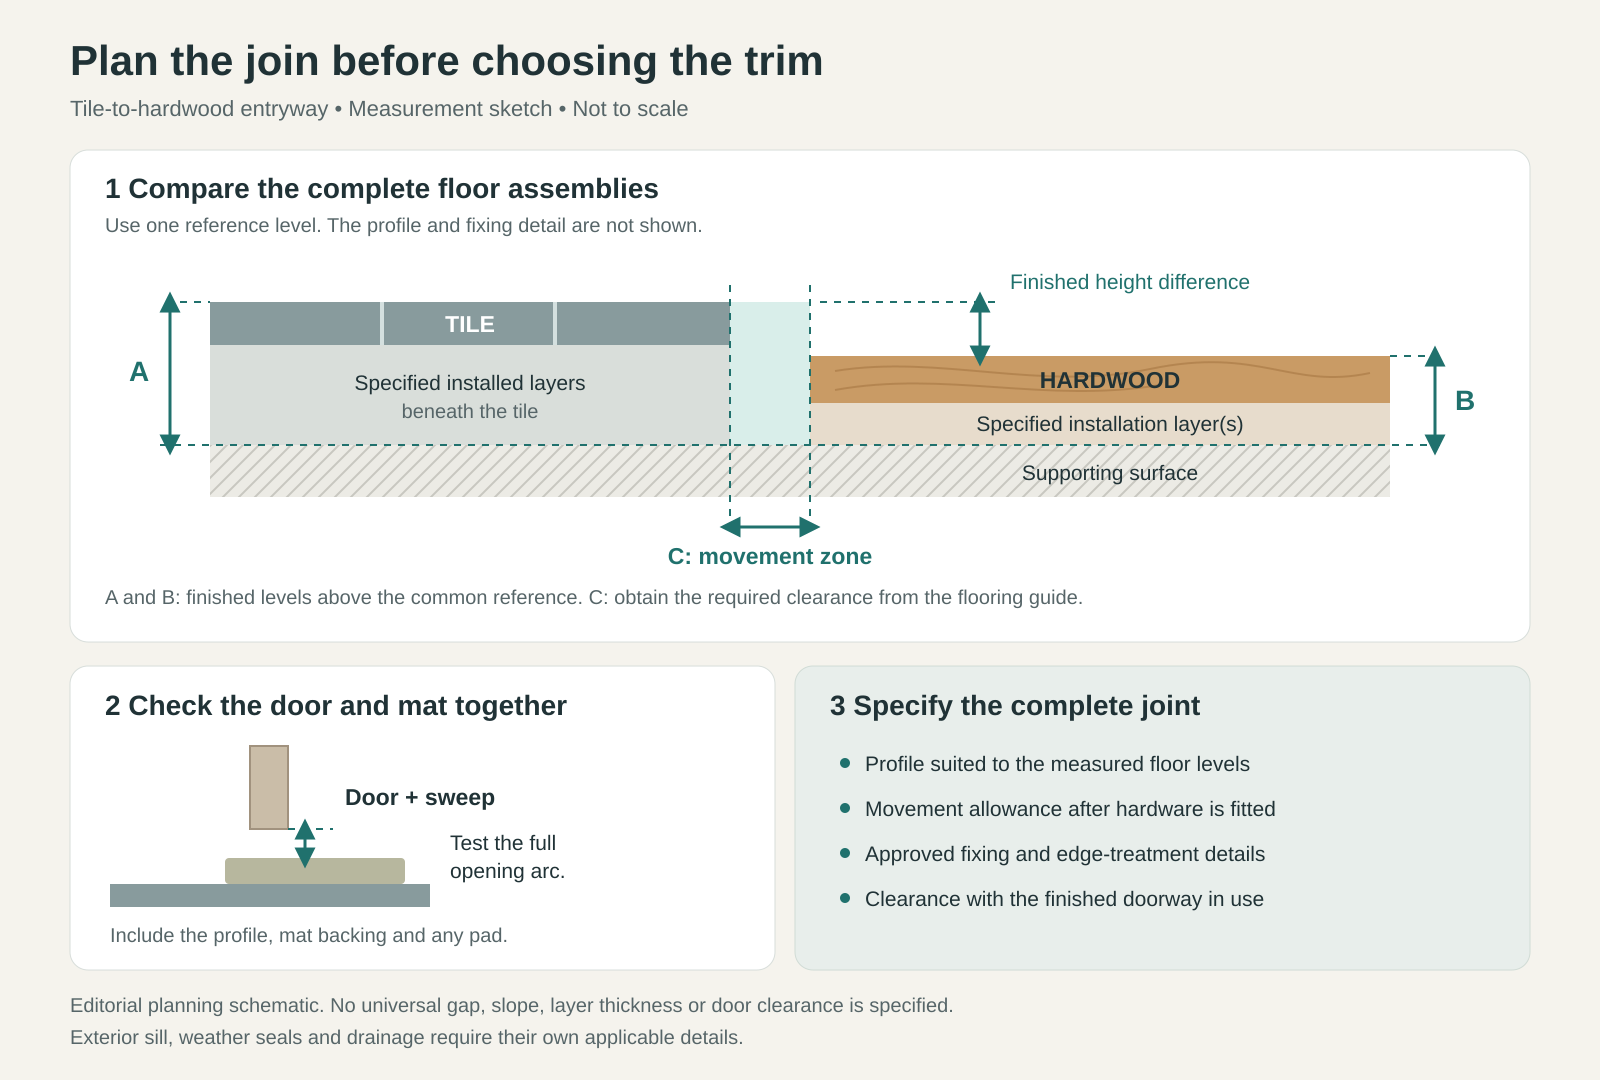
Two samples of similar thickness do not necessarily produce level finished floors. Ask the installer to draw both assemblies from the supporting surface upward, including every specified layer.
- Tile side: the supporting surface, any preparation or backer layer, membrane if specified, installed mortar beds and tile.
- Wood side: the supporting surface, any preparation, the approved adhesive or underlay where required, and the hardwood.
- The joint: the finished height difference along the full meeting line, not just at one corner.
- The doorway: the door’s lowest moving edge, its sweep, and the proposed mat and pad.
Use one common reference level. If the subfloor steps up on one side, two equal build-up thicknesses will still finish at different elevations. Where the layers are not yet installed, use the specified installed thicknesses and confirm the result with the installer before ordering the transition.
Choose the transition type after the heights are known
When the finished surfaces are at the same height
A compatible T-moulding may be an option. Bruce’s trim guide describes T-mouldings as transitions between equal-height floors and as covers for expansion joints. That describes their intended role; it does not establish that every T-moulding will fit your joint.
Check the required opening, the position of any stem or track, the overlap onto each surface and the height of the visible cap. A narrow-looking profile can still need substantial room underneath. The floor’s required movement space must remain available after the hardware is installed.
When one side is higher
Look for a reducer or other transition designed for the measured height difference. Confirm which side is higher before selecting the piece. A reducer intended to descend from hardwood does not automatically solve a higher tile edge.
For example, Schluter RENO-V is designed to connect tile to a lower floor covering using a movable transition arm. Its anchoring leg is installed in the mortar beneath the tile. That makes its installation stage important: it is not simply a strip to choose after both surfaces are complete. Its suitability beside your hardwood still needs to be checked against the wood floor’s movement requirements.
If no compatible profile handles the actual difference, revisit the floor build-up rather than forcing a trim into a job it was not designed to do. Discuss walking aids, strollers and other wheeled use with the installer as part of that decision.
Keep the hardwood’s movement allowance separate from the visible joint
A neat line at the surface does not tell you whether the wood has enough space underneath. The relevant instruction depends on the flooring product and whether it is floated, glued or mechanically fastened.
As one specific example, the Mirage TruBalance / Northern Solid Sawn installation guide, section 4.3, requires at least 1/2 inch (13 mm) around fixed objects for its floated installation and says no part of that floating floor is to be attached to a surface. The guide gives different details for other installation methods. The 13 mm figure is an example for that system and method, not a universal tile-to-wood gap.
Ask the installer to identify the nearest fixed obstruction in the proposed joint, including a transition track or stem. Then have them show where the required clearance is measured and how the profile will be supported without restricting the floor.
Do not substitute a rigid grout line for a required wood movement space. A flush-looking finish still needs an appropriate movement detail. Likewise, a flexible sealant is not an automatic substitute for a transition or a manufacturer-approved joint design.
Check the door with the actual mat and pad
Before fixing the transition, test the door through its full opening arc with the planned finished levels represented. Include the profile’s raised portion, the mat, its backing and any separate pad. A door that clears bare tile may catch the completed entrance setup.
Mark where the mat will sit and where its edge meets the walking route. Keep the assessment practical: open the door as you would while carrying shopping, then check whether the mat shifts, bunches or catches. Use a backing suitable for the floor beneath it.
If there is a conflict, consider a different mat, profile or floor build-up before proposing door alterations. Do not trim an exterior door, remove its sweep or alter its sill merely to create clearance without checking the door manufacturer’s instructions and the requirements of that doorway.
Agree on the detail before the tile is set
For a new tiled entrance beside existing hardwood, use this planning sequence:
- Identify the existing wood. Record the product if known, its installation method and whether the edge can be inspected without damage.
- Measure the existing levels. Note any change along the joint and photograph the door, sill and adjoining floor.
- Specify the tile build-up. Confirm the proposed layers and their installed heights rather than guessing from a loose tile.
- Select the joint as a complete detail. Match the profile, fixing method and remaining movement space to the two flooring systems.
- Check the door and mat. Resolve a conflict before the permanent work begins.
- Verify before covering. Ask to see the movement allowance and profile fixing location before the final cover conceals them.
If both floors are already installed, tell the installer at the start. Retrofit options depend on the existing edges and the selected profile; a detail designed to sit beneath fresh tile may require more work than replacing the visible strip.
What to bring when discussing an entryway transition
Bring a wide photo of the entrance, close-ups of the meeting line, the flooring product details, measurements from a common reference level and the mat you intend to use. Say whether either floor is staying and whether the door already rubs.
LV Flooring’s hardwood installation service includes assessment and finishing details such as reducers. Contact the team with your entryway information to discuss the floor-side options before committing to the tile height or transition profile.