Replacing Damaged Hardwood When the Original Flooring Is Discontinued
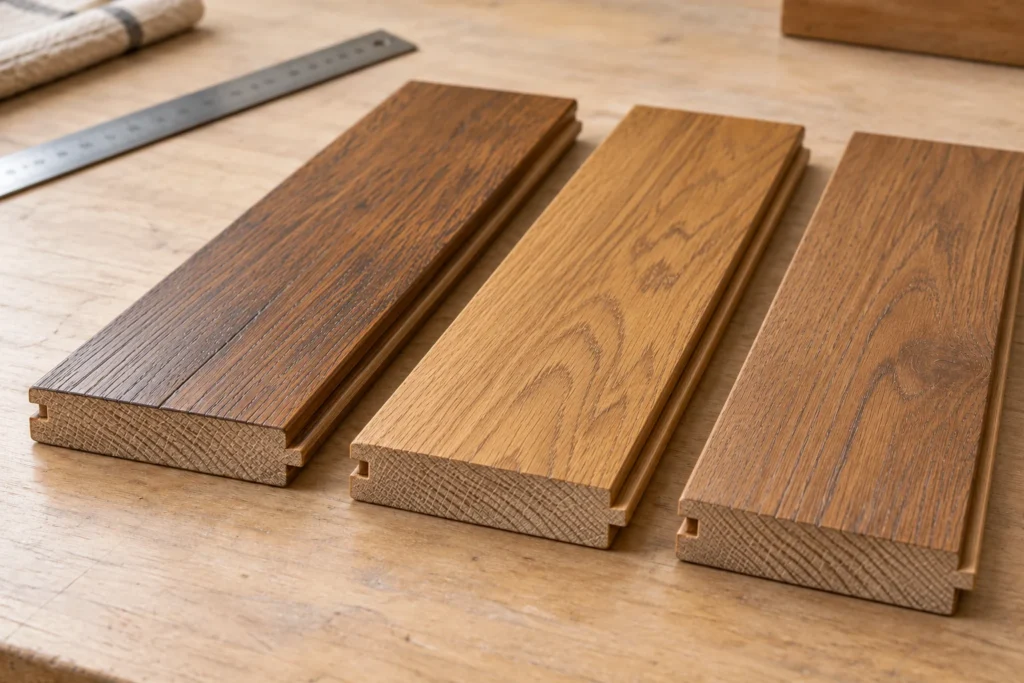
Editorial date: October 19, 2026, 9:00 a.m. America/Toronto. First published: October 23, 2026.
Discontinued hardwood does not automatically mean replacing the entire floor. A small repair may still be possible with saved boards, verified remaining stock or a carefully assessed alternative. The replacement has to fit the existing floor physically, and its appearance has to be acceptable beside wood that has already aged.
Start with the product details and a sample, not an online photograph of a similar colour. Before anyone removes a damaged plank, establish what will replace it. This guide focuses on that decision: finding compatible material for a local repair when the original flooring is no longer in the current catalogue.
Identify what is already installed
Look for an invoice, a carton label, installation records or unused boards. Record the manufacturer, collection, product code, wood species, colour and finish name. Keep photographs of every label, including codes that do not seem meaningful. A retailer or manufacturer may need them to distinguish similar products.
If you have a spare board, bring the whole piece rather than a small colour chip. Its end and long edges provide information that a face photograph cannot show. Do not pull up a sound installed board just to create a sample; ask how the floor can be identified without unnecessary damage.
If the product remains unknown, say so. “Oak, medium brown” is a useful description for starting a conversation, but it is not a replacement specification.
Check the fit before choosing the closest colour
The NWFA magazine’s board-replacement guidance identifies species, dimensions, profile, colour, finish and wood cut as matching considerations. For factory-finished or engineered flooring, it specifically advises locating the replacement material before cutting into the floor.
| What to compare | Question for the repair assessment |
|---|---|
| Board dimensions | Do the actual width, thickness and usable length suit the opening and surrounding boards? |
| Edge and end profiles | Do the tongue-and-groove or locking details work with the existing system? |
| Construction and installation | Is the floor solid or engineered, and is it nailed, glued or floating? What repair method is suitable for this product? |
| Surface details | Do the bevels, texture, grain and sheen resemble the installed floor? |
| Present floor condition | Has previous sanding changed the height or edge appearance that a replacement must meet? |
Use this as a comparison checklist, not an installation recipe. A familiar width or similar colour does not establish compatibility. A professional may need to assess how a candidate board would meet the existing floor before recommending it.
Search for replacement boards in a practical order
Start with material saved from the installation
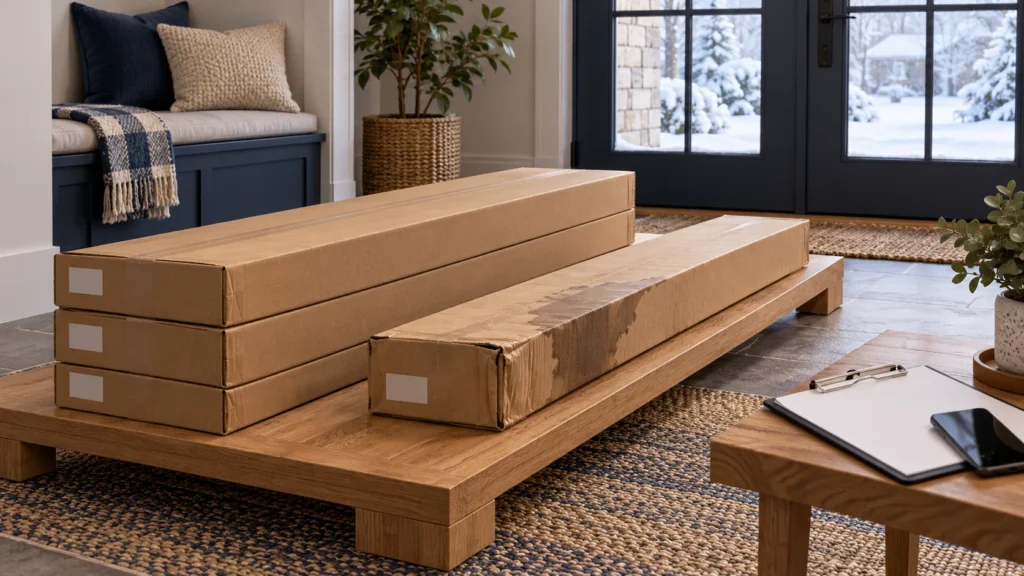
Check stored cartons and offcuts before searching for another product. Mirage’s repair FAQ explains that individual boards can be replaced and recommends keeping leftover material for that reason. That confirms a repair option for its flooring, not that every damaged floor can be repaired in the same way.
Check the saved material’s condition and usable quantity. Include the lengths available, not just the number of boards. Ask whether there is enough for the proposed repair, selection and any pieces lost during fitting.
Ask about verified remaining stock
Send the original product code to the original retailer or manufacturer and ask whether any suitable stock remains. If a seller offers old inventory, request photographs of the actual labels and boards, plus the quantity and condition. Compare a physical sample where possible before committing to material.
A similar collection name, a listing photograph or the statement “same colour” should not replace the compatibility check. Confirm any purchase and return conditions with that seller rather than assuming discontinued stock can be returned.
Assess an alternative only after the original is identified
If original boards cannot be found, ask whether another product or specialist-made material is feasible. Custom work is a separate assessment, not a guarantee. An NWFA magazine restoration example shows why: its replacement material required matching unusual dimensions, profiles, bevels and texture, as well as colour. That project is an example of the work involved, not an LV Flooring case study or a promise of the same result.
Why original spare boards may still look different
A board stored away from light has not had the same exposure as the floor beside a window. Mirage’s technical note on colour changes explains that wood changes with light, air and age, and that the timing and extent vary. Do not base a repair decision on a promise that a visible difference will disappear after installation.
Nor is a factory colour necessarily available as a matching can of stain. Mirage’s accessories FAQ, for example, says its factory stains are not sold for on-site use and that the final appearance depends on the wood and finish. Other products require their own checks.
Place candidate samples beside the repair area and compare them in daylight and under the room’s usual lights. Look at the surface from a normal standing position as well as close up. Decide whether a visible but compatible repair is acceptable before choosing the scope.
Choose between a small patch and a defined replacement area
Ask for the feasible options in this order:
- Replace the affected boards. Consider this when suitable material is available, the surrounding floor is serviceable and the expected appearance is acceptable.
- Replace boards and assess a larger finishing area. If compatible wood fits but the finish differs, ask whether refinishing an appropriate area is possible. Do not assume every engineered or previously sanded floor can tolerate it. Our guide to engineered hardwood refinishing suitability explains the checks.
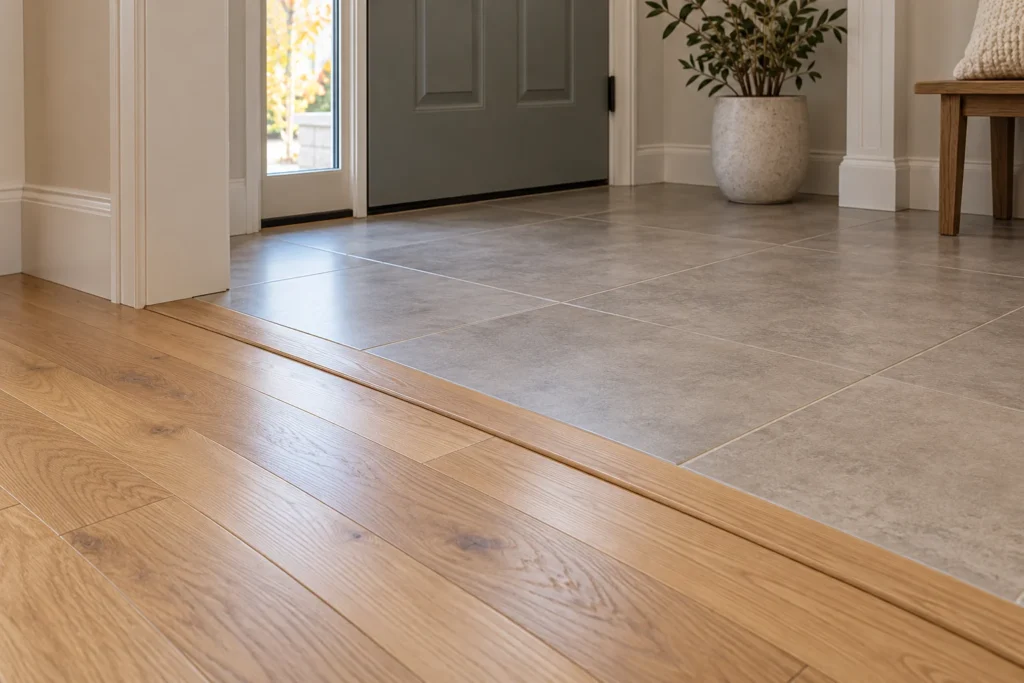
- Replace a defined section or room. If a small patch is not practical, compare a larger replacement that ends at an agreed boundary. Have the installer assess the connection, floor heights and movement requirements rather than treating a transition strip as a universal fix.
If the damage followed a leak or the surrounding boards are still moving or changing shape, the cause also needs assessment. Finding a matching board does not establish that the floor beneath it is ready for repair.
Bring a repair brief, not just a colour request
For an initial discussion, gather the labels or invoice, a spare board if available, photographs of the whole room and damaged area, and the number and lengths of usable spare pieces. Include any known leak history, previous sanding and whether the flooring continues into another room.
Tell the installer which matters most: limiting the area of work, preserving the current floor or reducing the visible difference. Those priorities help compare realistic options without promising an exact match.
For a Toronto or GTA project, contact LV Flooring through our hardwood floor installation service to discuss the existing floor and replacement options. Confirm material compatibility and the repair boundary before damaged boards are removed.