How Do You Make a Chevron Floor Design Pattern?
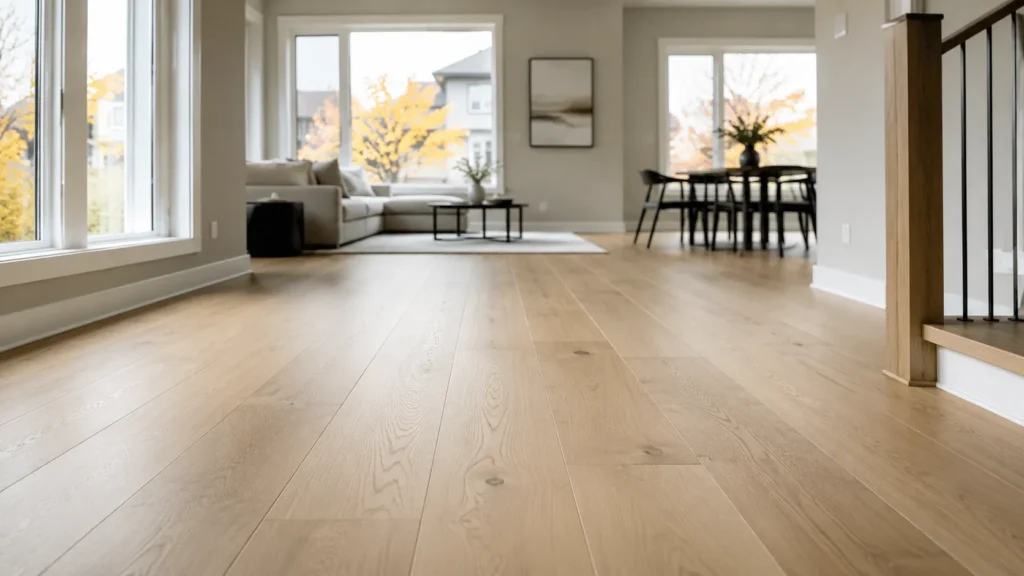
Hardwood flooring is the best way to accentuate and beautify your space. Sure, there are other flooring options like carpets, tiles and rugs. But none of these options offer the classic appeal of hardwood floors.
Hardwood floors for your home come in different styles and designs. The one that’s popular in Canada, the one you’re curious about, is Chevron flooring.
The Chevron floor pattern is a design where wood planks meet at a point, combining to create a zigzag effect. This design pattern is not limited to flooring needs. It’s possible to incorporate the Chevron design on beddings, clothes, curtains and fashion accessories.
Are you looking to recreate the same classic style for your home? This blog is your map of how to make a Chevron floor pattern. Here, we’ll briefly describe what to expect from a Chevron floor pattern and the best way to install it.
Why the Hype Around Chevron Floors
Questions about how to make a Chevron floor pattern are suddenly popular due to recent home decor trends. We both know fashion is transient. We always seem to be remixing some fashion or design trend from the past.
The Chevron design is a classic motif and has always been around. While it’s enjoying a renewed renaissance in Canadian home decor circles, Chevron flooring is a fixture in many vintage homes. It’s not uncommon to encounter Chevron flooring designs in hundred-year-old homes and buildings in Ontario.
These days, home decor experts are taking inspiration from the Chevron floor design of years past. The zig-zag pattern on Chevron floors provides a simply brilliant illusion effect. It can transform a room, catching the attention of residents or visitors alike.
Herringbone is another flooring design enjoying a comeback alongside Chevron patterns. In fact, both flooring patterns look alike, and it’s easy to mistake one for the other. Hence, we’ll briefly discuss the differences between Chevron and herringbone floors.
Herringbone flooring design has a rectangle arrangement with deliberate positioning that mirrors fish bones. Conversely, the Chevron flooring design has boards joined at a 45-degree angle. The sharpness of this angular joint creates a diagonal zigzag along the same axis.
Installing Chevron floors may seem expensive, but it’s worth it. Chevron floors will stand out, projecting visuals reminiscent of hygge, beautiful views, and warmth.
A Brief History of Chevron Parquet Flooring
A deep dive into the Chevron pattern’s history shows it has an alternative name. Some experts also refer to Chevron flooring as Point De Hongrie. This name is from an embroidery pattern — the Flame stitch — popular in the 16th Century.
Fashion is forever transient. The flame stitch itself combines the Hungarian and Gobelin stitch, designs popular in the 13th and 14th centuries. This unique stitch inspired a parquet flooring design in the Queen’s Room at Versailles, France.
There are early references of Chevron Parquet Flooring in notes by Swedish architect Nicodermus Tessin. These notes describe the architectural highlights of the Versailles palace during the 1690s.
Chevron parquet floors crossed from France to England during the 17th century, thanks to her regal highness, Queen Henrietta Marie. She married Charles I. during this timeframe and renovated her official residence, Somerset House. Her renovation included the installation of Chevron floors, introducing a touch of French interior elements to the English.
Chevron parquet flooring took off from there, gaining global popularity during the 18th and 19th centuries. This trend is highly evident in Paris, where plenty of rebuilding occurred for urban planning purposes. Houses still standing from this timeline are home to Chevron flooring designs.
Today’s interest in how to install a Chevron floor is thanks to a trend shift. Most new homes in Canada follow a contemporary style reminiscent of the 16th-19th century. This design trend means Chevron floor design is now the choice hardwood flooring in many contemporary and traditional households across Ontario.
What Does the Chevron Flooring Design Look Like?
Before discussing how to make Chevron flooring, it’s important to cover what it looks like. Understanding the features of a Chevron floor design will ensure you’re on the right track during the installation.
The best way to recognize Chevron flooring is the zigzag pattern that comes together at a sharp point. Depending on how you look at it, this zig-zag pattern can resemble a “V”.
Chevron flooring manufacturers cut these planks at an angle so they can fit perfectly. These “V’s” should guide your every move while installing Chevron floors. You can liken Chevron flooring design to the road chevron present on some of Canada’s motorways.
Plus, Chevron floors create hypnotic-like visuals that make your space look bigger. It adds to your home’s dimensions, using directional pattern flow as leverage. This flow can make a narrow-sized room look spacious and longer, creating the impression of a bigger space.
Similarities between Chevron and Herringbone Floors
It’s impossible to discuss how to make a Chevron floor pattern without covering herringbone patterns. After all, the zig-zag pattern in Chevron floors is similar to that of Herringbone floors.
The major difference is that the Chevron floor design has its patterns more uniformly toward a central point. Meanwhile, Herringbone floor patterns tend to be scattered. The uniformity of its design means Chevron floors offer a clean, simple appearance.
Another difference between Chevron and Herringbone floors is the shape of individual planks. Herringbone flooring planks tend to be rectangular with straight edges.
Conversely, Chevron flooring planks are cut intentionally at a 45-degree angle. This cut allows each plank’s edge to fit seamlessly with the corresponding block beside it.
Types of Chevron Floors
Another consideration for how to make Chevron floors is understanding the type of floors you have. The distinguishing characteristics to look for include the plank size and cut angle.
Herringbone flooring planks tend to be smaller with one of the following dimensions ( 70x250mm, 90x540mm, and 70x230mm). On the other side of the equation are Chevron floors which come in bigger sizes — 115x600mm, 90x540mm, 140x700mm and 90x600mm)
The cut angle is another feature that defines the type of Chevron floor design. This feature is important because it influences the space perception and how brilliant your Chevron floor looks.
Here, there are two standard angles. You can either install Chevron floors with a 45-degree or 60-degree cut.
![]()
Best Hardwood for Chevron Floors
You can learn how to make Chevron floors with different hardwood species. The most popular one for house owners in Ontario is usually Oak. Other options to consider include:
- Walnut
- Chevron
- Iroko
- Teak
- Doussie
Related Article: When to Choose Chevron over Herringbone Flooring
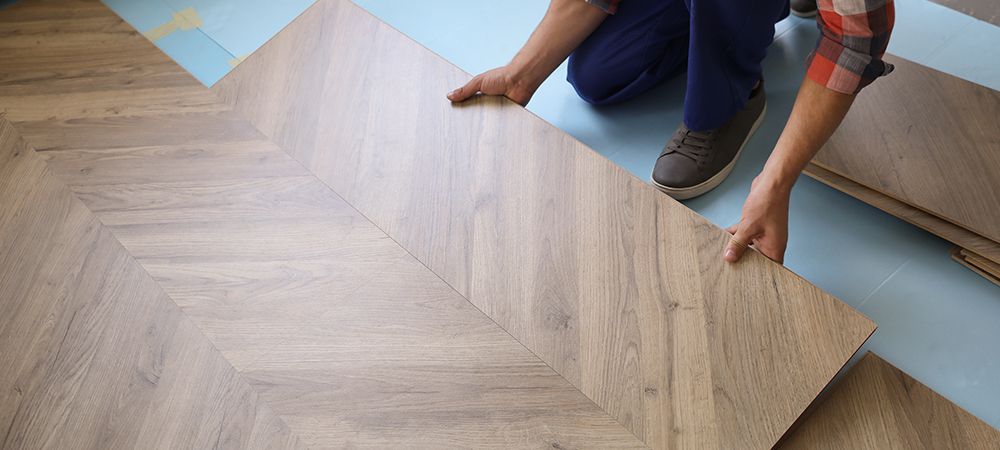
How to Make Chevron Flooring Patterns
Precision is a key part of how to make Chevron designs. It’s important to double-check measurements and row alignment to ensure you’re on track to achieving that coveted “V” design.
As you may have guessed, verifying the measurements and row alignment requires knowledge of some technical skills. It’s unlikely you’ll install your Chevron floor in the best way without access to these technical skills. That’s why we often recommend going with professional help.
If you still choose to make the Chevron flooring design yourself, the first step is assessing your planks. A visual inspection of the boards is key to ensuring every piece is in good condition. Check each plank for manufacturing defects before you start to install them.
You’ll also need the following tools to install your Chevron floor accurately:
- Chalk
- Dust Mask
- Spacers
- Tape Measure
- Safety Glasses
- Moisture metre
- Pencil
- Ruler
- Pull bar
- Mitre saw
- Jamb saw
- Hammer
- Trowel
Then, follow these steps to install your hardwood flooring and achieve the Chevron flooring design:
Prepare the Subfloor
How well you apply this step can determine the final results of your Chevron flooring installation. In fact, failure to assess and prepare the subfloor for Chevron flooring can cause problems post-installation.
The rule of thumb is always to ensure the sub-floor — whether concrete or screed — is dimensionally stable. Deviations in the level should remain under the 3mm mark. Sand down any raised points in the subfloor while filling out depressions with cementitious levelling compounds.
It’s also essential to clean the sub-floor, removing loose materials and other contaminants in preparation for the Chevron planks.
The last area of concentration for the subfloor is its moisture content. Ensure the moisture content of your sub-floor aligns with recommended standards. For example, the weather in Ontario demands a maximum moisture content of 5% for concrete subfloors and less than 12% for wooden ones.
We advise removing all moisture sources in the installation space. This includes plumbing, walls, fridges and drains.
Take Measurements and Determine the Flooring Layout
Earlier, we mentioned how important accuracy is to successful Chevron flooring installation. This step to making Chevron designs demands all the accuracy you can muster.
You’ll need to determine the ideal layout for your flooring and the best direction for its pattern. Do this for the entire room length where you’re installing the Chevron floor.
Up next is the centre line for your flooring. Identify the centre line for your Chevron floor, snapping a chalk line across the installation space’s entire length. Then, draw a parallel line 530mm to the left of the centre line and another 530mm to the right.
These chalk lines will serve as a guide for the outside edges of the first double rows of the Chevron plank. You should also ensure each board has its corners directly parallel to the aforementioned chalk lines.
Ensuring perfect symmetry of the outer edges of each floor plank with the centre line is key to the final result.
Without this symmetry, you’ll end up with a haphazard zig-zag pattern that’s not at all pleasing to the eyes. The best way to prevent this eventuality is to draw more centre lines as you start to install the outer rows of your Chevron floor.
Install the First Flooring Plank
The journey of a thousand miles begins with the first step. Start by spreading adhesive to a reasonable degree on the outer edges of the starter board. We always recommend carrying out this step with a trowel.
Then, set the first plank with a left-side tongue toward the left-hand side of your starter board. The grove side should be right alongside the starter board while the tongue side faces the rest of the room. Afterwards, double-check that the top side of the hardwood plank is in the same line as the centre line.
Set the right-tongue hardwood plank to the right side of your starter board. Like before, the groove side should be right along with the starter board while the tongue side opens up to the rest of the room. Ensure the upper side of the plank lies alongside the centreline and that the upper end engages with the left-tongue hardwood plank.
Then, press the right-tongue board onto the sub-floor, just over the moisture barrier membrane. Be careful not to push the board into place as this may shift the adhesive underneath it. Instead, hold the boards just above the subfloor and engage the groove & tongue joint before pressing down on the existing sub-floor.
Install the Next Plank
Start installing the second left-tongue hardwood plank placing the plank with its groove side snug to the first board’s tongue side. Ensure the plank’s upper edge perfectly aligns with the centre line and press down on the sub-floors.
Then place the second right-tongue plank, placing the new plank with its groove side close to the first board tongue side. Be sure the upper end of the hardwood plank engages with the second left-tongue hardwood board. Similarly, the upper edge of the plank should remain parallel to the predetermined centre line. Then press the right-tongue board down to the subfloor, over the moisture barrier.
Repeat these steps until your first three boards are complete. Then, give some time for the adhesive to cure and assess your work.
Finish Installing the First Row
The first row is the hardest part of how to make a Chevron floor design. You can simply mimic your actions for the next rows once you have this step down pat.
Continue placing the right and left tongue hardwood boards as described above. Do this until the first row is complete toward the far wall. Usually, you’ll need to measure and cut the final row planks to ensure they fit.
Finish the Installation
Start the new rows, following the instructions in the previous steps until you complete the installation. Be sure to double-check your measurements all the way, making sure each row is true and precise.
Remove all the masking tape on the floor when the installation is complete. Then, wait for 24 hours before adding any furniture or heavy objects to the floor.
Related Article: How Much Does Chevron Hardwood Flooring Cost?
Final Thoughts
How to make a Chevron floor design pattern is easy when you know the steps to follow. Above, we’ve described all you need to know about installing Chevron floors successfully in your home.
Follow the instructions above, and the result will be a new Chevron floor that you absolutely love. We’ll also contribute our quota by providing high-quality floors.