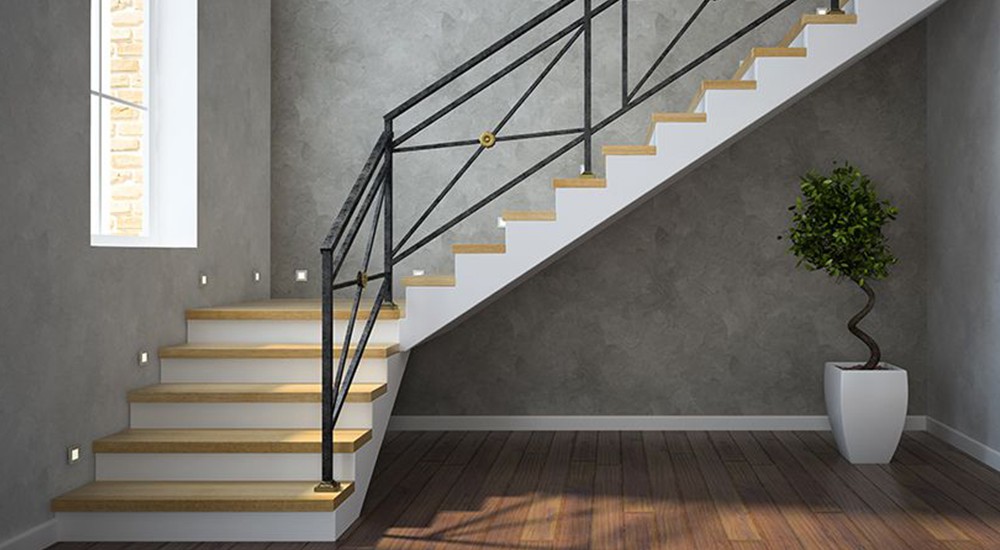
How to Install Hardwood Stairs
If you don’t know how to install hardwood on your stairs, it’s best to contact a contractor. Installing hardwood on your stairs by yourself is cheaper but may cost you more in the long run.
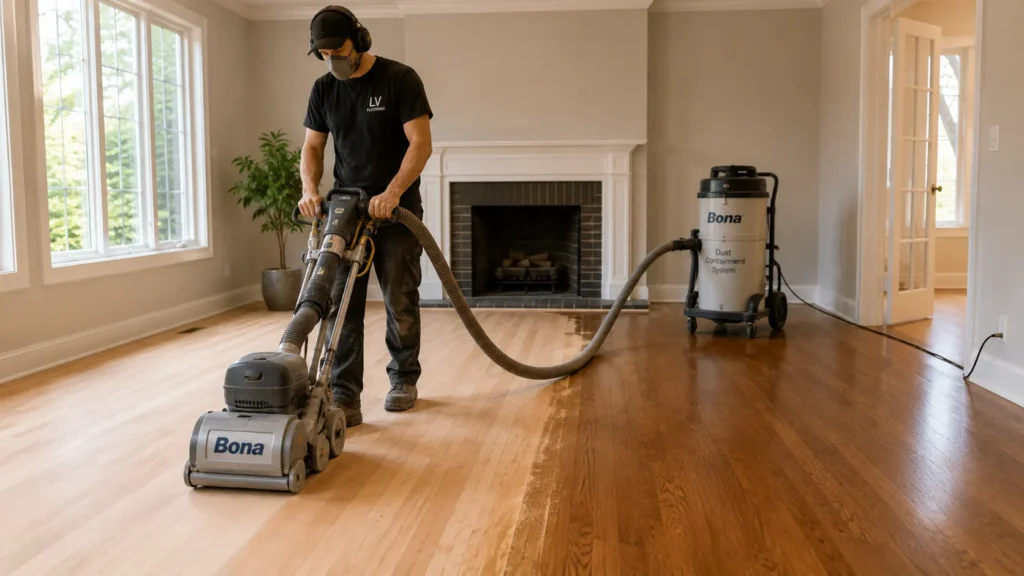
You’ll need power tools to make the hardwood stair installation easier. However, you need to be careful with some of these tools to avoid inflicting injuries on yourself.
Then there’s the area of measurements and installation. If you don’t have experience in this area, you may end up making a mistake that costs thousands of dollars to fix.
This article serves as a guide to hardwood stairs installation. In it, we’ll provide a comprehensive step-by-step to installing hardwood stairs and discuss any related expenses.
Materials and Tools for Hardwood Stairs Installation
Certain tools are necessary to install hardwood stairs. See the list of hardwood installation tools and materials below:
Sandpaper
During the installation of the stairs, you’ll need sandpaper to smoothen some surfaces. Depending on what you need at the time, you can also use it to roughen surfaces. The amount of pressure you have to exert for the surface smoothening and to roughen is different. To achieve a smooth surface, apply a lighter pressure and vice versa for a rough one.
Grinder
You’ll need a grinder for cutting, grinding and polishing when you’re installing hardwood stairs. Grinders are hand-held, and you’ll mostly sight them in construction areas or sites. Contact a contractor if you don’t know how to use the grinder when it’s time to install hardwood stairs.
Level
A level will help you to measure height differences and set the heights of objects. You can also call it a surveyor’s level or builder’s level.
Rubber Mallet
You’ll need a rubber mallet when it’s time to stick the risers to the stairs. The rubber mallet will help you apply pressure on the riser for it to stick properly.
Finish Nailer
A finish nailer is a powerful tool that you can use to attach finishing materials like trim and crown moulding with finish nails. A finish nailer will always come in handy whenever you’re installing hardwood stairs.
Measuring Tape
When installing hardwood stairs, one of the most important tools you’ll need is a measuring tape. It’ll enable you to make the right measurements so you can cut the woods to the perfect size.
Miter Saw
A miter saw enables you to make cuts at different angles. For instance, you can use a mitre saw to make cuts for picture frames, crown moulding, door frames and more.
Shims
When you’re installing hardwood on stairs, you’ll need a shim to make certain adjustments. Shims are woods mostly cut from pine or cedar and will suit almost any interior adjustment.
Stair Treads
Treads are horizontal pieces that form the surface of the stairs that you get to place your feet while climbing. So you need to get stair treads of any hardwood of your choice.
Risers
A riser is an integral part of any stairs, and it’s the vertical space between one step and another. You can design a riser by using tiles, add beautiful patterns, or get creative with painting.
For instance, you can choose to paint the risers a different colour, like white, to make your stairs look more beautiful. Of course, the risers can still be the normal colour of the stairs, but a little bit of fancy will spark up the general appeal of your home.
Construction Glue or Adhesive
You’ll need a notched trowel or a caulking gun to apply construction adhesives, especially on the hardwood for the treads and risers to make them stick to the stairs. You can apply the adhesive as beads or cover the entire surface.
Related Article: 25 Hardwood Stairs Design Ideas
How to Install Hardwood Stairs
Your home is a unique representation of your family, and hardwood stairs give your home a stylish and beautiful look. Installing hardwood on your stairs is a process you need to be careful about because a little mistake can alter your results.
First Step – Create Perimeters Space for the Stairs
The importance of stairs in a home makes the architect map out space for it even before the construction phase. When buying parts for hardwood stairs in your home, you need to measure the area you intend to site it.
Ensure you have sufficient space to accommodate a 45 degrees slope angle, a minimum of 6’8” headroom along the path, and 36 inches for the width. To cover any extra space, you can add a landing to break up the stairway.
While calculating and establishing the stairs’ perimeters, make sure the area is close to a wall. The reason is walls give the stairs extra support. Also, avoid blocking entry points like doors or vents with the last step. Blocking a vent may lead to an air circulation problem in your home.
Creating the perimeters for the stairs starts with tracing a line to mark where you’ll fix the first stringer. Then, with the assistance of a friend, the use of a ladder, and chalk, draw a straight line from bottom to top to indicate the position of the first stringer.
There are standard measurements for constructing stairs irrespective of the length or height of your staircase installation. See the measurements below:
Headroom
Headroom is a space beneath the stairs from the lowest point to the highest point. The minimum measurement for the headroom is 6’8 inches from the last stair tread or landing to the highest point of the headroom ceiling.
Stairway Width
Stairway width is the side-to-side distance if you’re going up or down the stairs. The standard measurement for any stair width is 36 inches, excluding the handrails.
Stair Tread Depth
The stair tread depth is the spatial distance between the front edge of one step (the little part of the tread that shoots out a little above the riser below) to the front edge of the next step. The measurement for the depth of a stair tread is 10 inches and mustn’t go lower. Researchers show that a little extra tread depth can prevent life-threatening staircase accidents.
Stair Nosing
Stair nosing helps to prevent your hardwood stairs from wearing out quickly. The nosing on your stairs also provides an anti-slip feature that prevents the issue of slipping and falling.
A curved stair nosing is best at ½ inch or with a curvature radius of 9/16, which it mustn’t exceed. So the estimate for the stair nosing isn’t to go above 1¼ inches and a minimum of ¾ inch.
Stair Riser Height
Risers are the vertical pieces of the stairs’ treads. Most stairs in homes have a riser for each step. However, some hardwood staircase designs don’t need risers, e.g., outdoor deck stairs or floating stairs.
The riser height mustn’t be more than 7¾ inches. Also, if there are different risers in the stairs, it’s not to exceed ⅜ inch. Bear in mind that these measurements are minus the runners or carpets.
Handrails
Even stairs with as little as four steps require at least one handrail. So, handrails need to be within 34 to 38 inches from the top of the riser. Handrails are very important in every stairway. So ensure your calculations are correct so that the rails will serve their purpose properly.
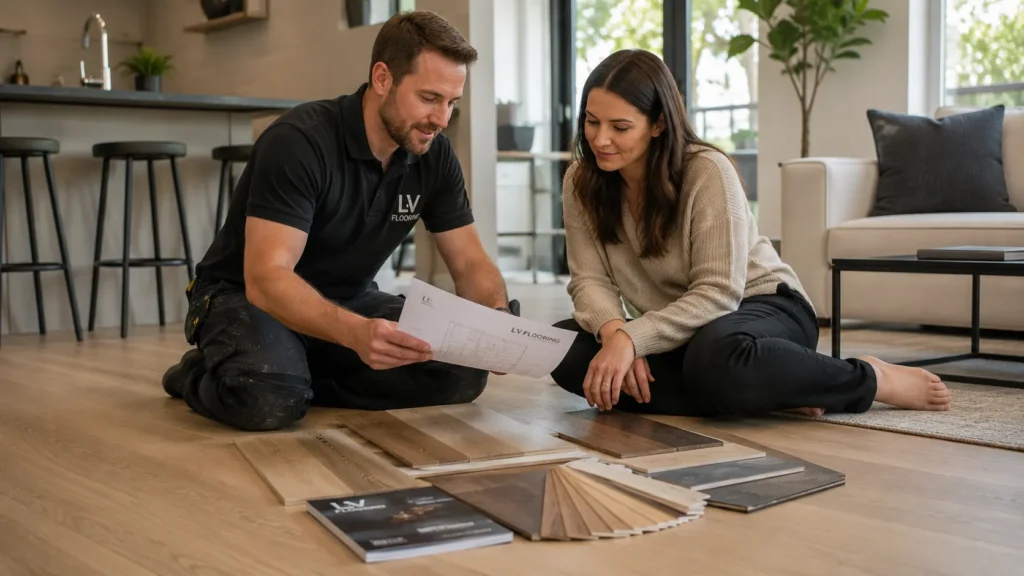
Second Step – Gather Your Materials
After establishing the perimeters, it’s time to gather the necessary materials you’ll need. An additional tip is that you can buy already-cut hardwood stairs. Always measure twice before you cut or purchase any piece. Also, avoid any board that is splitting or warped.
Third Step – Install the Stringers
To install the stringers, you need to find the horizontal studs inside the wall where you’ll fix the stringer. Then place the stringer against the line that you drew on the wall earlier. Finally, you must ensure the stringer is set or level before attaching it to the wall.
While making sure you hit the stud, nail the stringer to the wall studs. You can use braces to secure the stringer from the top to the floor, or better still, a drill and decking screws can suffice. You just have to pre-drill the stringer to stop it from splitting.
Next, you have to align the second stringer for the width and height. If there’s another wall to support it, you can follow the method for fixing the first stringer. Otherwise, you have to cut more boards to support it.
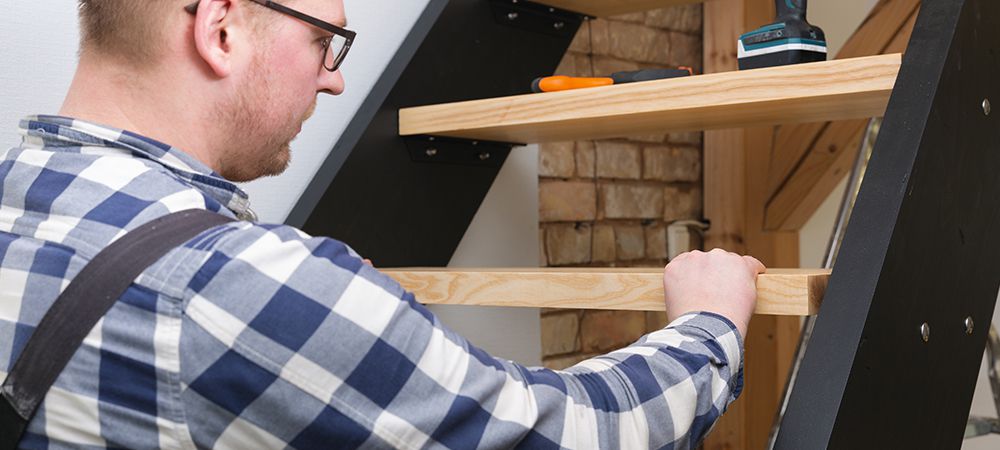
Fourth Step – Install the Risers, Treads and Handrails
Once the stringer is in place, you have to start installing the risers, treads and finally, the handrail. Start fixing the risers and treads from the last step. So, you’ll have to first attach the riser before placing the tread on it.
Make sure the riser and tread are properly level and fit before proceeding to the next one. An important tip is to ensure the riser and tread balance at once. If not, you’ll be creating more work for yourself.
Once the risers and tread are in place, you need to install the handrail. The handrail serves as a protector while complementing the appeal of the stairs to give your home an elegant outlook.
While installing the handrail, make sure it’s parallel with the stringer. The handrail is also to be 34 to 38 inches above the stringer.
Fifth and Final Step – Installing Hardwood on the Stairs
Normally, you’ll use plywood to construct the stairs and layer them with any hardwood of your choice later on. Here’s how to install the hardwood layer on your stairs
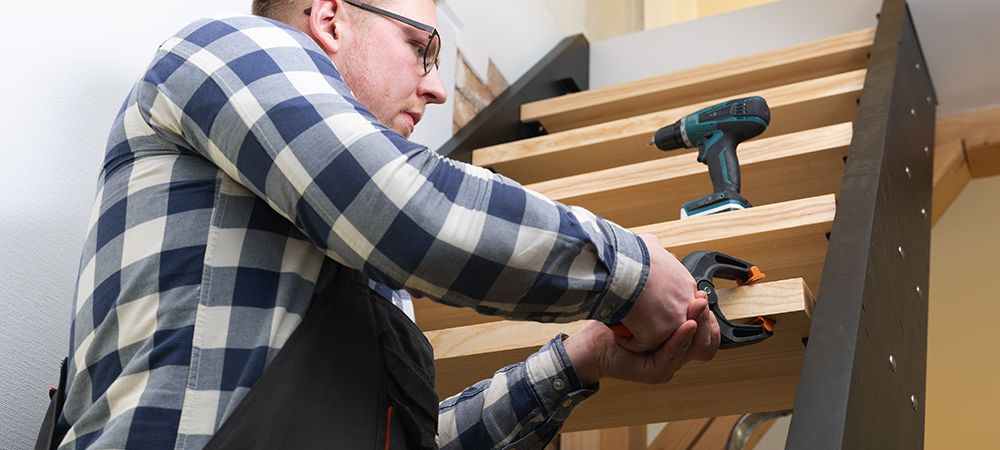
Measuring and Cutting the Hardwood
To install hardwood on the stairs, you need to measure and identify where you’ll cut on the treads and risers. Then after measurement, clean up the stairs thoroughly using a vacuum. You can also do the cleaning before measuring the point you need to cut.
Then, proceed to use a mitre saw to cut the hardwood to fit the treads and risers. Finally, use a grinder to achieve an exact edge.
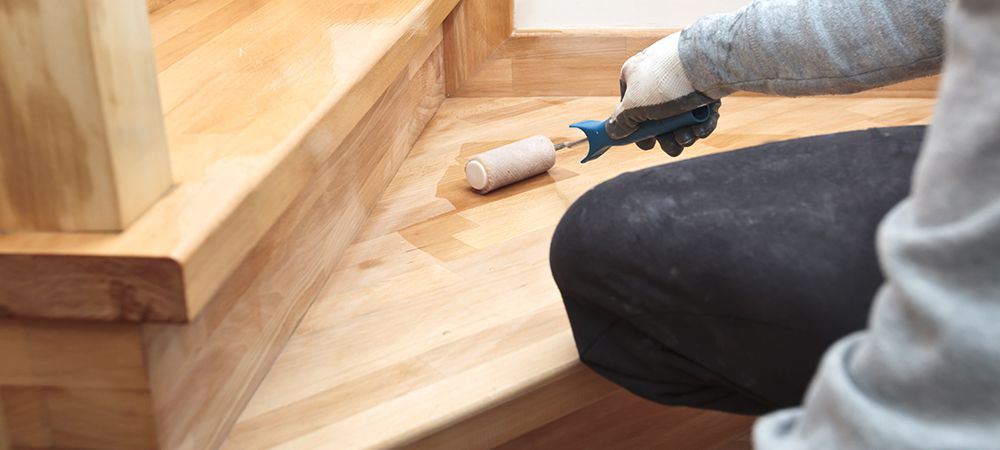
It’s Time to Fix the Risers
To stick the risers properly, apply a construction adhesive behind the first riser. Then, ensure the riser maintains a good position before you use a finish nailer to nail it into place.
Continue the Gluing Process
The gluing process doesn’t stop with the first riser. You can use a rubber mallet to align the stairs in their spot gently. Use shims where you need to and ensure the stair is plum with a box level.
Round-Up the Hardwood Installation Process
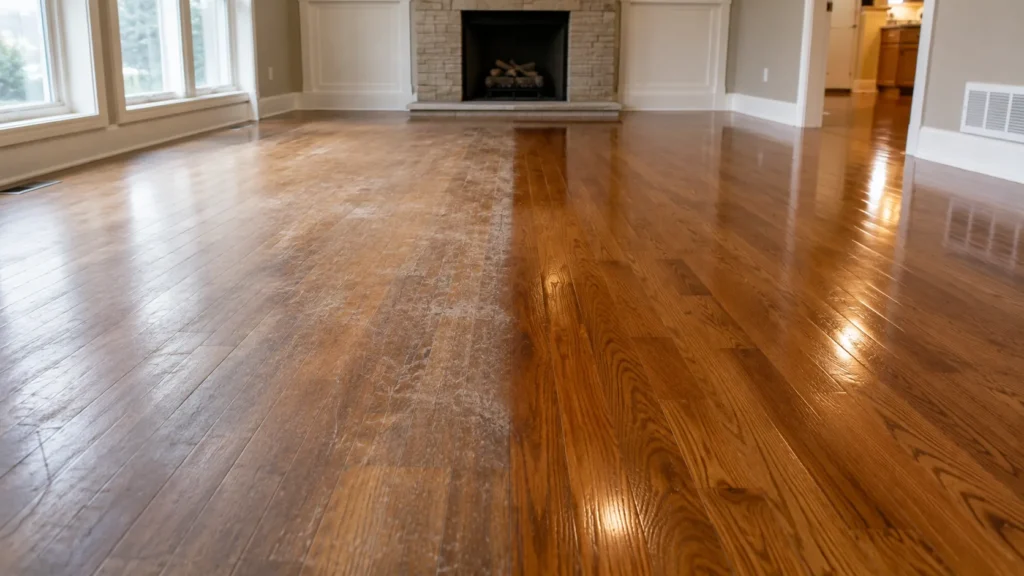
You’ll need to wait for the glue to dry once you’re sure all the stairs are in place. Then, sand the surface and clean the stairs with a vacuum or broom. After cleaning the stairs, you can then proceed to apply a stain and polyurethane finish.
If you wish, you can paint the hardwood and go for other hardwood stairs design ideas. Better still, you can leave it the way it is. It’s all a matter of choice since the stairs are still serving their primary purpose.
Safety Tips and Consideration for Installing Hardwood Stairs
Knowing how to put hardwood on stairs isn’t enough until you apply the right hazard prevention rules. Generally, when constructing anything like stairs, little mistakes or accidents are a distant possibility. If you don’t know how to install hardwood on your stairs, reach out to a contractor to help you out.
If you’re going the DIY route, you can avoid these accidents by preparing for them and considering safer options to achieve your result. See below for some safety tips you can observe for hardwood stairs installation.
Keep Work Areas Clean
A clean work area fosters a clear work mindset. A clear mind will help you focus and give your best when installing hardwood on stairs.
Rid the work area of any unnecessary items. A clean work environment prevents injuries, tripping and falling, sprains, stains, laceration, and other hostile situations. You can keep the work area clean by taking out the excess or waste after every step. A family member or friend can help you out.
Safety Gearing
You need to protect yourself during hardwood stairs installation. You’ll have to wear a helmet and gloves to protect your head and palms. You can also wear protective glasses on your face to shield your eyes from danger.
If you have a lumberjack, wear it to give your skin the best protection. Your body and your health is the best asset you have, so you need to protect it very well by wearing the best PPE, even during hardwood stairs installation.
The Right Tools
The right set of tools and materials will always make hardwood installation easier. Construction will be more tedious without the right tools, and the finished result won’t look appealing. Using the wrong tool can leave you with injuries if you aren’t careful.
Hazard Management
If you notice anything with a dangerous tendency, stop work and attend to the situation immediately. Also, make sure you alert anybody around to make sure the situation is under control.
Lighting
Ensure the space for construction has proper lighting. With adequate lighting, you can manoeuvre without harming yourself. You can also go ahead to install nice lighting to make your stairs look beautiful.
Right Expertise
Constructing a stairway and installing hardwood on them is a technical process that requires the right expertise. An experienced individual will have better ideas and the right skill set to construct and install hardwood on stairs. Contacting a contractor is one of the best ways to install hardwood on your stairs easily.
Cost of Hardwood Stairs Installation
Using DIY methods to install hardwood stairs is undoubtedly cheaper, but it may cost you more in the long run. If you don’t have the right skills and experience, you may make costly mistakes during hardwood stairs installation.
Stair construction and hardwood installation are sensitive parts of your home, so you need to get the measurement and projections correctly. A slight mistake in the measurement and calculation process may be costly.
If you don’t know how to install hardwood on your stairs, you should contact a professional service for assistance.
Actual Cost of Hardwood Stairs Installation
For professional hardwood stairs installation, you need to budget about $50 to $150 per step minus the service charge or fee. The amount you’ll pay to install hardwood on your stairs is dependent on certain factors. See a list of them below:
Number of Steps
Most hardwood installation services charge you by the number of steps that need hardwood installation in your home.
Location
Location plays a major role in the cost of hardwood stairs installation. Most professional services will charge you an additional $2 per mile for distances outside their area of coverage. So, you may end up spending more depending on your area of residence.
Service Fee
Contractors charge differently depending on their level of expertise and years in service. Businesses are run by different individuals who run their businesses with unique methods. Some contractors may decide to charge you hourly, while some may charge you for the whole project at once.
If you’re doing the hardwood installation by yourself, you’ll automatically boycott service fee payment. Instead, you can add the money to get more materials that’ll add to the outlook of the stairs, e.g., buy vases for decoration or add fancy lighting.
Whatever the case may be, just have it at the back of your mind that the service fee will affect your total expenses when you want to install hardwood on your stairs.
Related Article: How Much Do Hardwood Stairs Cost?
Final Thoughts
Hardwood stairs installation adds beauty to your home, but it comes at a cost. You can minimize the cost if you do the installation by yourself. But it requires a decent level of proficiency and expertise to get the best result.
Here at LV Flooring, we make the cost of installing hardwood stairs more affordable by offering hardwood stairs and pieces at affordable prices. Our products are first-class and very affordable. Reach out to us today!