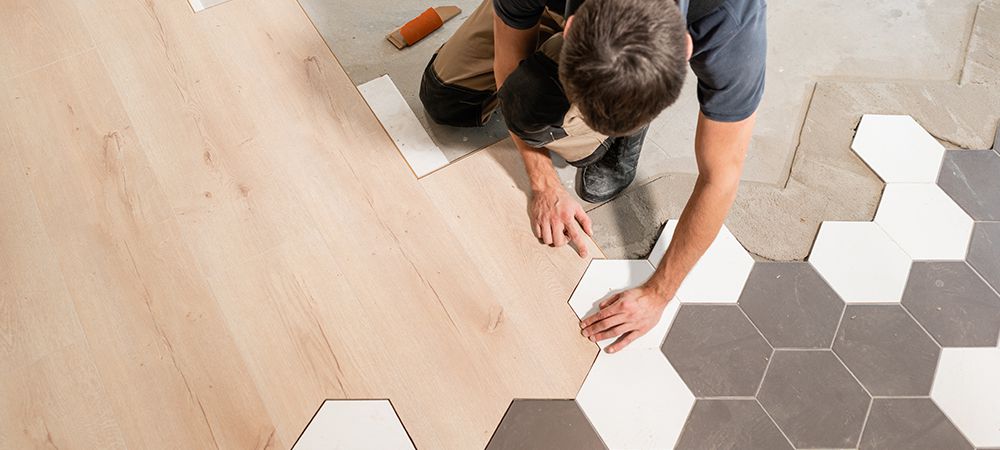
How to Lay Laminate Flooring
Figuring out how to lay laminate flooring the first time is usually a daunting task. More often than not, you’ll end up missing a few steps during the installation process.
Tenacious DIY enthusiasts may find a way to complete the job. But the results are likely to be less than appealing. You may even end up damaging the floor during the procedure.
There’s nothing wrong with attempting to lay laminate flooring yourself. But, you have to ensure you’re following recommended guidelines while at it.
It’s not just about the quality of your laminate floor planks. The present state of the sub-floor, the flooring, and its already existing design is vital to the installation process. These variables often mean the installation job may take a day or two.
This blog is your comprehensive guide to laying laminate flooring. Here, we’ll break down the steps you need to follow — from start to finish. Here’s all you need to know!
Steps to Install Laminate Flooring
Start by ensuring you buy high-quality laminate flooring planks. Then, follow these steps:
Step 1: Inspect Laminate Flooring
Laminate floors have beautiful designs and cost less. Consequently, there is a high demand for them among homeowners in Ontario. The increased popularity has come with added innovation in terms of models, colours and laying technique.
For instance, there are two common laminate flooring designs; the rapid fit and twin click laminate flooring.
Each laminate flooring design has a distinct installation technique and unique instructions on how to lay the floor. Take a closer look at your laminate flooring planks and read through the installation instructions from the manufacturer.
Another reason to inspect laminate flooring planks before installing them is the possibility of defects and damages. Laminate floors may look exactly like wood, but they majorly comprise composite materials.
Composite materials include small objects like wood pieces and sawdust. These materials undergo a rigorous joining and manufacturing process to form laminate planks. Therefore, the possibility of mistakes that may lead to plank defects is real.
That’s why we always recommend buying laminate flooring from trusted suppliers in Ontario. Even with that, it’s always better to check the planks individually before you start working on them.
Look for bends, bowing, breakages, flaky material and huge cuts. If you find any, return any sub-standard laminate flooring planks to the supplier. Most likely, they’ll be happy to provide you with a replacement.
Step 2: Get All Necessary Materials
Part of how to lay laminate flooring is understanding the importance of having the required tools. Without these tools, you risk getting frustrated during the installation process.
Of course, you should already have the primary material, the laminate flooring itself. But you also need some tools to help with accuracy, cutting, and spacing.
In this guide to laying the laminate flooring, we’ll group the tools you need into two — the necessary and optional ones.
The tools under the “necessary” tag are a must-have. It’s near impossible to lay laminate flooring without them. They include:
- A saw
- Measuring tape
- Pencil
- Ear Muffs
- Hammer
- Underlay
- Hammer
- Nose mask
You can always improvise in the absence of these “optional tools”. But it’s always better to have these optional tools as they’ll make your work easier.
- Sawhorses
- Set square
- Packers and wedges
- Nail gun
- Spirit level
- Circular saw
- Jigsaw
- Handsaw
- Chalk box
- Rubber mallet
You can lay laminate floors successfully without the above tools. The only disadvantage is you’re likely to spend more time and energy arranging the floor to taste. Also, these tools help with accuracy and an excellent finish for your laminate flooring.
Step 3: Inspect the Room for Optimum Site Conditions
Part of how to install laminate flooring is planning for the long term. You don’t want to install a laminate floor that starts to go bad a few weeks after installation.
Perfection is the only option you have with laminate flooring. Damage in one section of your flooring will start to affect the rest of your laminate floor.
As with other floors, moisture is one of the main factors contributing to the damage or unsuccessful laying of a laminate floor. With water beneath your laminate floor, it’s only a matter of time till the flooring gets bad.
Another major factor that affects the integrity of laminate flooring is the subfloor. You should only start to lay laminate flooring when you’re satisfied with moisture levels and the subfloor.
- The first step is a humidity test to check the environment’s moisture. You’ll need a hygrometer for this test. The hygrometer will help you read the relative humidity of the area. Relative humidity readings between 45% and 65% are best for laminate floors.
- Apart from the room’s humidity, the floor where you’ll lay the laminate flooring needs to be dry enough. Use a protimeter to take a prong test scale to test this surface. The test shouldn’t be reading more than 12%.
- The next step is to check the subfloor’s level. As much as possible, ensure the level isn’t more than 3mm per meter. You’ll need a long spirit level (it looks like a ruler) for this test.
Related Article: Can You Mop Laminate Flooring?
Step 4: Place Laminate Floor in The Room for Acclimatization
Laminate flooring requires an acclimation period where it gets used to the environment. Like human beings, laminate floors need to adapt to their present environment. And while they may not adapt as quickly as we do, this adaptation step is necessary.
The acclimatization process is easy but vital, and you must do it before laying the floor. Simply place the laminate flooring plank in the room for the recommended timeline.
There’s no need to unpack the laminate flooring before placing it in the room. You can put it there with its packaging still intact.
Similarly, each manufacturer provides unique instructions for how long laminate flooring needs to acclimatize. Check the packaging for details, and be sure to adhere to them.
Follow these tips during the acclimatization stage for laminate flooring:
- Make sure the laminate planks are lying flat on the floor
- Avoid stacking the laminate floors over each other.
- Ensure the room is in its usual living condition. Leave the windows open the exact way they’ll be when people live within.
- Also, check the packaging carefully for any extra s instructions from the manufacturer.
As a result of the acclimatization, the laminate floor may show signs like bowing, shrinking, and even expansion. You can’t classify these signs as defects because the plank is only getting used to the location. With time, these defects will normalize.
Step 5: Clean Existing Surface Properly
The existing flooring must be spotless before you start laying laminate flooring. Dirt at any point can lift the laminate flooring, causing unevenness. In no time, the imbalance of the floor will only lead to quick damage.
The typical cleaning process of sweeping or vacuuming is enough to clean the floors. Ensure you’re using your nose mask to prevent yourself from inhaling dust.
Confirm the dryness of the floor again afterward to ensure it’s at the required levels to avoid any problems. This step is especially important if you use moisture while cleaning the existing flooring.
After cleaning the floor, you can now take some laminate planks and check around the room. A simple check across the width and length of the room is enough to give you a good layout. You can sketch this layout with your pencil to ensure you’re on track, and if not, you may need to have it on your head.
Step 6: Get Appropriate Underlay and Install
Installing your laminate flooring on the floor directly is a possibility, but it’s not an advisable option. The best way to install laminate flooring is to use an underlayment. The ideal choice of underlayment depends on the state of the subfloor you have in the room.
For instance, an underlayment with a damp membrane is the better choice if your present floor is concrete. If it’s not concrete, you can use an underlayment of foam, and you’re good to go!
The underlayment acts to reduce the influence of external factors on laminate flooring from beneath. With laminate floors, water is a significant problem that can result in expensive damage. That’s why experts prefer to use an underlayment with a plastic lining. The plastic lining aims to prevent moisture from getting into the floors. Usually, these plastic linings come alone or with an underlayment.
Ensure there is contact between the edges of the material while laying the underlayment. If the underlayment overlaps at any point, you will have the floors rising, causing the laminate floor to damage quickly.
Step 7: Use a String Line
Before you lay the laminate flooring, there has to be a little distance between 10mm and 12mm around the edges. Manufacturers are usually specific about this distance on their packaging. Calculating this distance with a pencil and measuring tape alone isn’t enough. That’s where a string line comes into play.
From the edge, measure the distance you need and hit a nail at the spot. In another place, measure the same length and hit the nail. With the string line, tie both nails to get the space between. Try not to make your knots too tight and the nails too hard since you will need to remove them later.
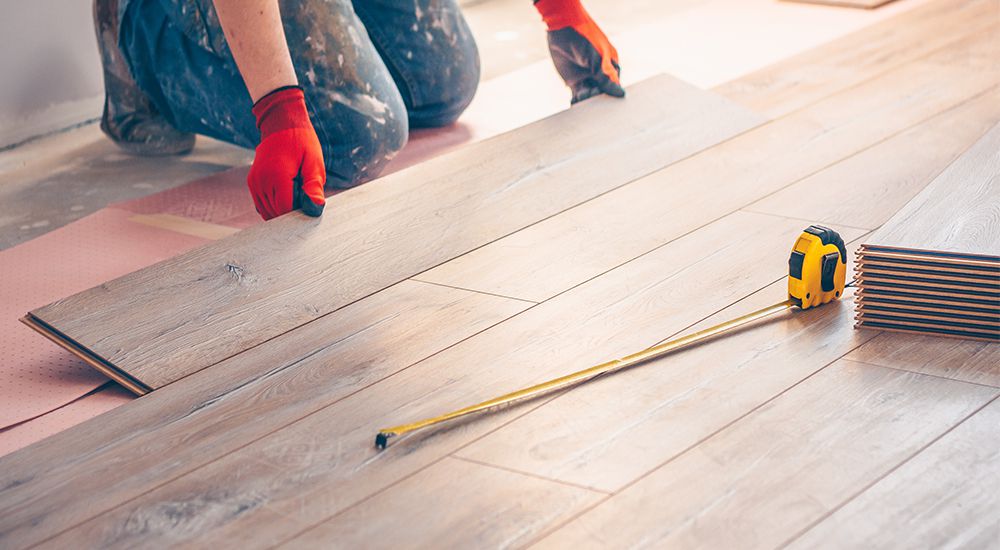
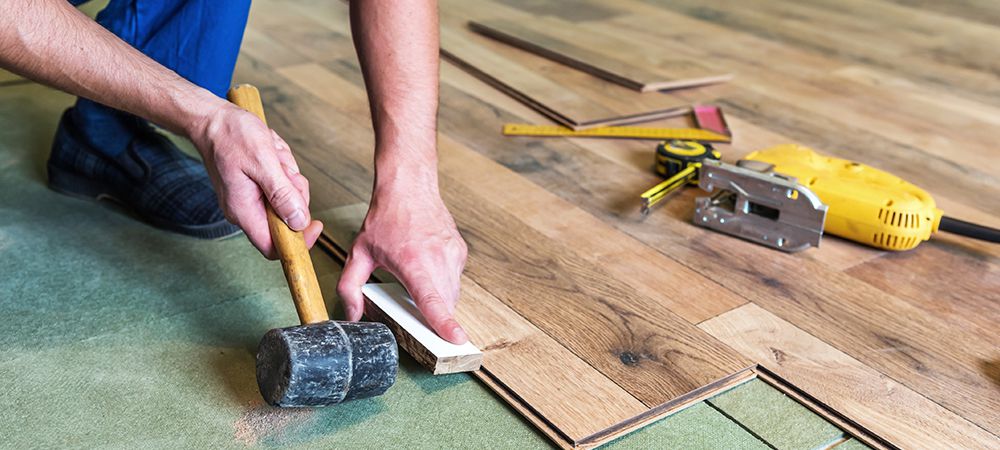
Step 8: Start Laying Board
To start laying the floor, you have to trim the protruding sides of the laminates with either a knife. The first place to start from is the left corner of the room. Ensure the ridge side of the laminate is facing the wall – never forget the 10mm space; you can use spacers.
The spacers you will need to keep the required space may be the regular cuts from the laminate floor. The spacers are necessary because you need to remove the string line after laying the first row.
Step 9: Move to Next Row
Usually, the plank used for the first row of the laying process is always longer than expected. Try to cut it off nearly, as it will come in handy to lay the second row of the laminate flooring. You can cut off the excess part with a saw.
To lay the second row, lay the laminate exactly how you did with the first option. This time, however, ensure you’re starting with cut laminates from the initial stage. Try to close the gaps between the second row and the laminate floor. You can gently use your hammer to ensure the gaps are together.
Step 10: Lay other rows
With the same process from the second row, continue laying each row side by side with the previous rows. As much as possible, ensure you close up all gaps to ensure they’re together. When the gaps don’t close, ensure that the distance exceeds 300mm.
Step 11: Lay The Last Row
If you’ve been following the steps from the first one accurately, laying that last piece may be easy. But in most cases, there’s always a minor problem. When there’s any problem with the last row, simply cut the remaining laminates to join and ensure you get the right shape.
Related Article: What are the Pros and Cons of Laminate Flooring?
Final Thoughts
Learning how to lay laminate flooring on your own may seem daunting without prior experience. But with a bit of experience, you’ll realize that it’s one of the easiest floors to install. It will only require your patience, time, and of course, some money.
You will be the luckiest person on earth if you accurately get the installation process of laying laminate floors without any help. In most cases, there may be some minor or major mistakes. To avoid any errors, it’s usually better to call an expert to help install or supervise the installation.
At LV Flooring, our experience goes beyond simply installing laminate floors. We also offer multiple high-quality laminate flooring planks in different designs. Look through our online store today for your next flooring!