How to Prepare Your Home for Hardwood Floor Installation
Installing hardwood flooring is a great way to enhance the beauty and value of your home. However, proper preparation is key to ensuring a smooth installation process. Taking the right steps before your flooring professionals arrive can help prevent delays, protect your home, and achieve the best results.
This guide will walk you through everything you need to prepare your home for hardwood floor installation.
Related Article: How to Install Engineered Hardwood Flooring
1. Clear the Installation Area
Before installation begins, remove all furniture, rugs, and personal belongings from the rooms where the flooring will be installed. This gives installers full access to the space and prevents damage to your items. If you have heavy furniture, consider hiring professionals to help with the moving process.
Take special care when moving delicate items such as electronics, artwork, and glass decor. Store them in a safe area to prevent accidental damage. If your installation covers multiple rooms, plan where to relocate furniture and other belongings to avoid cluttering other areas of your home.
2. Remove Old Flooring (If Necessary)
If you are replacing existing flooring, it may need to be removed before installing hardwood. Carpet, laminate, or tile should be taken out, and any adhesives or nails should be cleared. If your installation team will handle this step, confirm the details with them in advance to avoid unexpected costs or delays.
Some flooring materials, such as tile, may require professional removal due to the risk of excessive dust and debris. If you are doing it yourself, be sure to wear proper protective gear and dispose of old materials responsibly. Some materials may also require subfloor repairs before installing new hardwood, so factor in the time and cost of these additional steps.
3. Check and Prepare the Subfloor
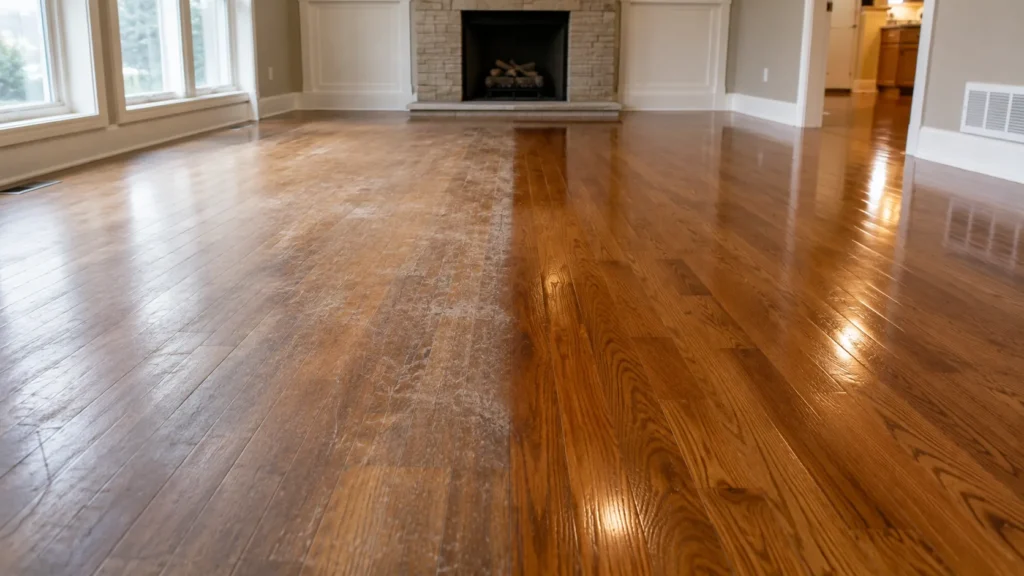
A strong and level subfloor is essential for a successful hardwood installation. Before the installers arrive, inspect the subfloor for any damage, unevenness, or moisture issues. If necessary, repairs should be made to ensure a stable surface for the new hardwood flooring.
Subfloors that have cracks, warping, or weak spots can affect the longevity of your hardwood floors. Use a level to check for any uneven areas and fix them accordingly. If your subfloor has moisture issues, it may be necessary to install a moisture barrier to prevent future problems such as warping or mould growth.
Related Article: The Benefits of Installing Heated Floors This Winter

4. Acclimate the Hardwood Flooring
Wood expands and contracts based on temperature and humidity levels. To prevent warping or gaps, the hardwood should be brought into your home at least 48 hours before installation to adjust to the indoor climate. Store the planks in the room where they will be installed and keep them flat.
Failure to acclimate the wood properly can lead to long-term issues such as cracking or shrinking. Hardwood should be stored in its original packaging in a well-ventilated area away from direct sunlight or extreme temperatures. Ensure your home’s heating and cooling systems are running as usual during the acclimation period.
Related Article: How to Fill Gaps in Hardwood Floors
5. Control Indoor Climate Conditions
Maintain a consistent indoor temperature and humidity level to prevent moisture-related issues with your new flooring. The ideal humidity range for hardwood installation is between 30-50%. Use a humidifier or dehumidifier if necessary to stabilize the environment.
Seasonal changes can impact hardwood flooring. In the winter, indoor air can become dry, leading to wood contraction, while in the summer, high humidity can cause expansion. Keeping a stable climate in your home year-round can extend the life of your hardwood floors and prevent unwanted gaps or warping.
Related Article: What Should I Know About Installing Hardwood Floors in a Humid Climate?
6. Plan for Door and Trim Adjustments
Hardwood flooring can slightly raise the floor height, which may require trimming doors or adjusting baseboards. Speak with your flooring professionals about potential modifications so you’re prepared for any necessary changes after installation.
In some cases, door frames and moulding may also need adjustments to ensure a seamless fit. If you have custom trim work, it’s a good idea to discuss your options with your flooring team to maintain the overall aesthetics of your space.
7. Secure Electrical Outlets and Wiring
If there are exposed electrical outlets, wires, or heating vents in the area, ensure they are properly covered or secured. This will help prevent any accidental damage during the installation process.
For homes with radiant heating systems, it’s essential to discuss installation techniques with professionals to avoid damage. Improper installation over radiant heating can lead to uneven flooring and performance issues.
8. Make Arrangements for Pets and Family Members
Flooring installation can be noisy and may involve adhesives, dust, and tools that could be hazardous to pets or young children. It’s best to keep them in another part of the home or make temporary arrangements to ensure their safety and minimize disruptions.
If possible, plan for alternative spaces where your family can spend time during the installation process. Some projects take multiple days, so having a comfortable and functional space away from the construction zone is crucial.
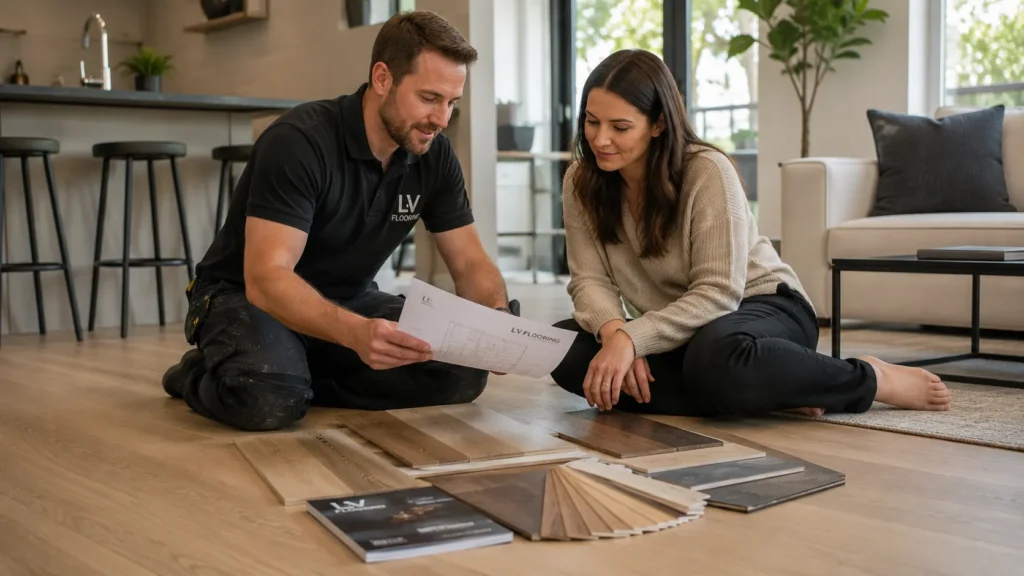
9. Communicate with Your Flooring Installers
Speak with your flooring professionals in advance to clarify the timeline, expectations, and any special requirements. Understanding what to expect will help the process go smoothly and ensure you are fully prepared for installation day.
Discuss installation techniques, finishing options, and maintenance tips to ensure you’re fully informed about how to care for your new hardwood floors. Having a clear plan with your installers will also help avoid unexpected complications.
Related Article: How Interior Designers Choose Flooring for Their Projects

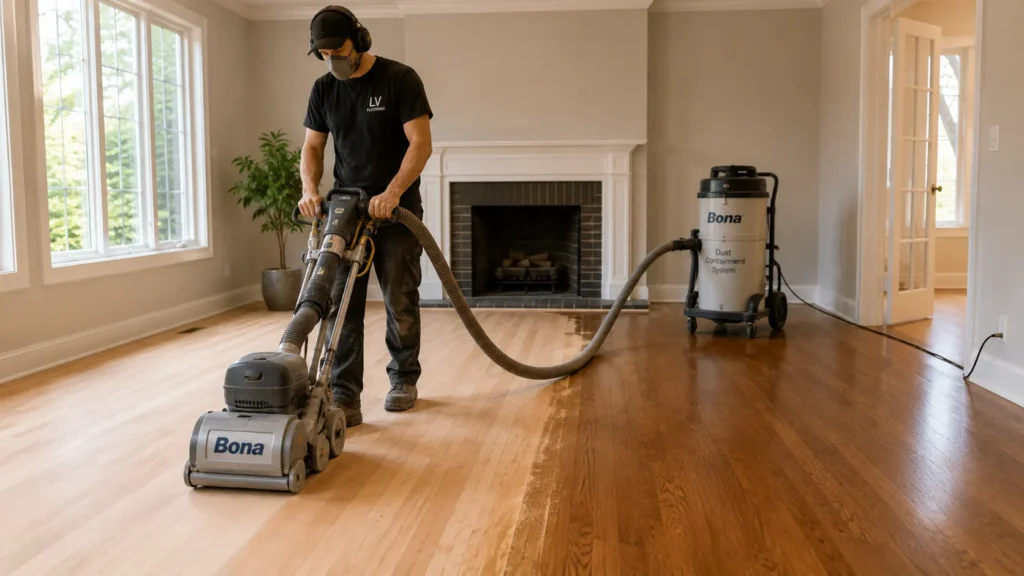
10. Plan for Post-Installation Cleanup
Once the flooring is installed, there may be dust and debris left behind. Have a vacuum and cleaning supplies ready to tidy up after the work is done. Some flooring companies offer post-installation cleaning, so check if this is included in your service.
Additionally, allow your new hardwood floors to settle for at least 24 hours before moving furniture back into the room. Use felt pads on furniture legs to prevent scratches and invest in proper hardwood cleaning solutions to maintain their pristine appearance.
11. Inspect Your New Floors
Before considering the installation process complete, take the time to inspect your new hardwood floors. Look for any gaps, misalignments, or areas that may need touch-ups. Your flooring professionals should conduct a final walkthrough to address any concerns and ensure everything meets your expectations.
Take note of any manufacturer guidelines for maintaining your new floors. Regular cleaning and proper care will help maintain their beauty and durability for years to come.
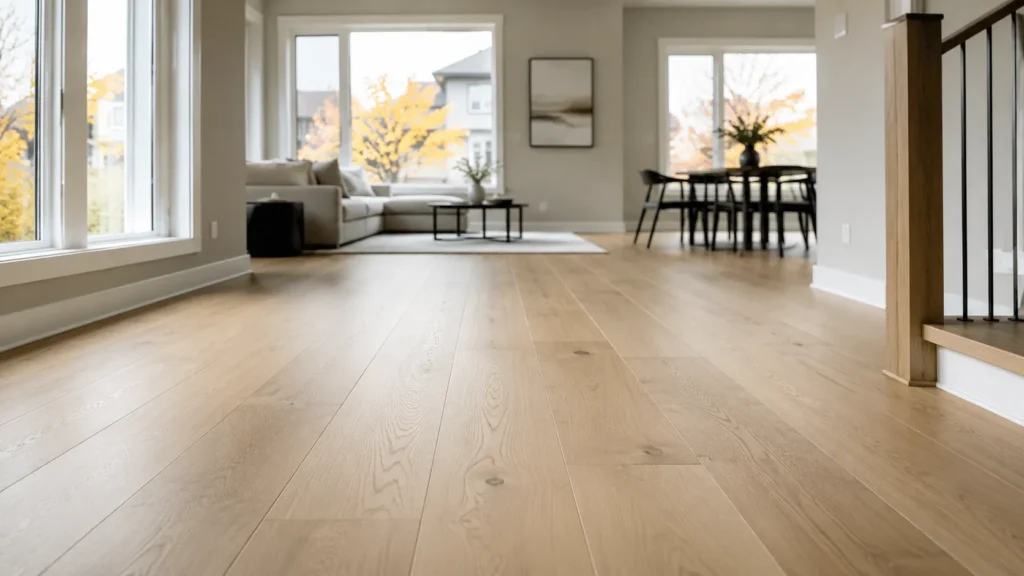
Enjoy Your New Hardwood Floors
By taking the right preparation steps, you can ensure a seamless hardwood floor installation. With professional service from LV Hardwood Flooring, your new floors will add elegance, durability, and value to your home. Whether you’re planning a single-room upgrade or a full-home renovation, proper preparation is key to a successful flooring installation.
If you’re ready to install hardwood floors in your home, contact LV Flooring today for expert guidance, top-quality products, and a free consultation!