How to Install a Laminate Floor

If you wish to learn how to install laminate floors, you’re at the right place! Laminate floors increase the appeal of your home, are budget-friendly and very durable. One little challenge is the installation of a laminate floor in your room.
But you don’t need to bother about it. You simply need to create time and follow the step-by-step process for laminate floor installation in this article. You’ll also come across other helpful tips on how to install a laminate floor in this blog. Read away!
Laminate Floor Installation Kit and Materials
You need to use the proper kit to achieve a well-cut laminate floor. Most laminate floor installation kits don’t need special skills to operate or handle. You can cut corners for some tools in the kit, while some are irreplaceable.
See the necessary laminate floor installation kit and materials below.
Spacers
Wood or laminate spacers help you avoid issues with spacing when you’re laying laminate floors. In addition, spacers allow you to ensure the gap between the floor and adjacent obstacles, e.g., precise walls, is correct.
When preparing for laminate floor installation, you need to confirm that a spacer is part of the kit. ¼ “ spacers will help you install laminate floors properly.
Carpenter’s Square
A carpenter’s square is a tool with two straight edges set at right angles to each other. You’ll need it during laminate floor installation to check the correctness of right angles. In addition, a carpenter’s square will guide you through drawing precise lines before cutting.
Utility Knife
You’ll need a utility knife for cutting bendable laminate strip materials. The utility knife is one of the few laminate floor installation kits you can substitute (with a kitchen knife).
But, it’s not advisable to use a kitchen knife for cutting during laminate floor installation to avoid damaging it. Instead, a utility knife is better because you can change the blades when they get blunt from excess cutting.
Tape Measure and Chalk/ Pen
A tape measure will help determine the square footage of the room where you intend to install the laminate floor. To get the room’s square footage, use a tape measure and chalk or pen for marking. Then, multiply the length by the width to get the square footage of the room.
Pull Bar
The pull bar is bent on one end to grab the end of the laminate and on the other end to allow a mallet or hammer to drive the tool. A pull bar is an essential laminate flooring kit because it closes the gap between laminate floors without damaging the flooring, especially in an enclosed or tight space.
Chisel
You’ll need a chisel to assist with cutting or carving the laminate flooring material of your choice. The chisel has a cutting edge that you need to set properly before hitting with a hammer to achieve the desired cut.
Saw
For major cutting, you’ll need a saw. You can get a miter saw, jigsaw, handsaw or a circular saw to help you get finer cuts at specialized angles. There are other types of saws available, but you don’t need to get all of them. Instead, get the types you feel that can help you cut special shapes.
Hammer or Rubber Mallet
A hammer or rubber mallet is for adjusting the laminate flooring to come together. Using a tapping block for gentle blows, the pieces of laminate flooring will come together end-to-end.
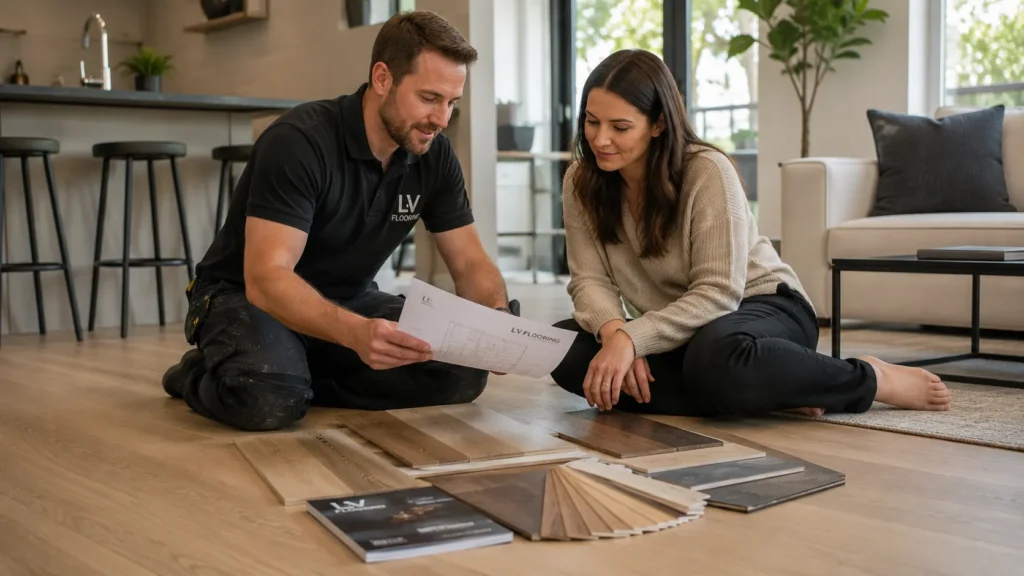
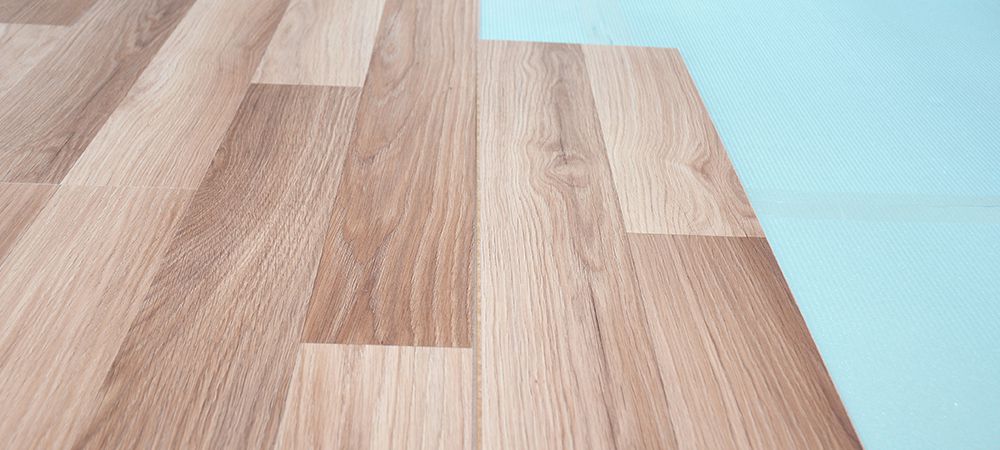
Laminate Flooring Design of your Choice
Of course, you need to get the laminate floor design of your choice. You can buy laminate floor designs online in Ontario. Take your time to select a design that’ll suit your room and give it your desired look.
Underlayment
Underlayment is a soft material you can use under the laminate flooring for a better and softer effect on your feet. Underlayment also helps the laminate floor or planks to lay smoother and connect better. S
Glue
Using glue for laminate flooring isn’t always advisable. Most people feel that since it’s a floating floor, it’s better to support itself with locking systems and no connection to the sub-floor.
But, you can use urethane-based adhesive products because they contain less moisture. Don’t use glue that contains water unless it’s in the manufacturer’s instruction.
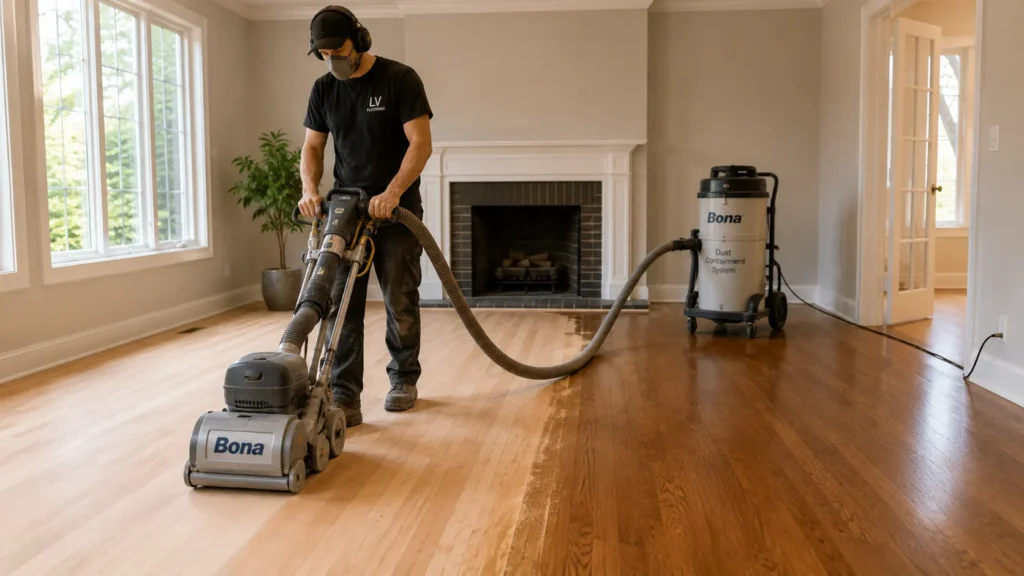
Safety Glasses and Gloves
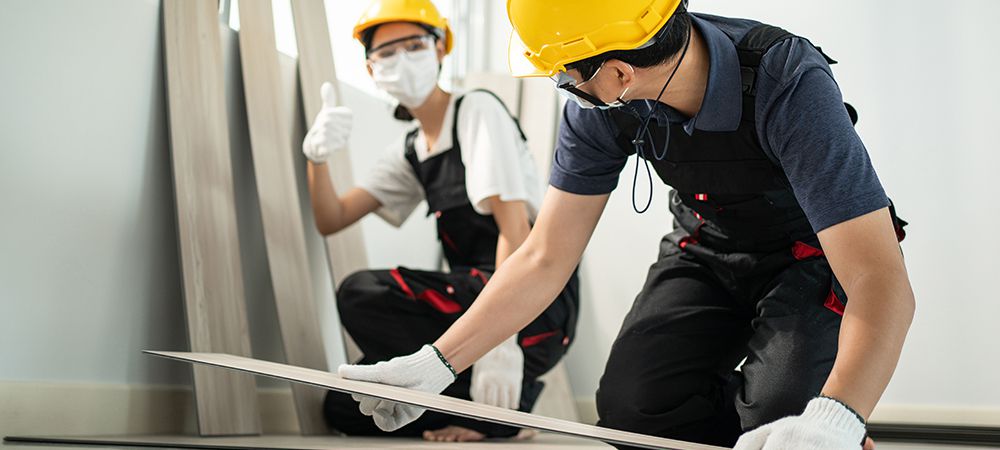
During laminate floor installation, it’s important to protect yourself from danger, especially your eyes. For example, while cutting or sawing, a piece of wood may get into your eyes if you’re not wearing safety glasses. You can also wear gloves to protect your palms from silly accidents.
Related: How to Install a Herringbone Floor
Considerations Before Installing Laminate Floors
Although laminate floors beautify any room in the house, you can’t install them in every space. Laminate floors are made with fiberboard or wood, and moisture (water) can easily damage them.
So you need to avoid installing laminate floors in any room that has a sump pump or floor drain. For instance, laminate floor installation isn’t a good idea for your laundry room and bathroom. However, you can install it in your kitchen if you’re deliberate about quickly wiping off any water or oil spillage.
One good thing about laminate floor installation is you don’t need to tear down any old surface before starting. However, you need to note that the new laminate flooring will increase your floor level by about ⅜ inch.
How to Install Laminate Floors: Step-by-Step Process
It’s no doubt that laminate floors beautify your home at pocket-friendly prices. But you have to be careful during the installation.
If you don’t know how to install laminate floors, there’s no need to worry. This section of the blog is a DIY method guide to installing laminate floors.
See the DIY methods for installing hardwood floors below.
1. Flooring Adaptation or Acclimatization
Experts suggest you allow laminate flooring to stay in the room for 48 hours or more before installation. It’ll give the flooring the ability to stretch or contract per the humidity and temperature of the room.
When you let the laminate flooring acclimate with the room, it’ll stop problems like buckling after installation.
2. Take-off the Existing Baseboard
Before installing laminate floors, take out the baseboard so you can be more accurate in your measurements. You can use the pry bar to take the baseboard off the wall, then keep the pieces in a safe corner for reinstallation.
Also install laminate floors on a smooth and hard surface like vinyl. If the previous flooring is in bad shape, you can take it off for the subfloor.
3. Underlayment Installation Time
When it’s time to place the underlayment for the laminate floors, make sure the surface is clear of debris. Once the floor is clear, you can spread the underlayment while ensuring it doesn’t cover adjoining strips.
To get the right shapes, use a utility knife to cut out unwanted pieces. It’s good to install an underlayment because it makes laminate floors resilient, durable and soundproof.
A quick tip: Some laminate flooring planks may come with an underlayment padding pre-installed. If you get this flooring type, there’s no need to install underlayment traditionally.
4. Measurement and Layout Plan
Proper measurement and layout plan is one of the best ways to install laminate floors.The measurement stage is where you have to be careful to avoid wasting flooring materials.
You’ll need to perform a visual evaluation of the space to know which direction to place the laminate floor planks. Make sure you point out which floor is the straightest and longest.
Then you can make the planks for the last row to be a minimum of 2 inches wide. If the plank for the last row isn’t up to 2 inches in width, you can increase the width of an uncut plank and divide it by two.
5. Cut the First Row
You may have to adjust the first row of the laminate floor planks by ripping or cutting them lengthwise. If you’re using a handsaw, make sure you cut the finished side of the planks up. Then face the planks downwards if you’re using a power saw.
You can use a clamp to hold the planks in place as you cut. Make sure the planks are accurately cut so they can fit properly.
6. Use Spacers for Gapping
Space chips are part of the laminate floor installation kit. You’ll have to chock or fill the space between the planks and the wall to leave a gap of ¼”. The spacers won’t be noticeable once you reinstall the baseball.
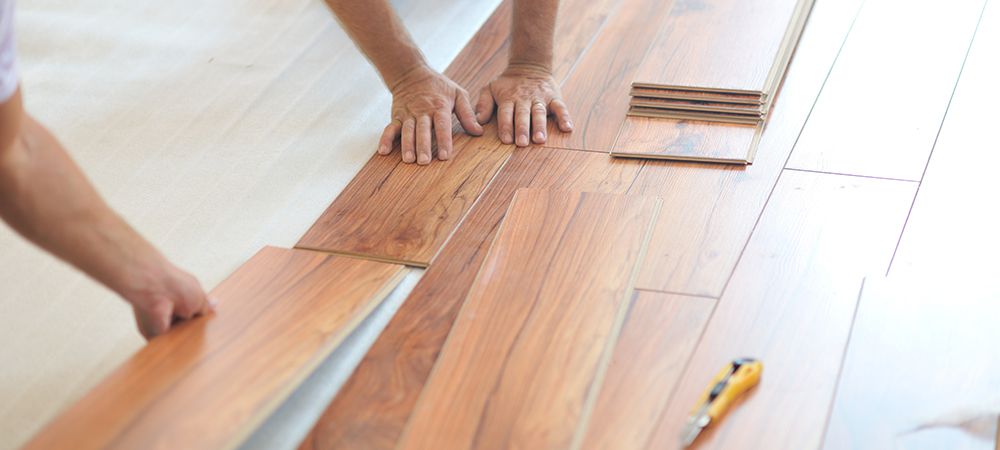
7. First Row Installation
Some manufacturers may ask that you cut out the tongue of the planks facing the wall. Then you can go ahead to start connecting the planks by their tongues and grooves. Don’t forget to take the gap at the wall into consideration when installing the row.
You can use your hand, a tapping block, pull bar, and hammer to connect the planks by gently hitting them together. The last plank on every row must be cut to length and also ensure you keep any scrap that’s up to 12” long.
8. Install More Rows
You can start installing laminate wood floors on new rows from a scrap of the previous row. Then make sure you stagger the seams to not less than 12” in other rows. Ensure the tongues click at the end of everything before you proceed to install additional rows.
Use the tapping block to connect the planks properly. Then, look around to ensure all the planks fit correctly.
9. Last Row Installation
When it’s time to install laminate floor planks on the last row, leave a ¼ inch gap between the row and the wall. Installing laminate wood floors on the last row can be tricky at times because it’ll most likely be against a tight wall space. But after ripping the final row of planks with a saw, you can use a pry bar to pry the planks into position.
10. Cut Casings
Use a jamb saw to make the door casing to be about 1/16 inch beyond the flooring height. It’s not advisable to cut the planks to fit door casings. Instead, provide an allowance that gives them space to go under the casing.
Place a piece of underlayment on the ground with the flooring on it against the casing. Then, place the saw on it so that you can cut the casing to any height of your choice.
11. Reinstall the Trim
Once the planks are in position and you’re satisfied with your flooring arrangement, you must fix the baseboard you took off earlier. To reinstall the baseboard, you’ll need a hammer and some finishing nails.
Use shoe molding to cover the gap between the planks and the wall. Don’t drive the nail through the floor when reinstalling the baseboard. The nails are to pass through the wall and trim only.
Safety Considerations for Installing Laminate Floors
Like any other household construction or minor home remodeling, there are certain things you must consider before installing a laminate floor. If you don’t know how to install laminate floors, you can follow the steps above. See below for some points to consider when installing laminate floors.
Gear-up Properly
It’s important to protect some parts of your body before you start laminate floor installation. For your eyes, you can wear a protective glass. You also need to protect your nose with a duct mask to avoid flying pieces from entering your nostrils.
You need to take your body protection seriously to avoid unnecessary medical bills. Asides from the unbudgeted expense, you may permanently damage your eyes or nose.
After protecting your eyes and nose, you can follow the DIY method for installing laminate floors in this article. It’ll guide you through the installation process.
Prepare the Room for Laminate Floor Installation
The room for the laminate floor installation needs to be thoroughly clean. But you also need to ensure the floor of the room is level. It’s not advisable to proceed with laminate floor installation on an unequal or unleveled surface. It can cause some parts of the laminate floor seams to open up eventually.
You can use 30-lb pieces to fill low spots on the floor. For wooden floors, you can sand down the high spots to level the entire surface. If it’s a concrete slab with low spots, a leveling compound will make the floor level.
Measure the Room Correctly
Correct measurement helps you save flooring materials. First, get the total square footage of the flooring type you prefer. Then you’ll have to add an extra five percent for mistakes and wastes.
Also, laminate floorings expand with time due to changes in humidity. Leave a gap of at least ⅜ inch when measuring the room’s perimeter to account for possible expansion and contraction. Then, you’ll cover the gap at the end of everything when reinstalling the base shoe and baseboard.
Prepare the Door Frames
It’s easier for the flooring to slide under the trim and jab of your door instead of cutting irregular shapes to fit the molding. You can use a piece of underlayment and flooring as a guide to mark the trim and jamb of the door for trimming.
Then use a jamb saw to cut near the floor easily by resting the saw blade on a piece of flooring to achieve a straight cut with the correct height.
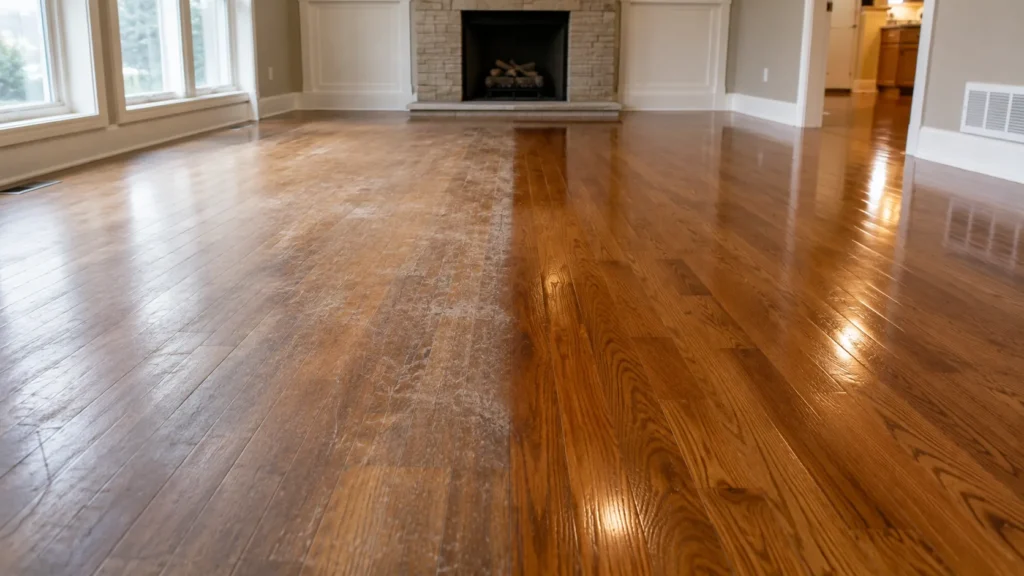
Benefits of Installing Laminate Flooring in Your Space
The growth of the floor covering industry in Canada shows that more people appreciate laminate flooring. Statistics show that the floor covering sector had a boost in its 2021 revenue. It means that people now resort to laminate flooring for beautifying their rooms.
Asides from beautifying your home, installing laminate floors yourself offers other advantages for your home.
Low Maintenace and Easy to Clean
Laminate floors are easy to maintain. As a matter of fact, after installing laminate floors, you don’t need to do much to preserve it. Just be sure to wipe off any water spill quickly.
Manufacturers now produce stain and water-resistant laminate flooring, making it easier to clean and maintain. Laminate floors with special surfaces don’t need waxing or varnishing to look great. Cleaning laminate floors regularly is enough to keep them shining.
Budget-Friendly and Economical
Laminate flooring installation gives your home a great look at pocket-friendly prices in comparison to other flooring types. Its durability also makes it economical in the long run..
Secondly, you don’t need to hire a professional to install laminate floors for you. The DIY method in the step-by-step process on how to install laminate floors in this article can guide you through the process. You can save money on the labor charge when installing laminate floors.
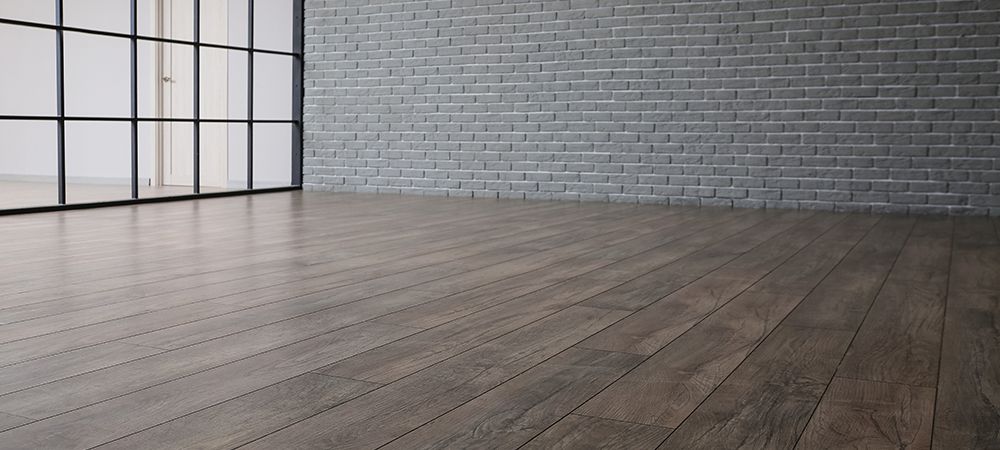
Variety of Styles and Designs
Most laminate floors replicate the look of stone or hardwood. But there are a variety of styles, designs and colors open for consideration. Take your time to choose a laminate flooring design that best complements the color and decor scheme of your home.
You can select designs that’ll give your room a contemporary and cool look or an elegant and rich look. The good thing is, you have many available designs to match whatever look you wish to give your room.
Related Article: What Flooring Is In Style 2021?
Conclusion
Laminate floor installation isn’t as difficult as you think. If you don’t already know how to install laminate floors, you can follow the DIY guide in this article.
Also, don’t limit yourself to the cliche stone or hardwood laminate floor design. Here at LV Flooring, we deliver laminate floor planks in different designs to homeowners across Ontario. Look through our online store today!